How to create an Online E-Commerce Store using Google Sheets
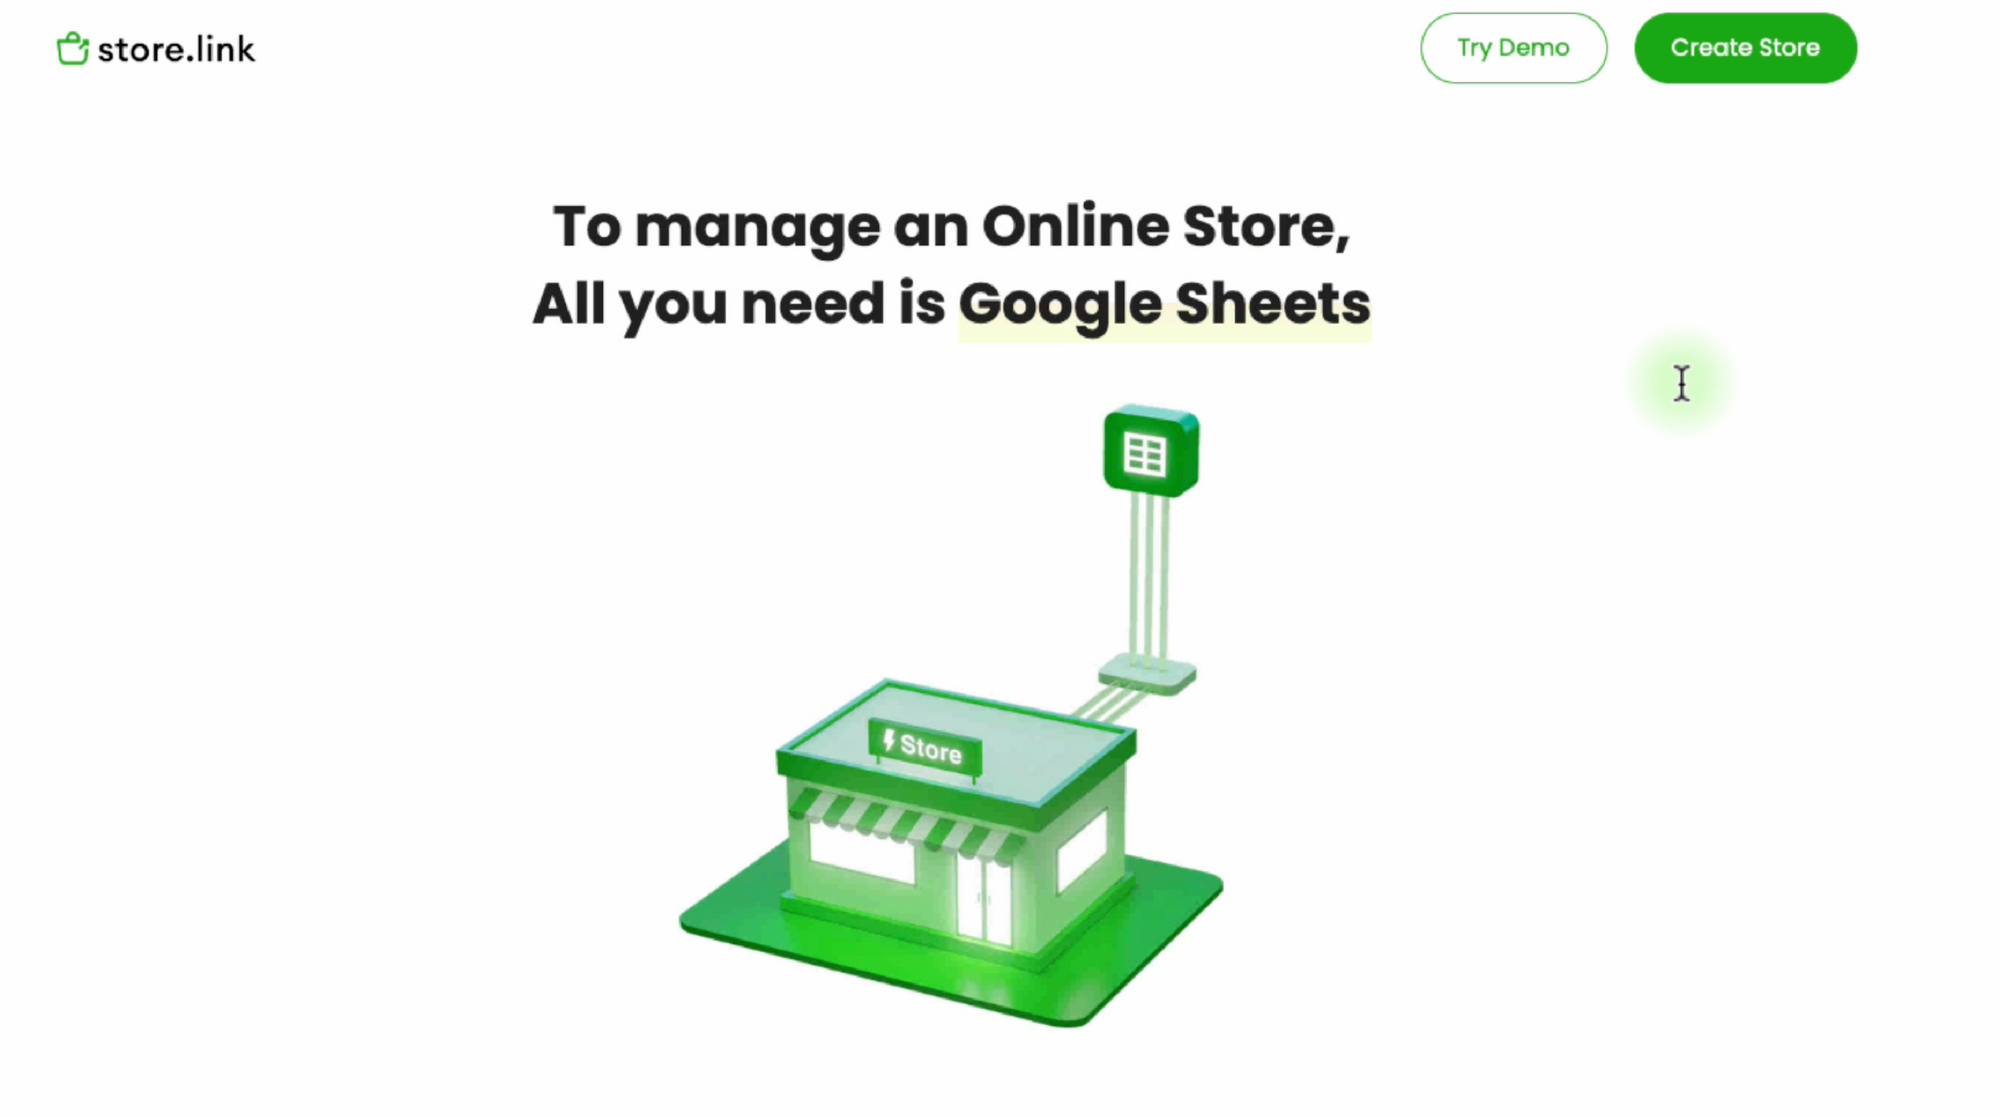
Store.link is a no code product that helps you to create and manage online store, just by using Google Sheets. See how you can build - "YourBusiness.Store.Link", without any code
Make an E-Commerce Website for Free using Store.Link
The Problem
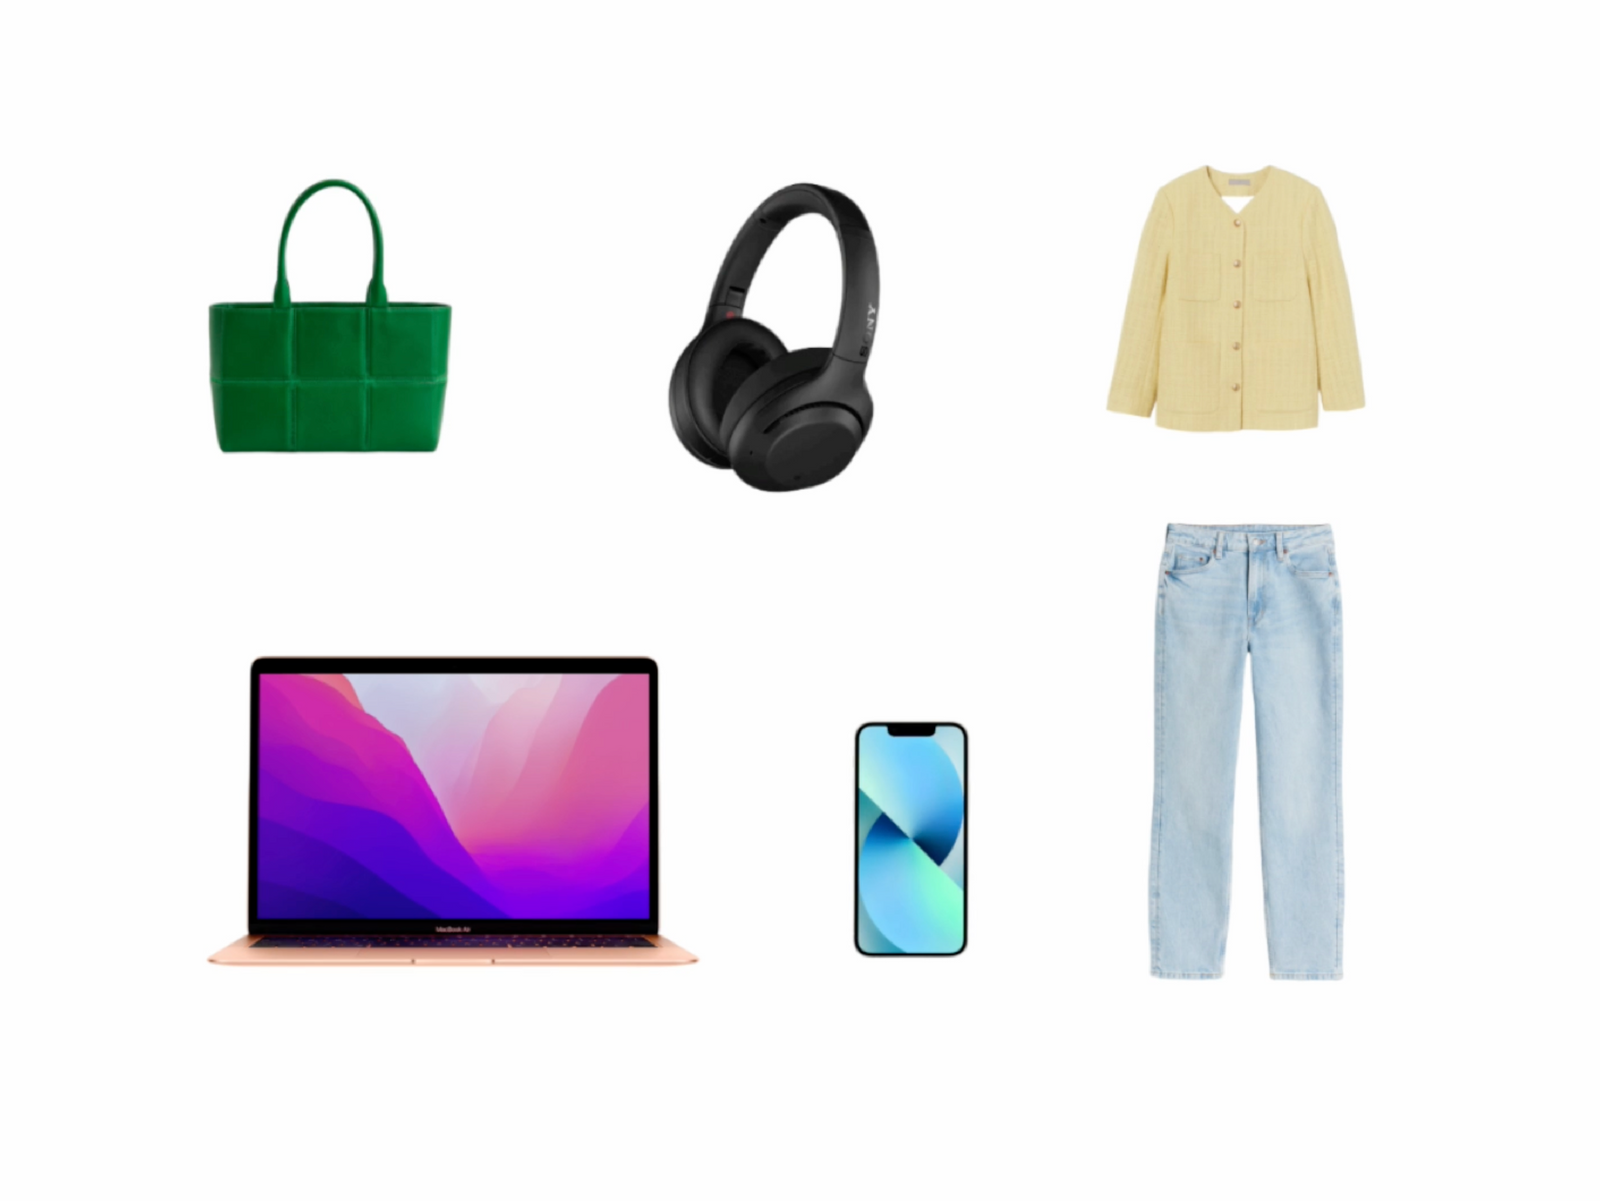
Annie wants to build an online store. She has a store where she sells a ton of items and she wants to start selling them online, but she doesn't know how to build an online store.
So she talks with her friend, Bobby. Their conversation is as follows.
“Hi Bobby”
“Hi, Annie”
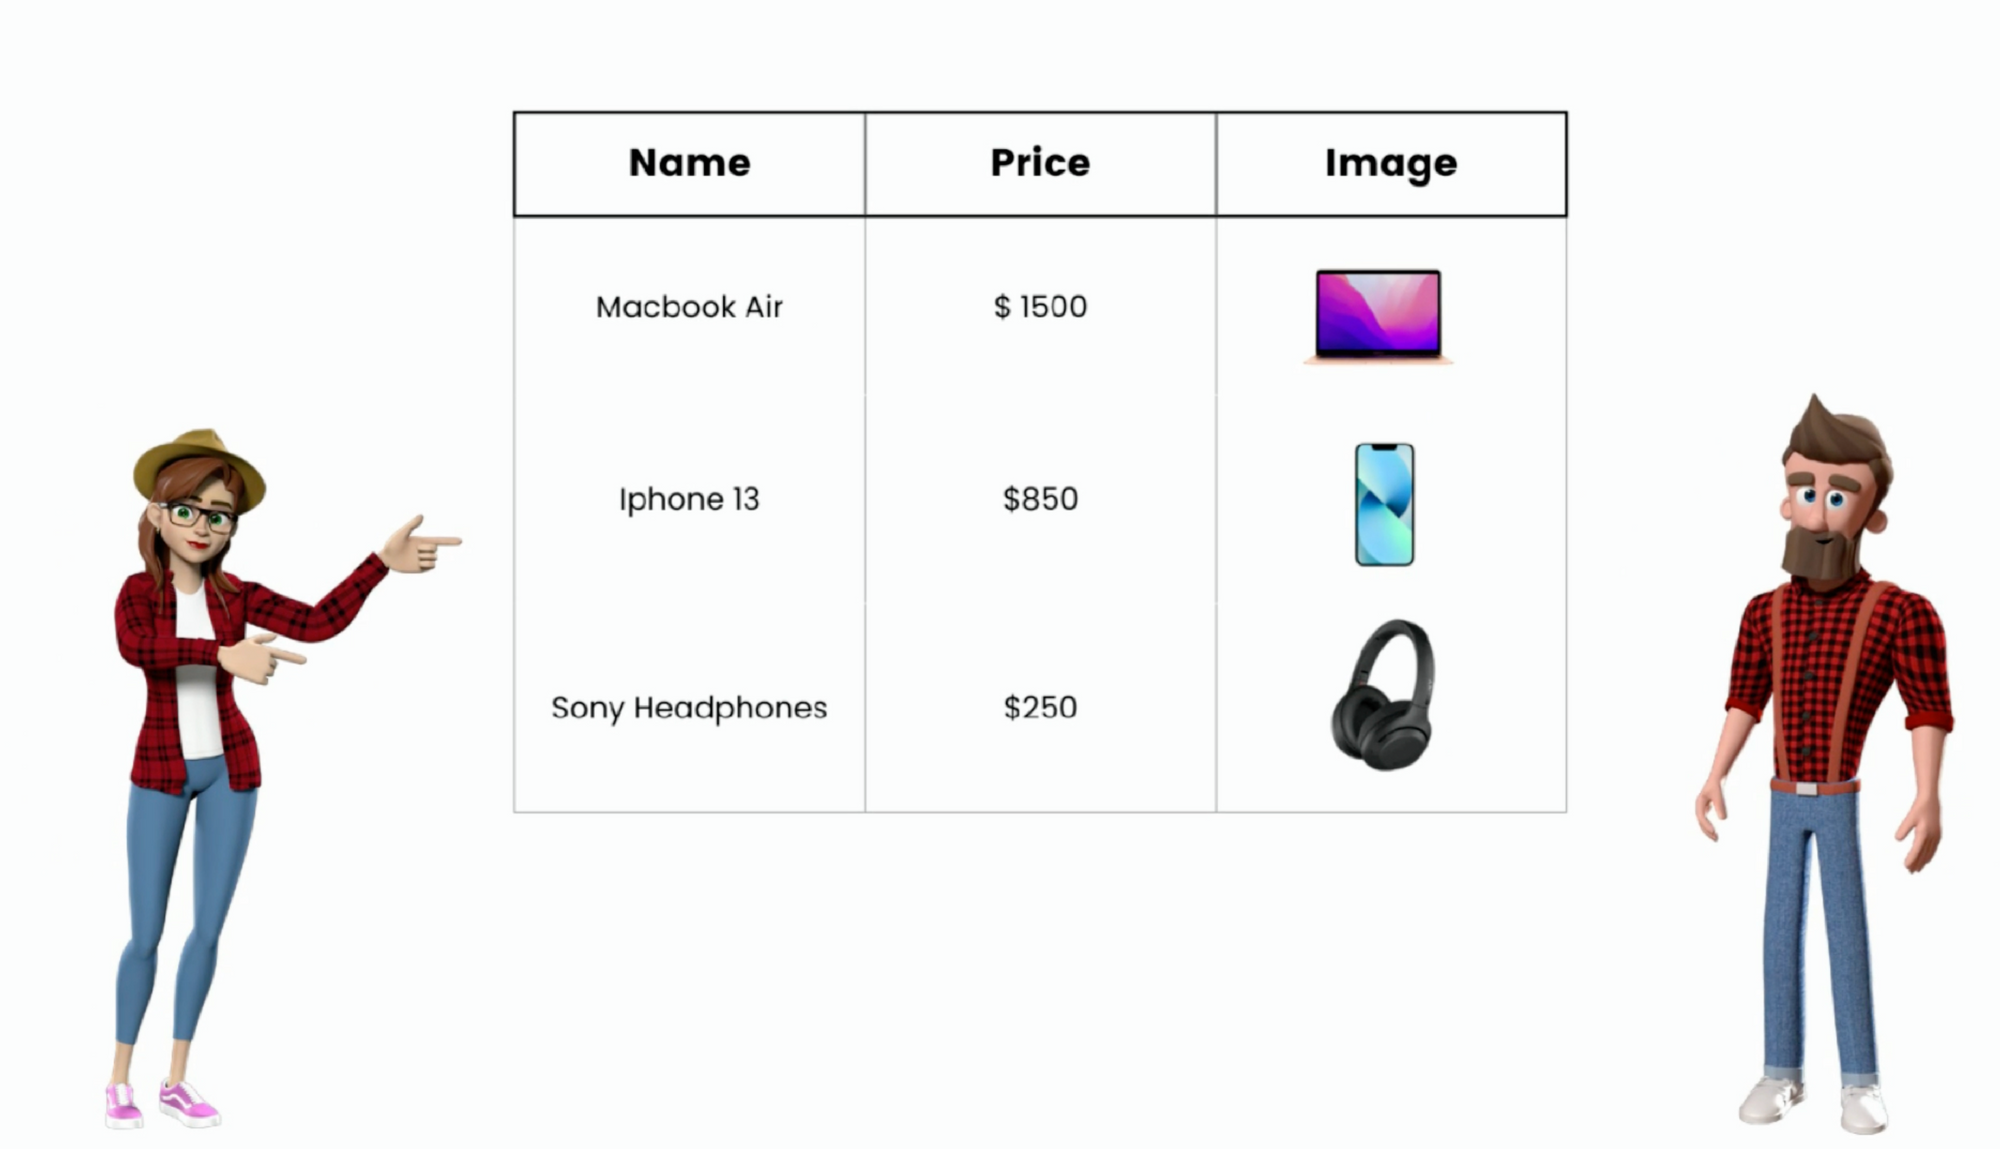
“All the products I wanna sell are listed on this Google sheet. Can you please help me create an online store?”
Bobby suggests a tool that Annie can use. A tool that can create an online store right out of Google sheets. All products can be managed right inside sheets and Annie doesn’t have to code.
About Store.Link - Online store builder
The product that Bobby suggested to Annie is called Store.link. It converts a Google sheet to a fully fledged online store, in a matter of seconds, it has a ton of features. This product works as a Google workspace add-on.
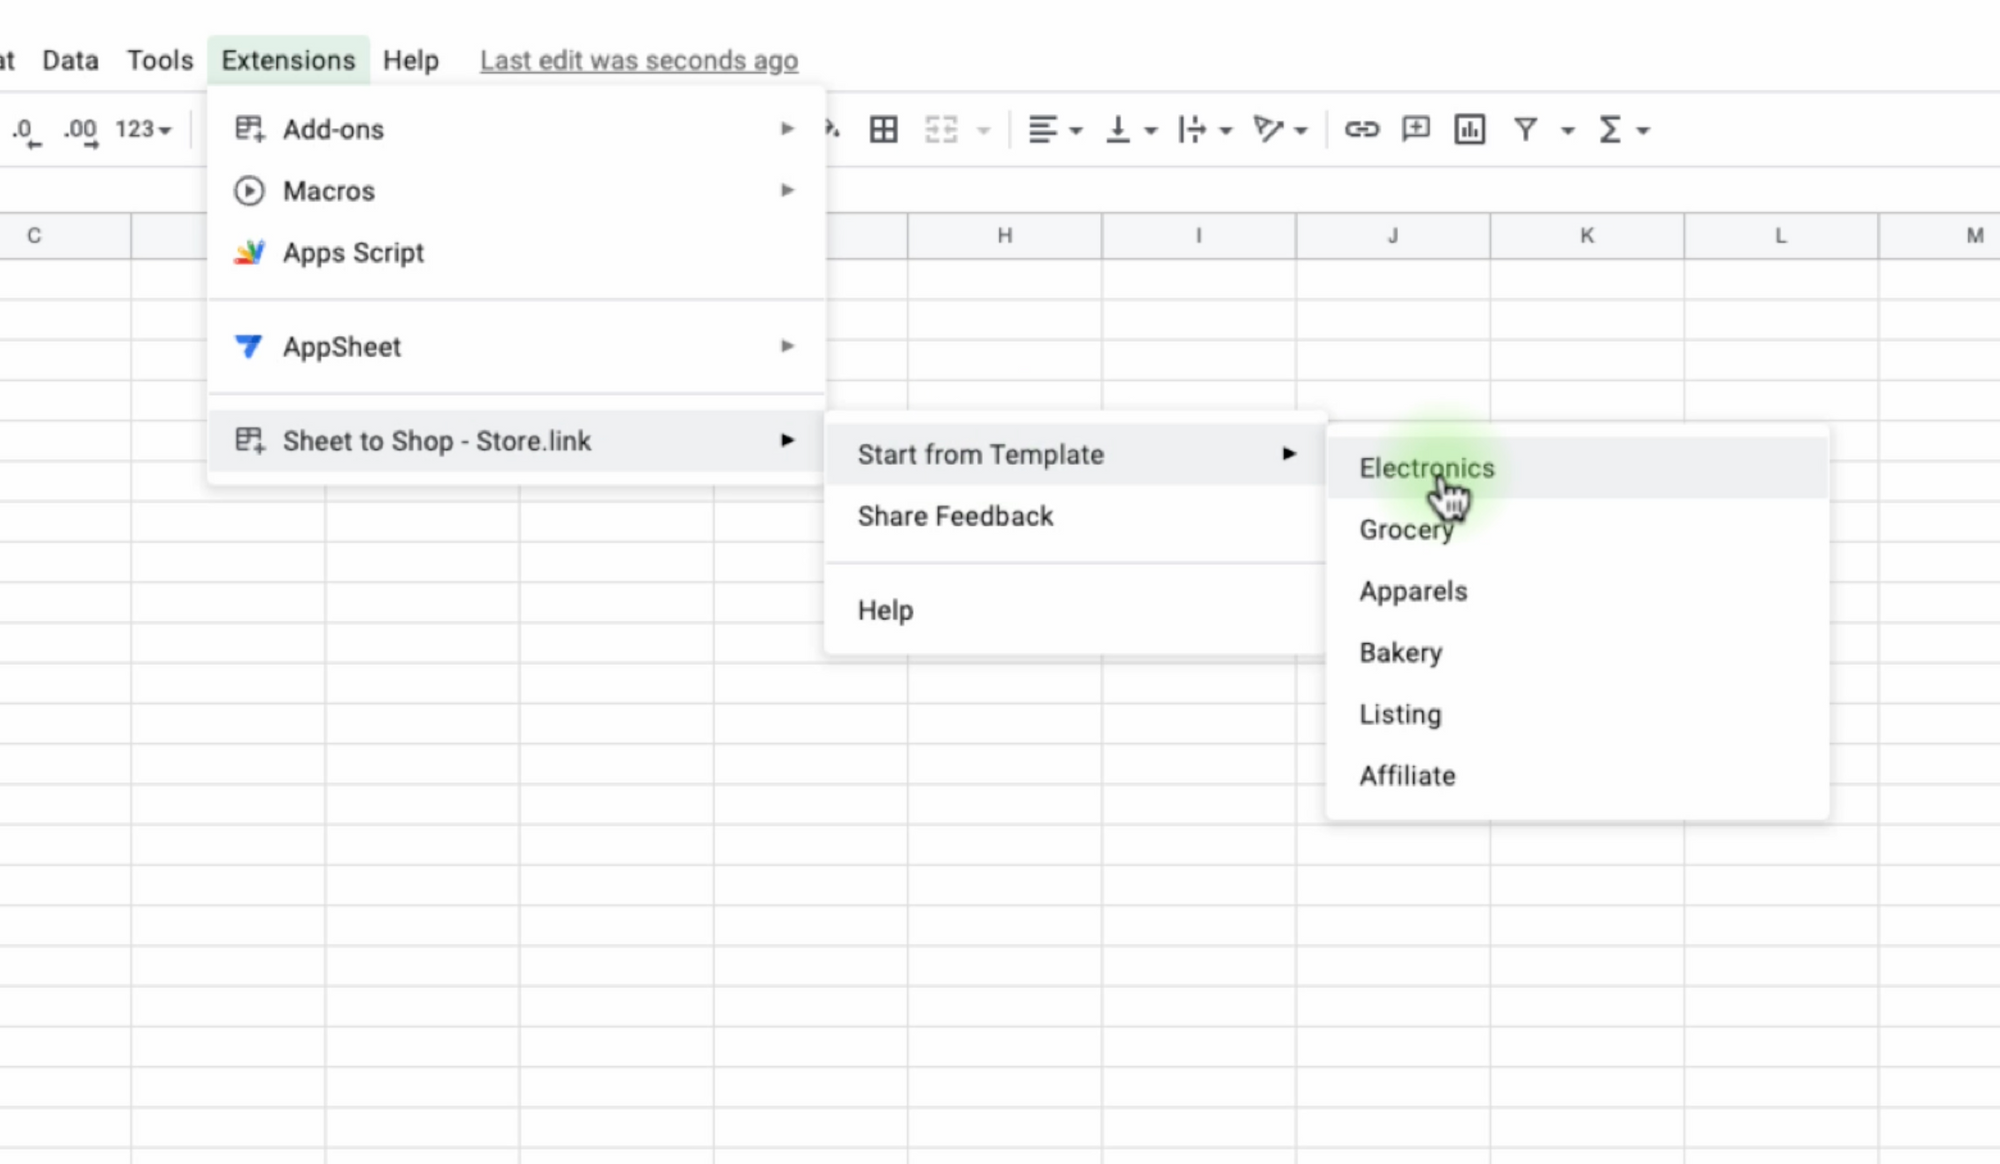
Annie starts by installing the add-on.She creates a new Sheet in a new tab. (Type “sheet.new” in the address bar). This creates a new spreadsheet in Annie’s Google drive. The sheet is named as “Annie’s Store”.Once it's installed, Annie goes to Extensions > Sheet to Shop - Store.Link > Start from a template and chooses Electronics.
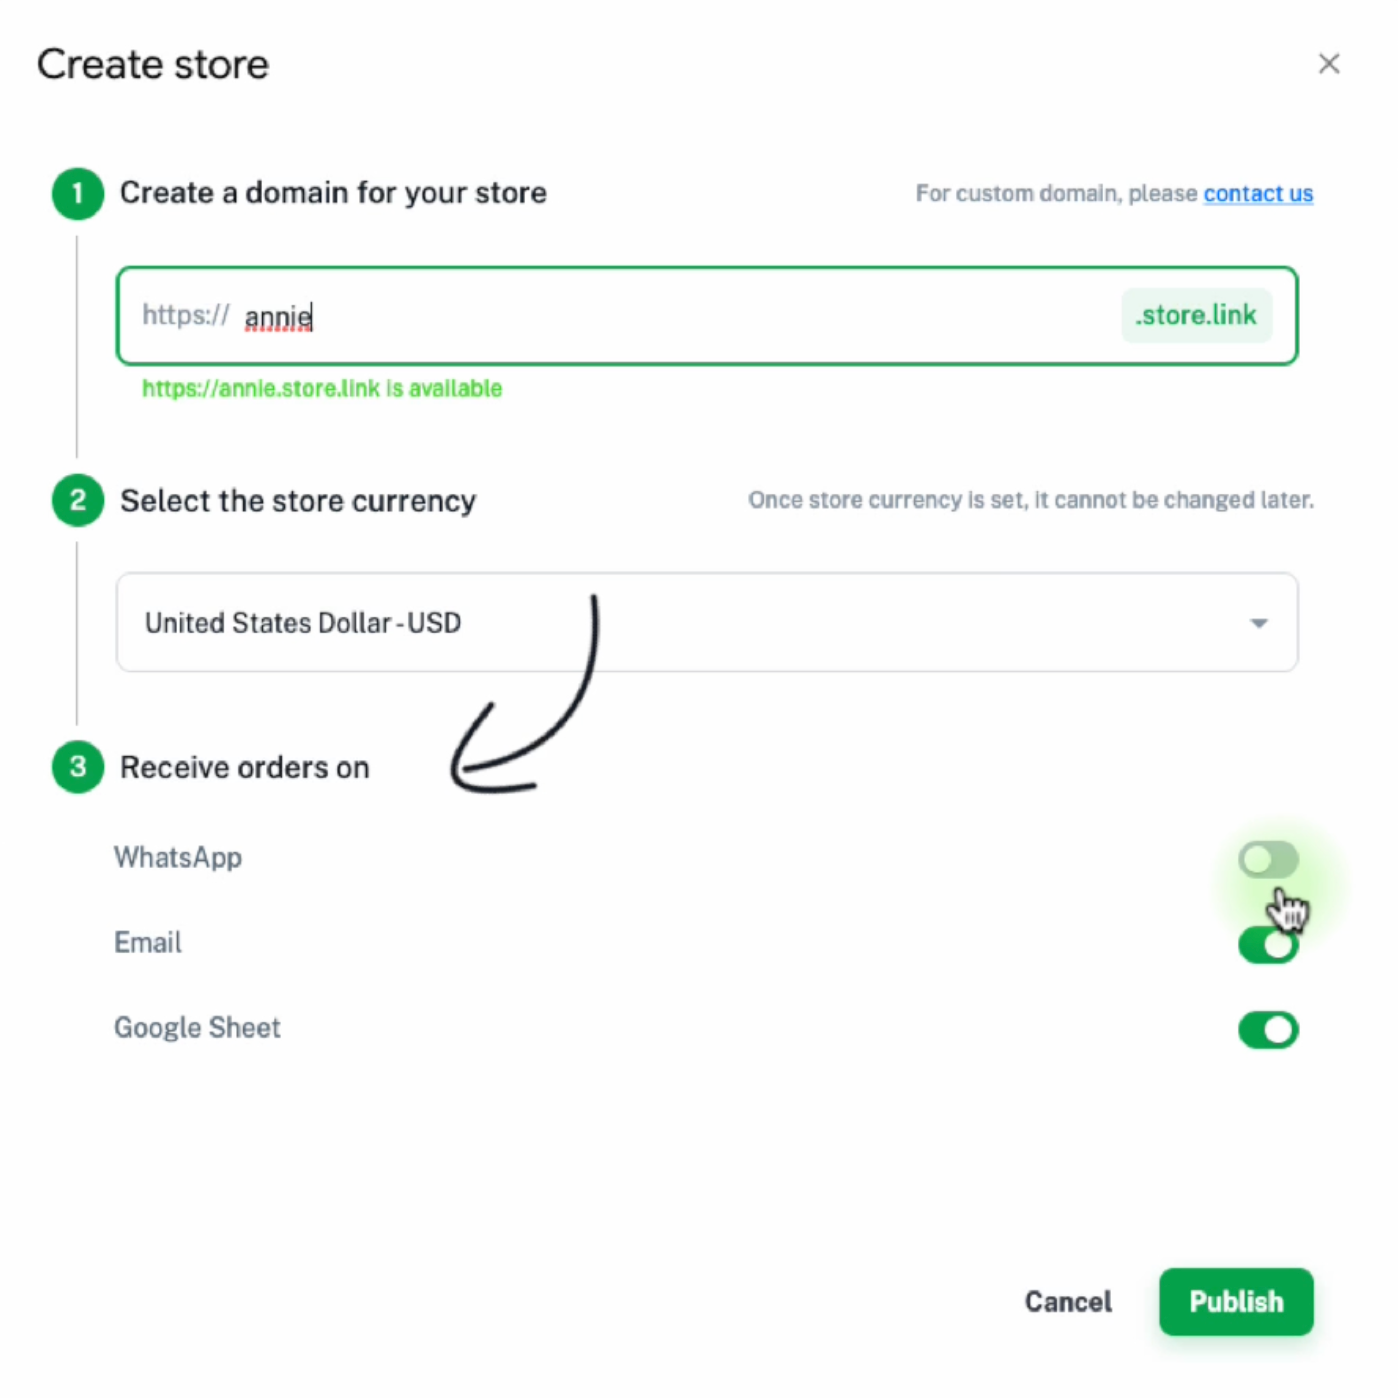
This takes a bit of time to create two sheets. One is Products. The other is Orders. Once the sheet is ready, Annie gives a name to store and chooses a store currency. Store.Link provides over 120 currencies to choose from. The third step is to configure where the orders should be received. This includes WhatsApp as well.
Getting started with Store.Link
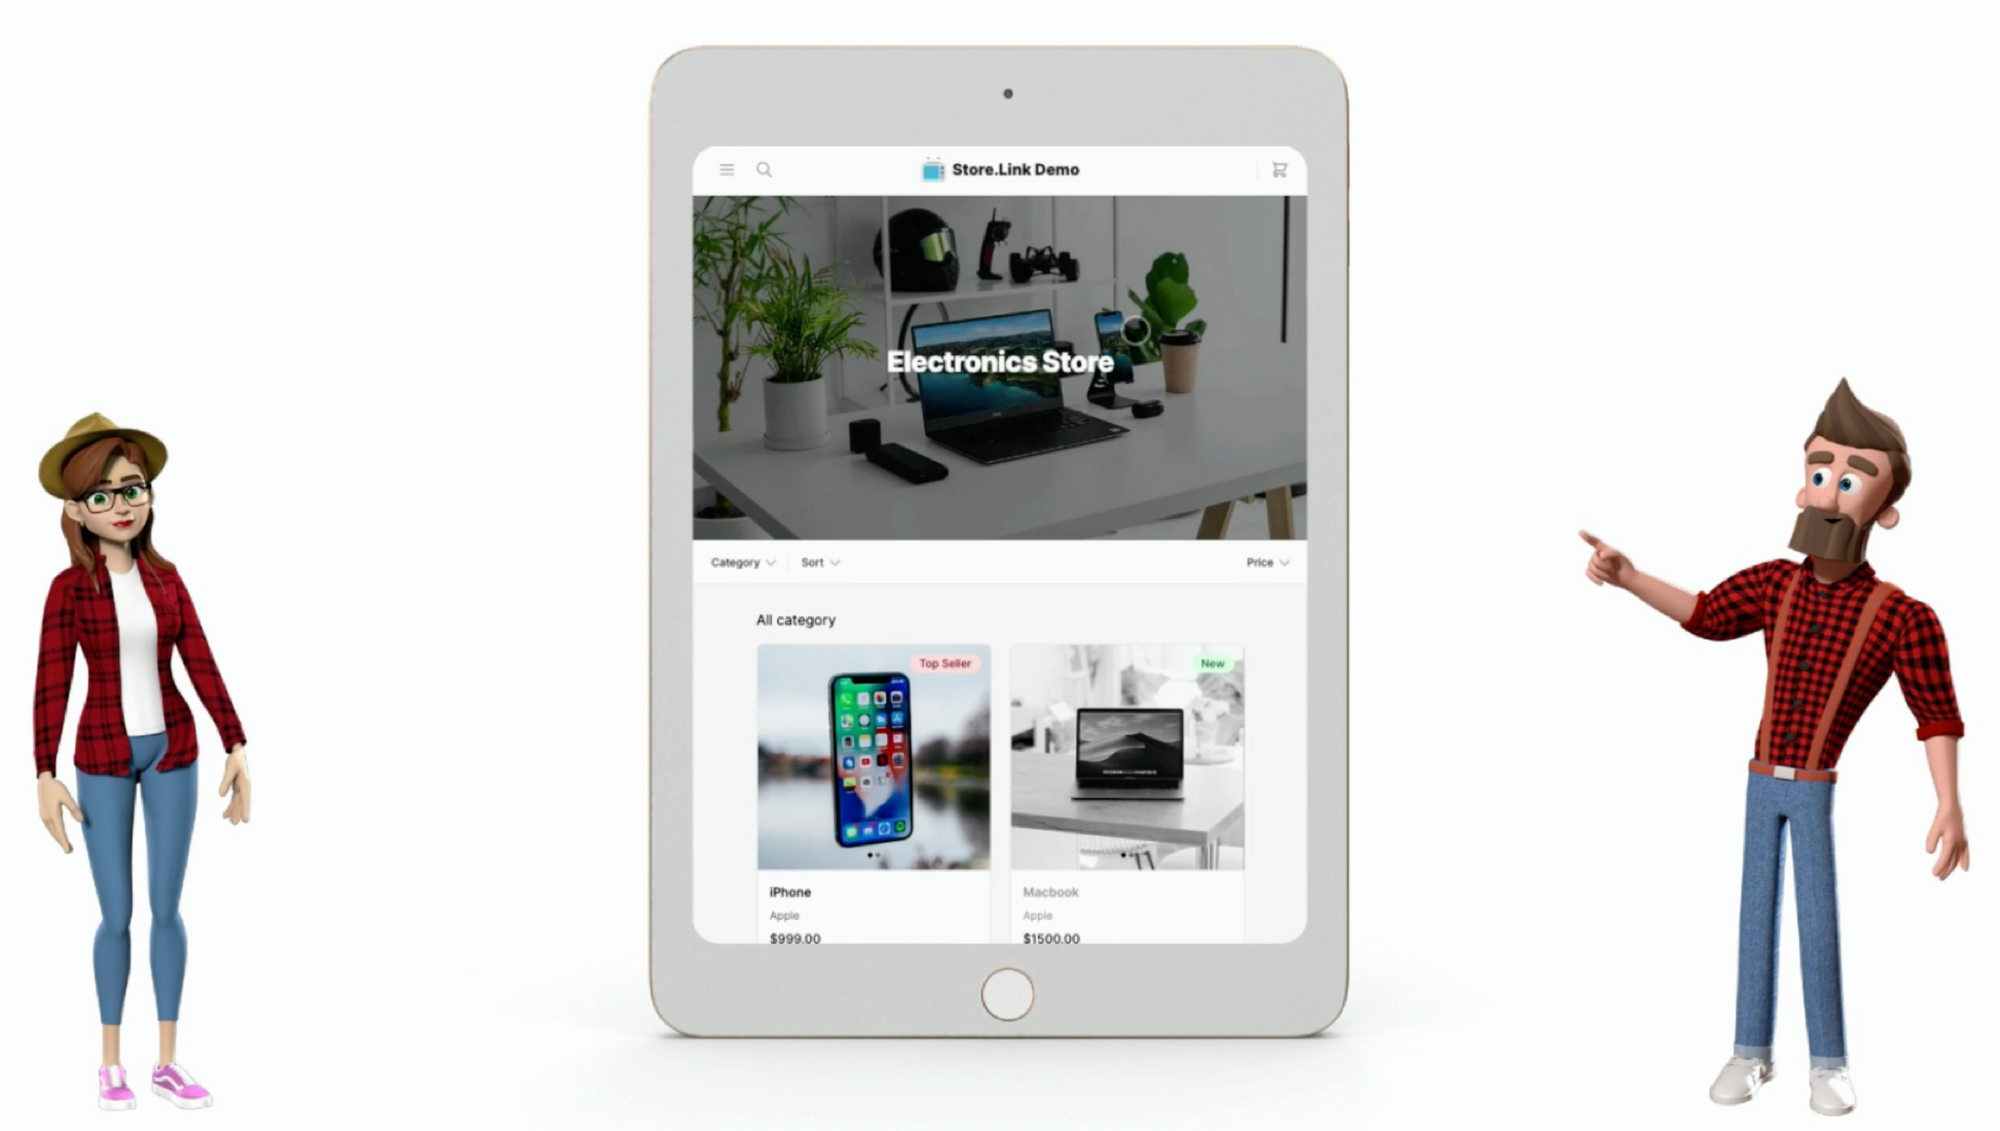
Annie publishes and the store and checks it out. She sees the default electronic template that Store.link provides.
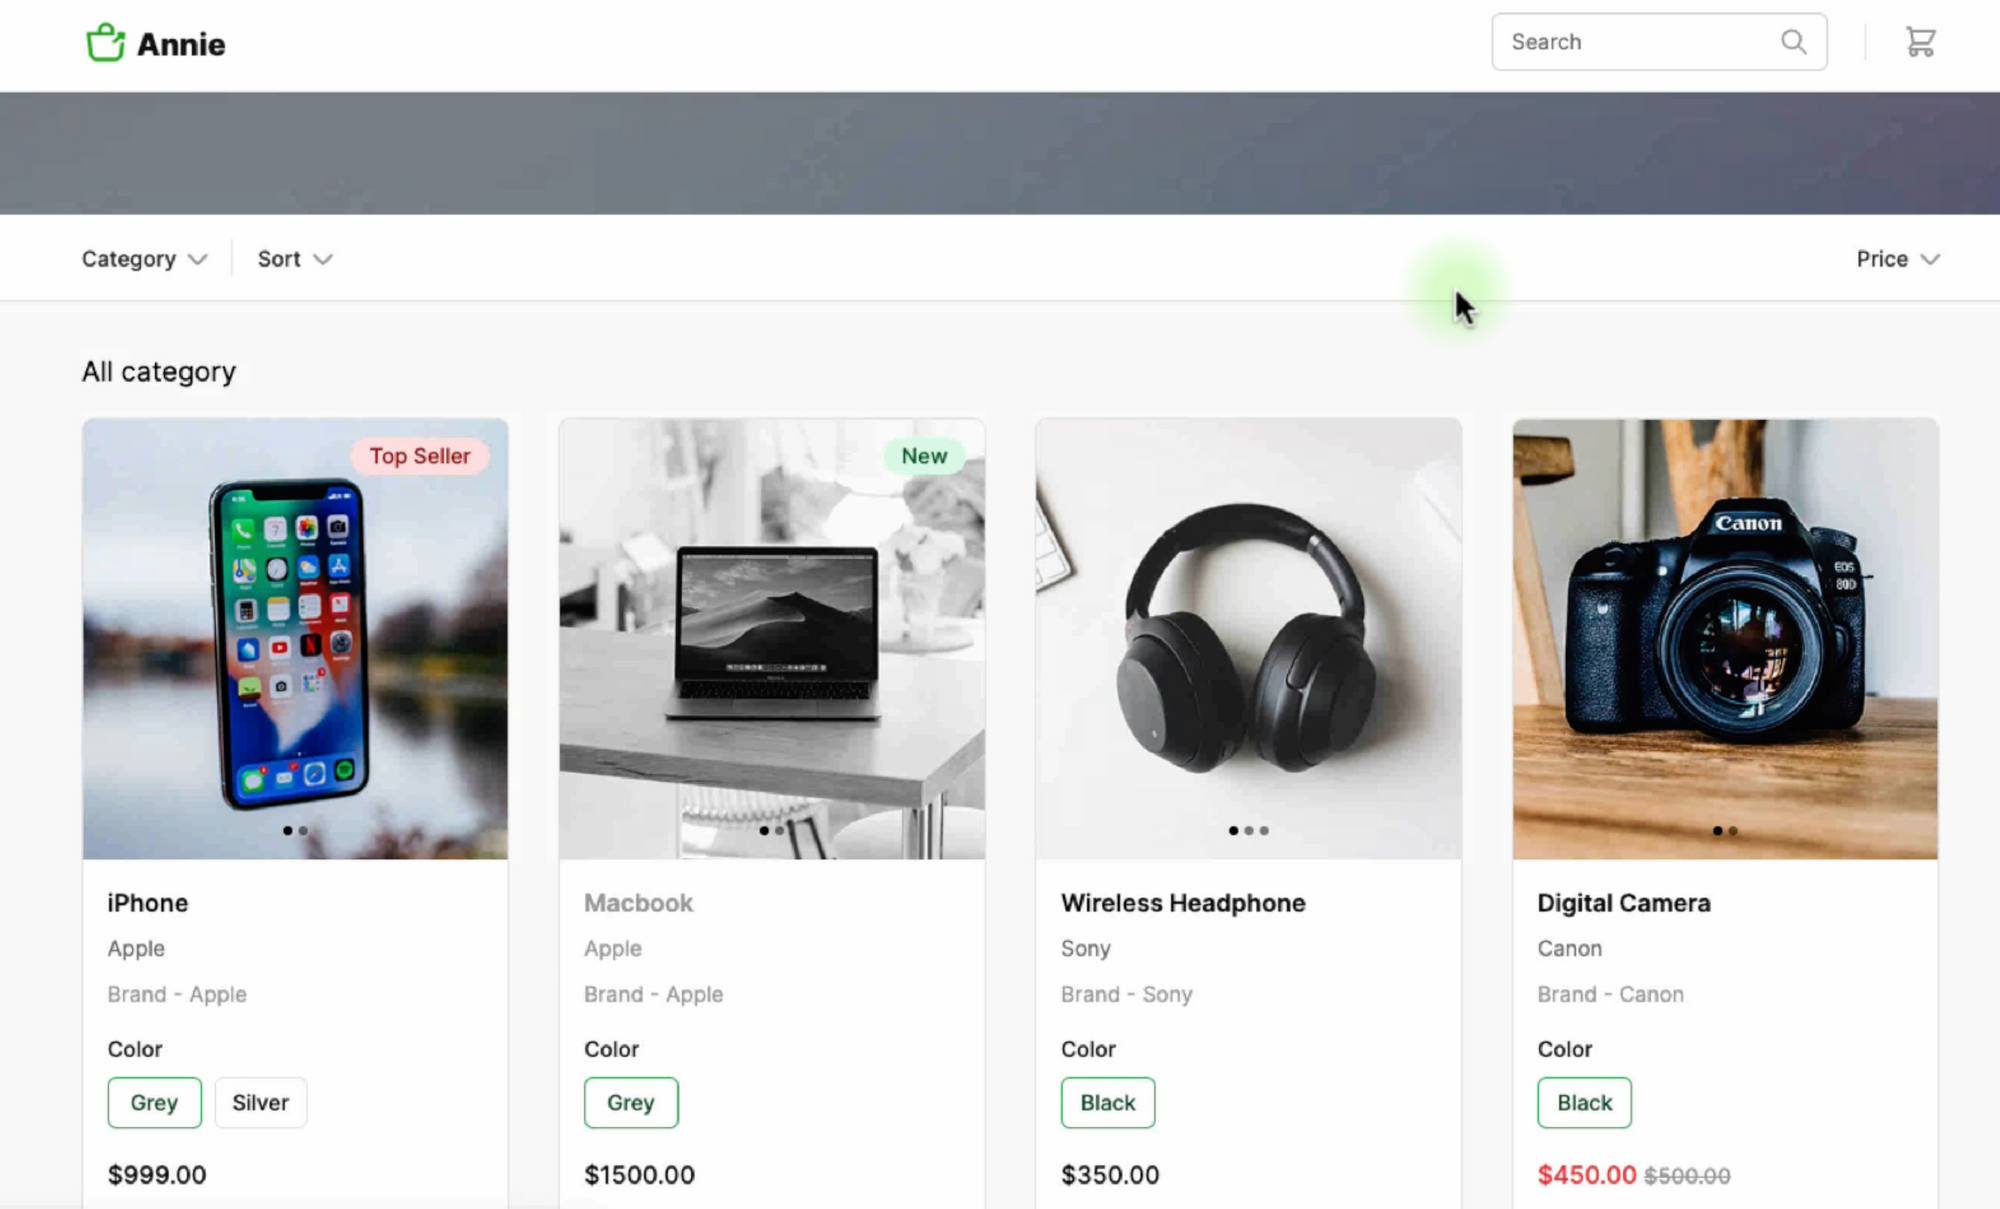
Annie studies the default template and understands the purpose of each column in the Products sheet. How to set name, description, price, stock and so on.
Columns in Product Sheet explained
Name
This is the product name.
Price
The actual price of the product.
Discounted Price
The price at which you plan to sell it.
Description
Details of the product (At least a paragraph of information)
Category
Product category (Multiple categories can be given, separated by comma in the cell)
Color
Color of the product (If it applies)
Brand
Brand of the product (If it applies)
Tag
A distinct feature or highlight about the product.
Stock
Number of product items in capacity for sale.
Availability
This determines whether the product is shown in the online store.
Thumbnail
Feature image of the product.
Image1, Image2, Image3
Additional images of the product.
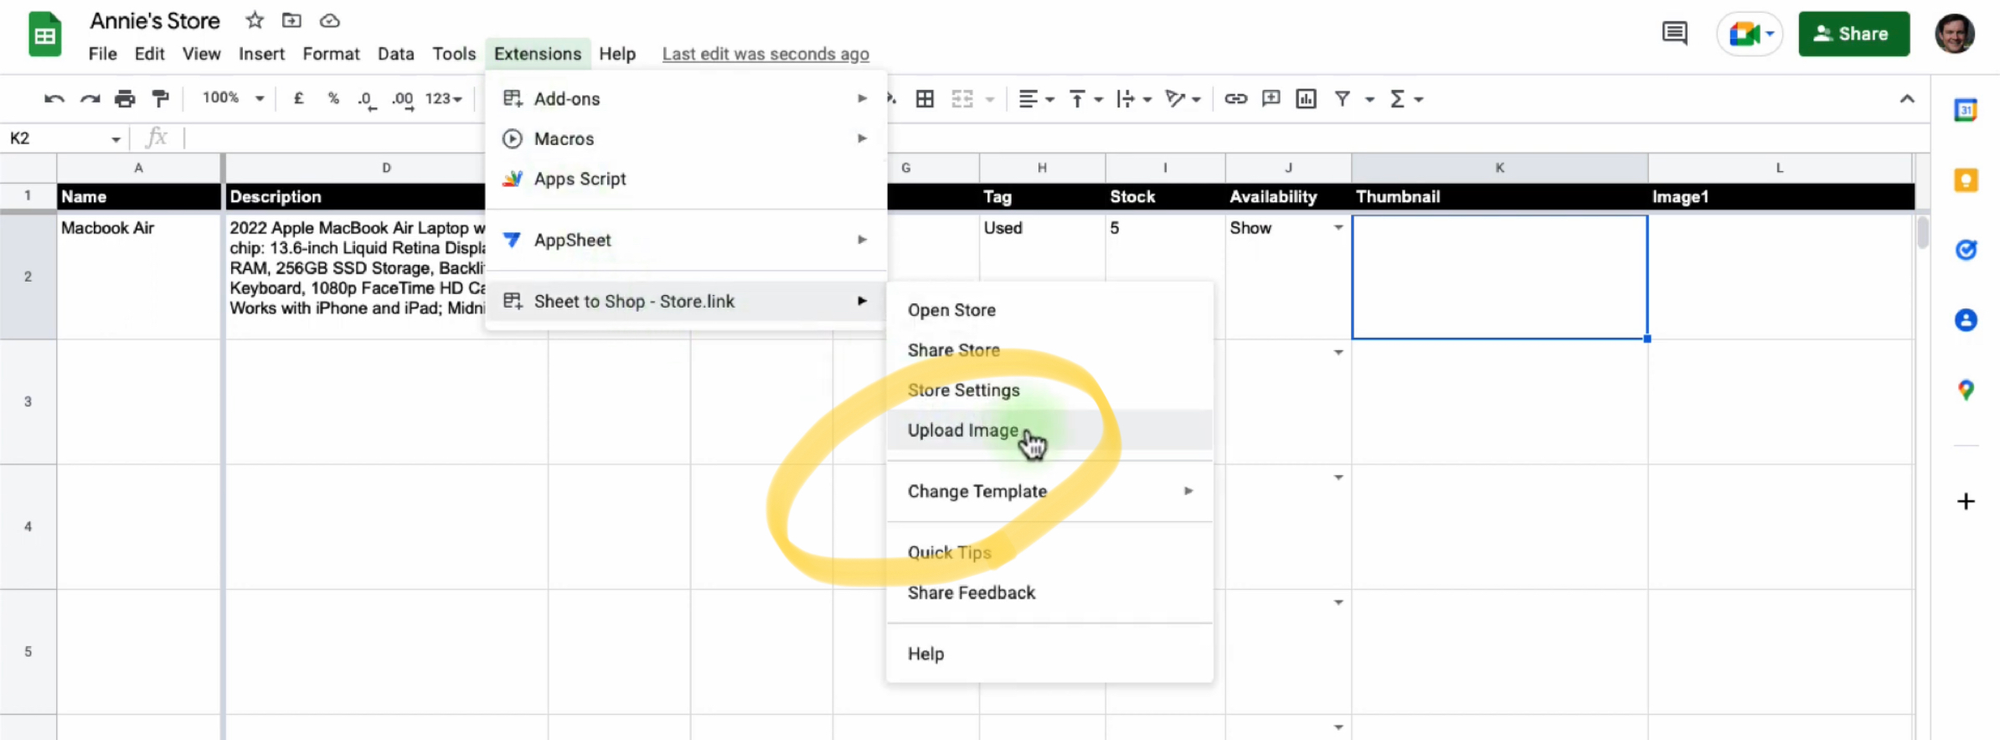
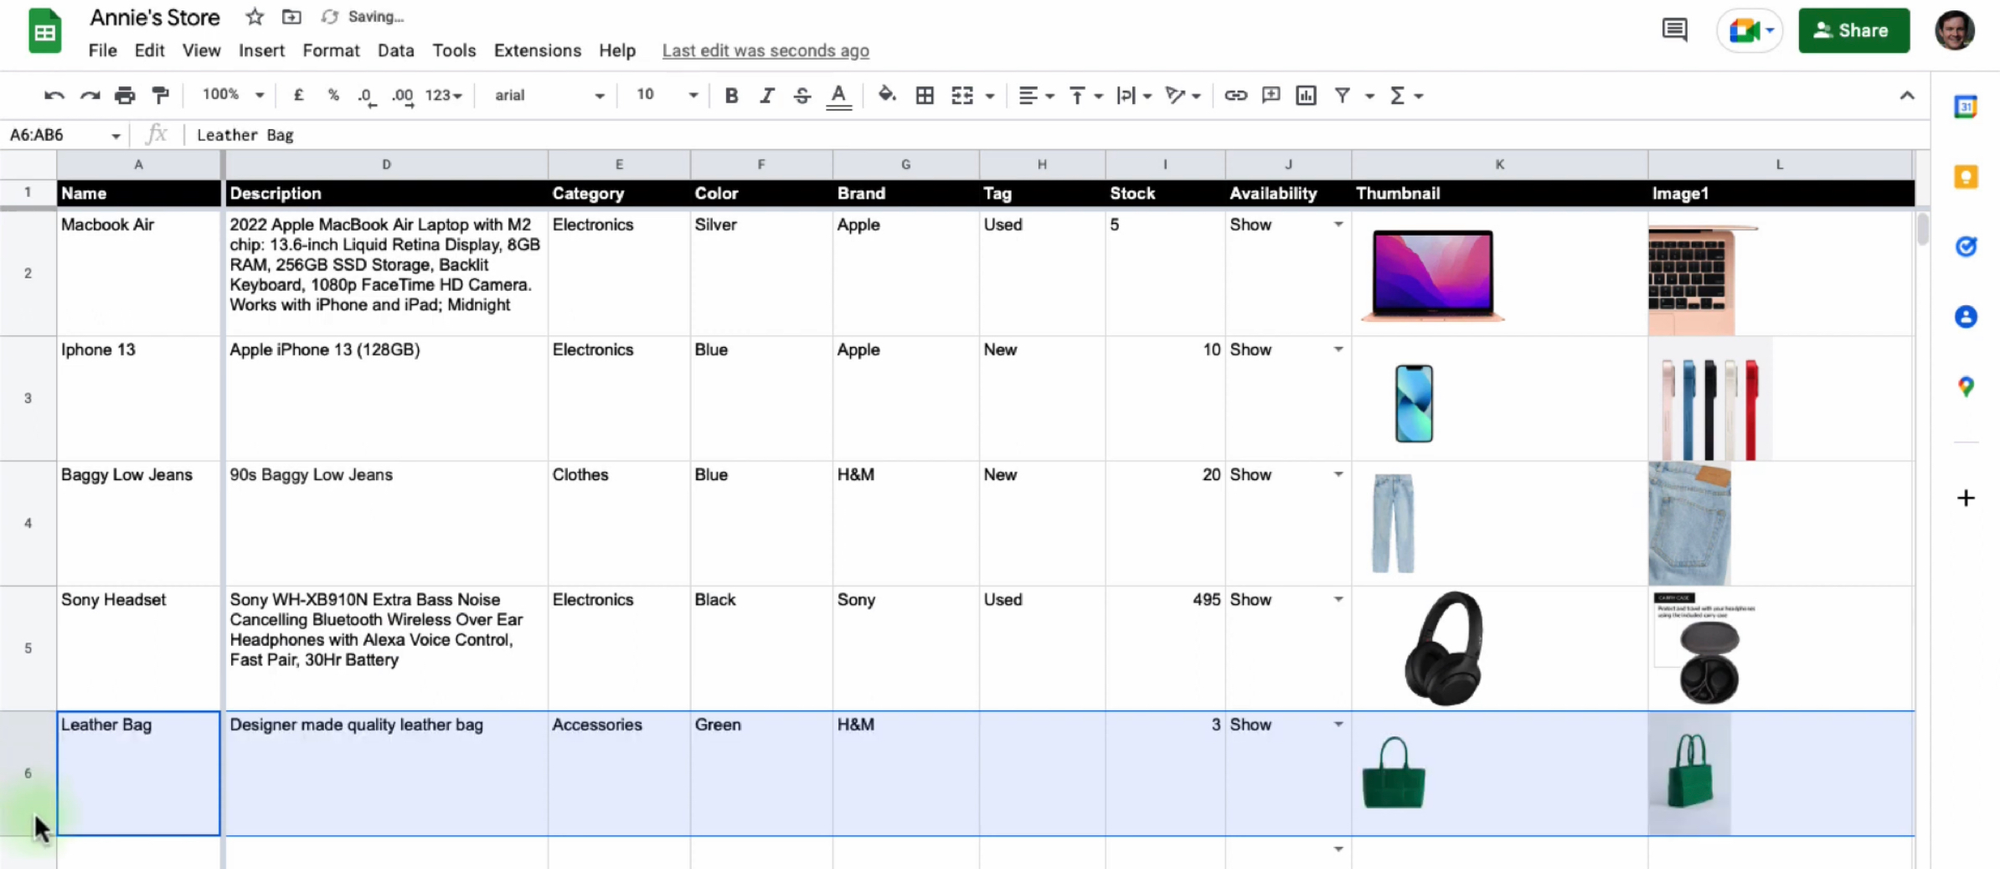
Similarly, there is an orders sheet. Annie takes a quick look at the first row in the template and adds her own entry for Macbook Air. She the sets the category as “Electronics”, adds the stock she has and also use the Upload Image option from the extension to add product images.

Annie studies the first row in the template sheet to understand how to add her own products. Once she gets a basic understanding, she proceeds to add her first entry which is a Macbook Air.

To add product images, Annie uses the Upload Image option in Store.Link extension.
Repeating the same steps, Annie proceeds to adds 5 items in total that she wants to sell.
Annie opens the store.link URL to see how the website looks so far.
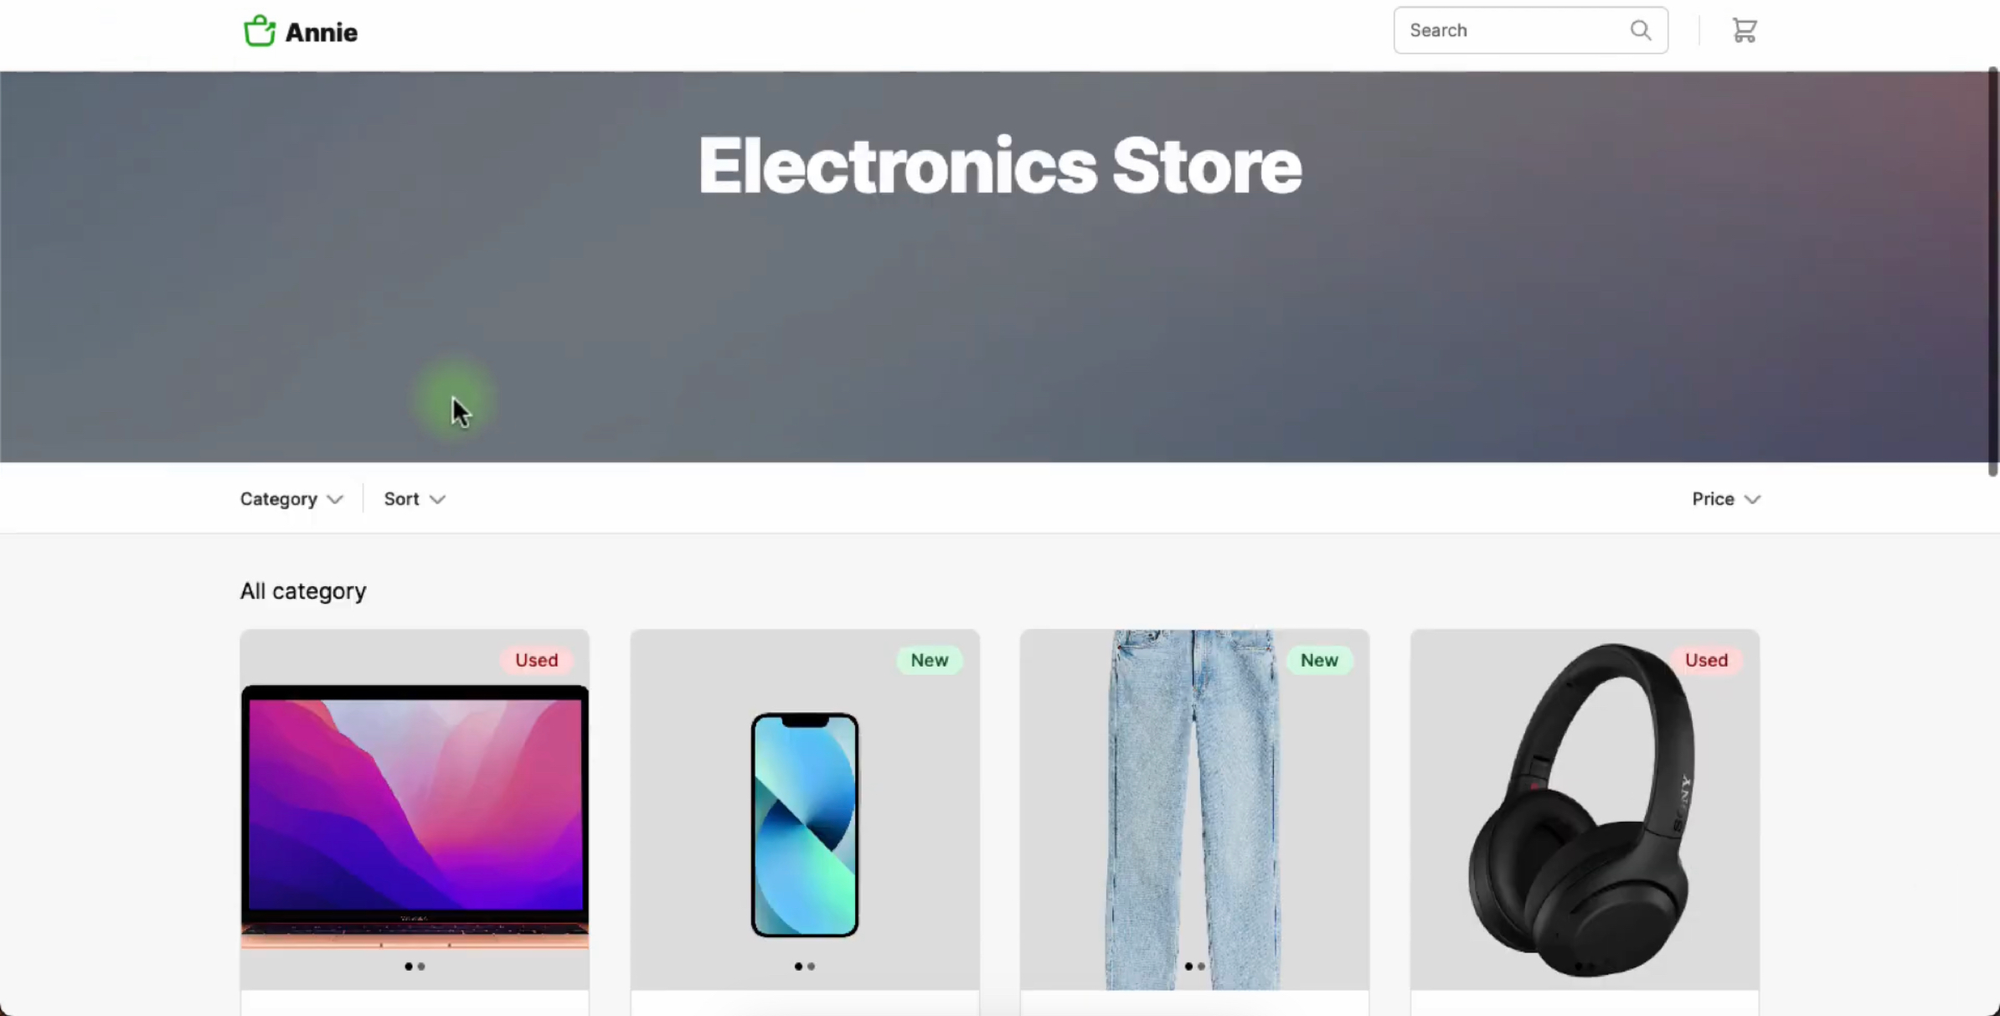
Once she understands that every row in the Product sheet is rendered as an Item. She proceeds to explore the settings of Store.Link.
Store.Link Settings
First there is the design settings.
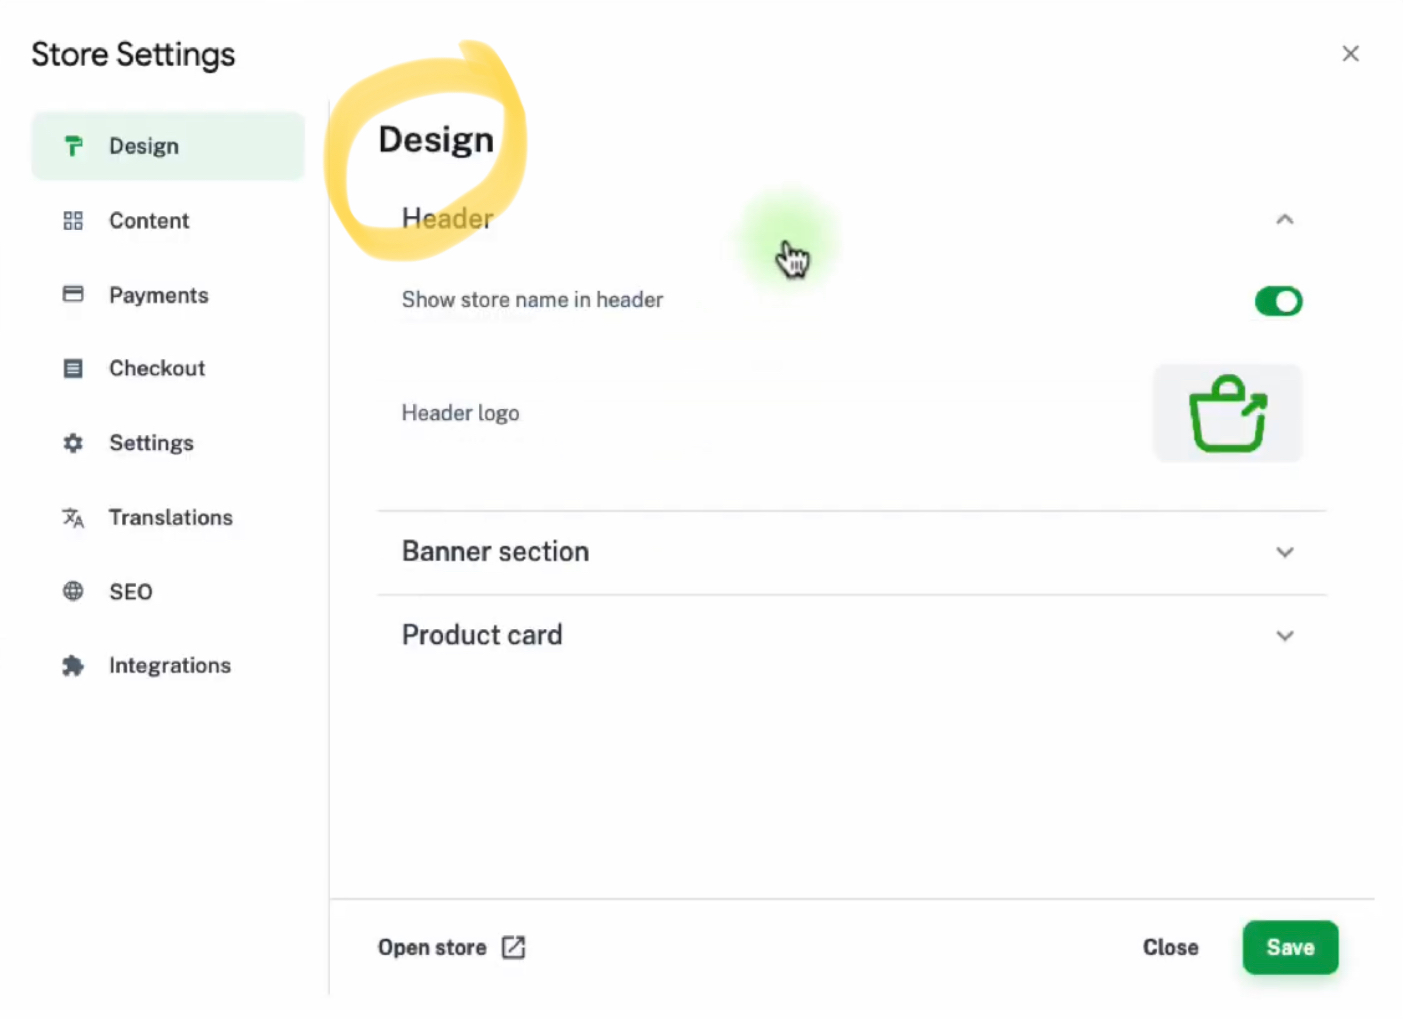
Header
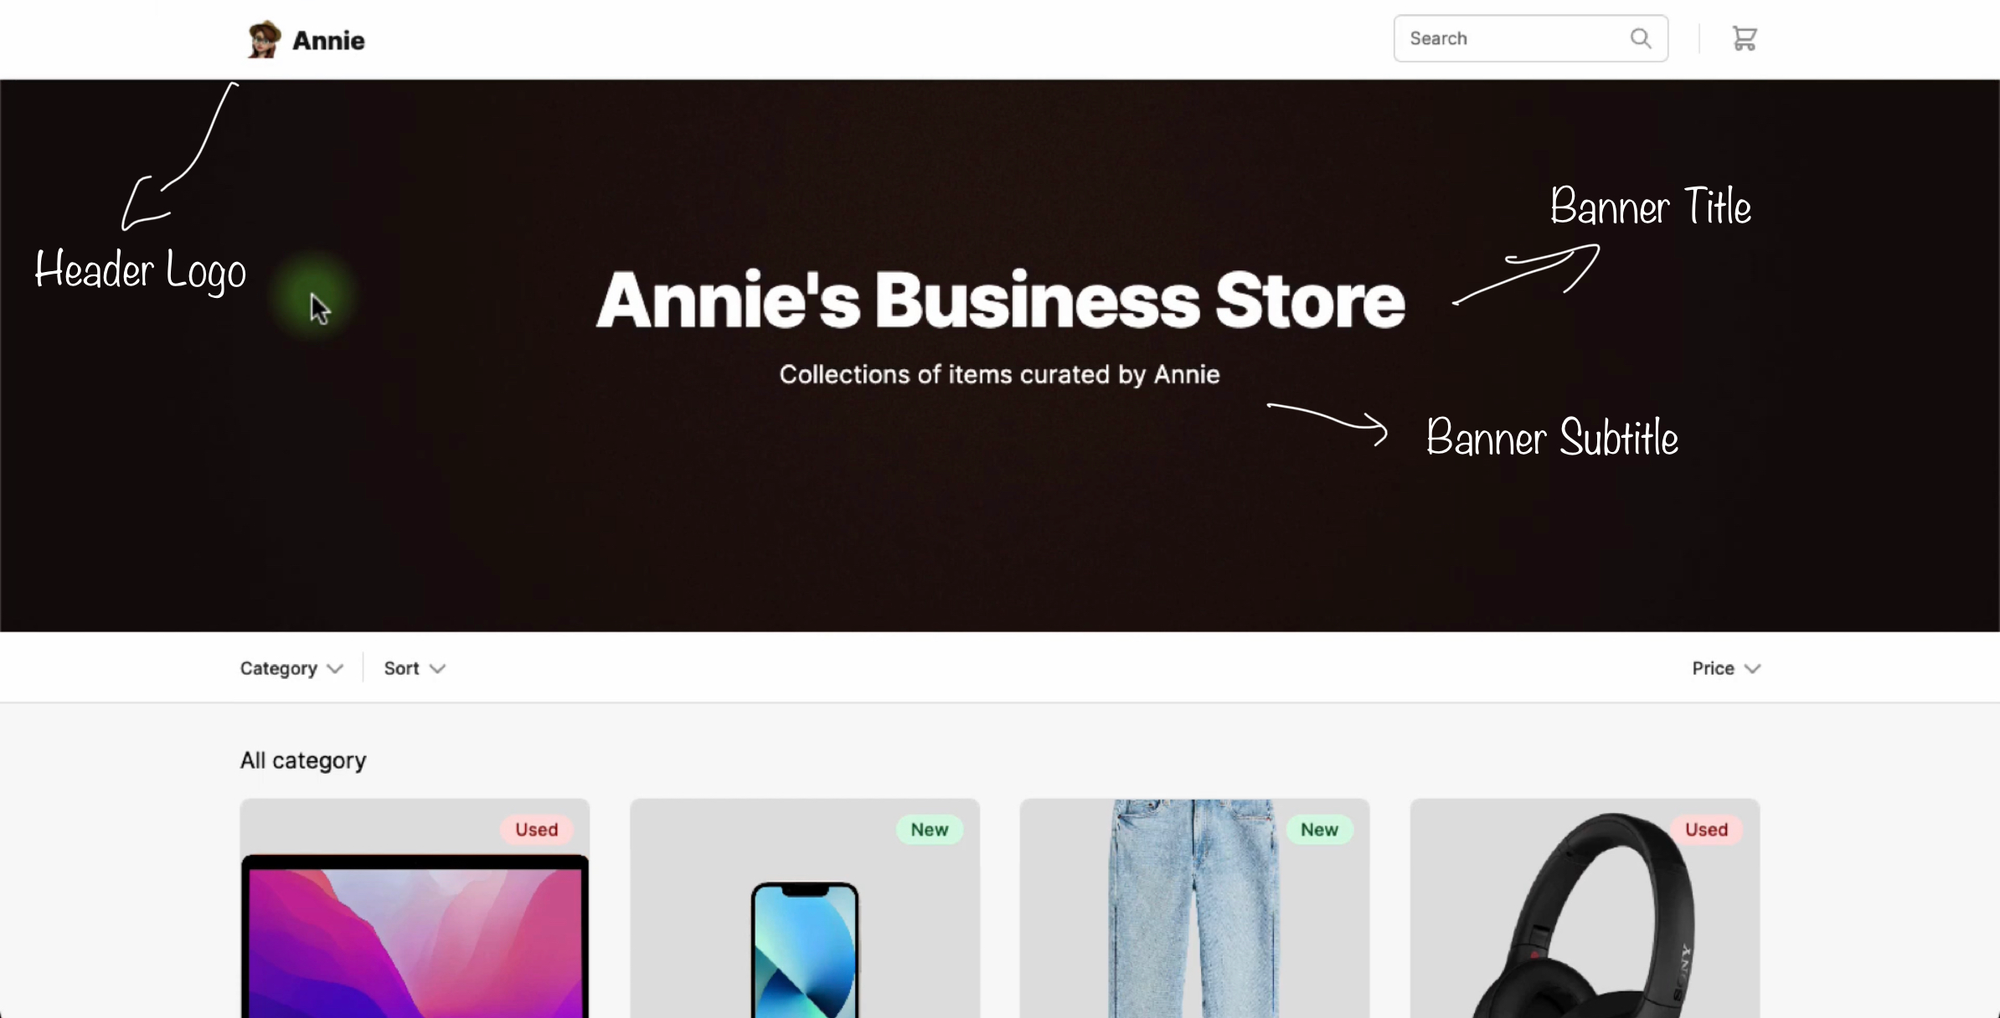
Here there is an option to show or hide the store name in the top header. Also Annie can upload her own store logo if she wants to.
Banner section
The banner appears just below the header. Here also Annie can decide to show or hide the banner.Annie has the option to add a banner title and subtitle and also add a banner image.
Product card
This where Annie can edit the call to action text on each of the products. Normally it is left as “Add to cart”.
Annie makes the necessary changes to her store. Next she looks at the content settings.
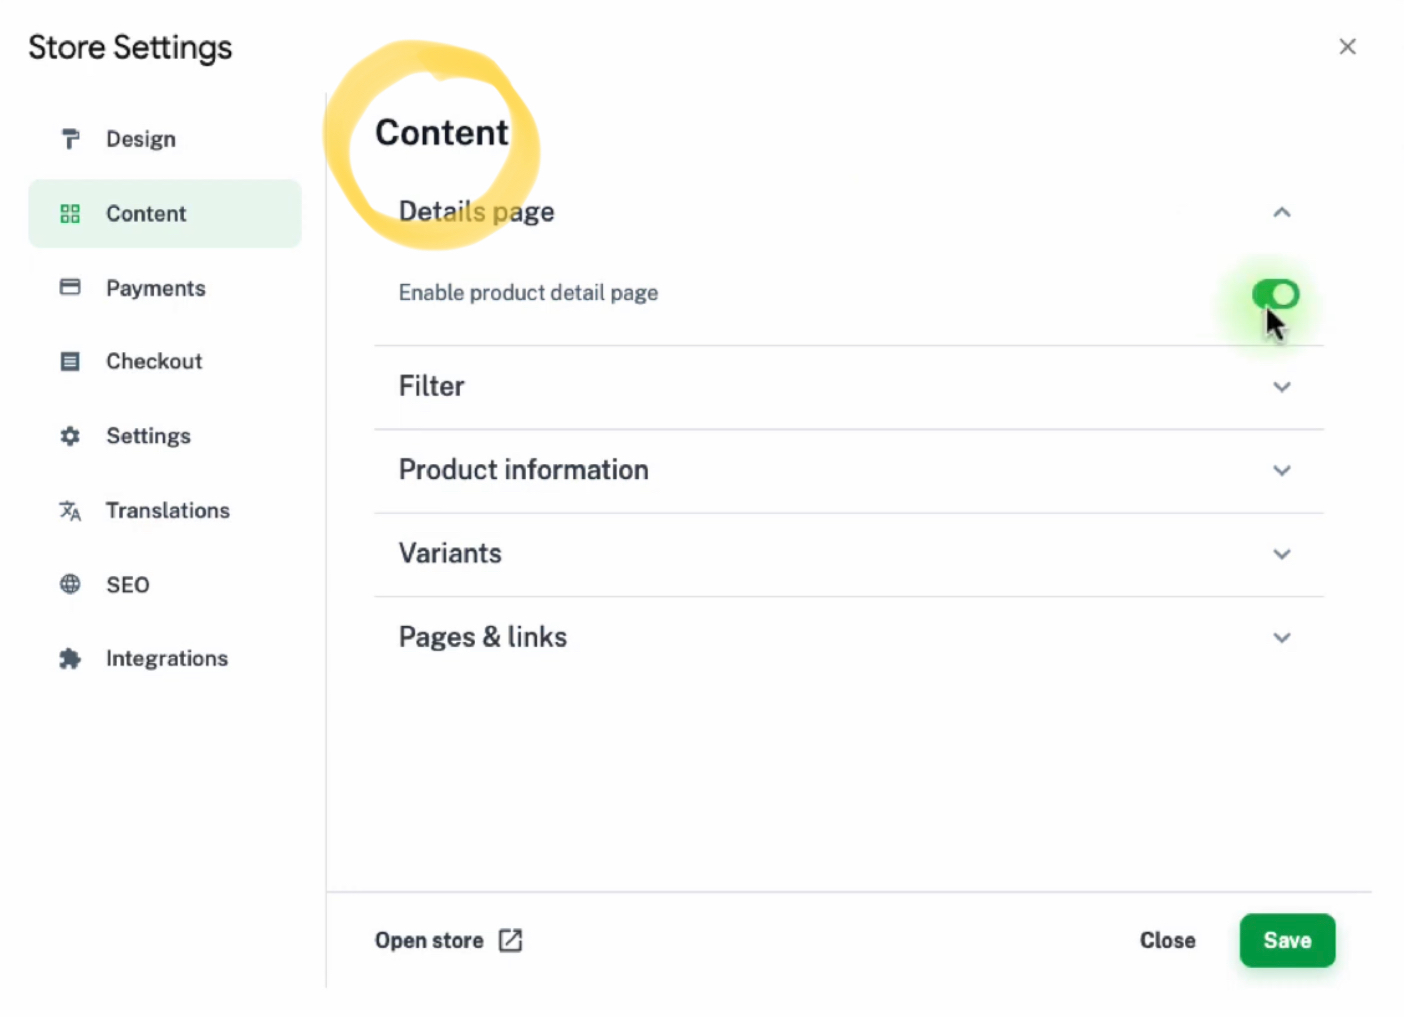
Details Page
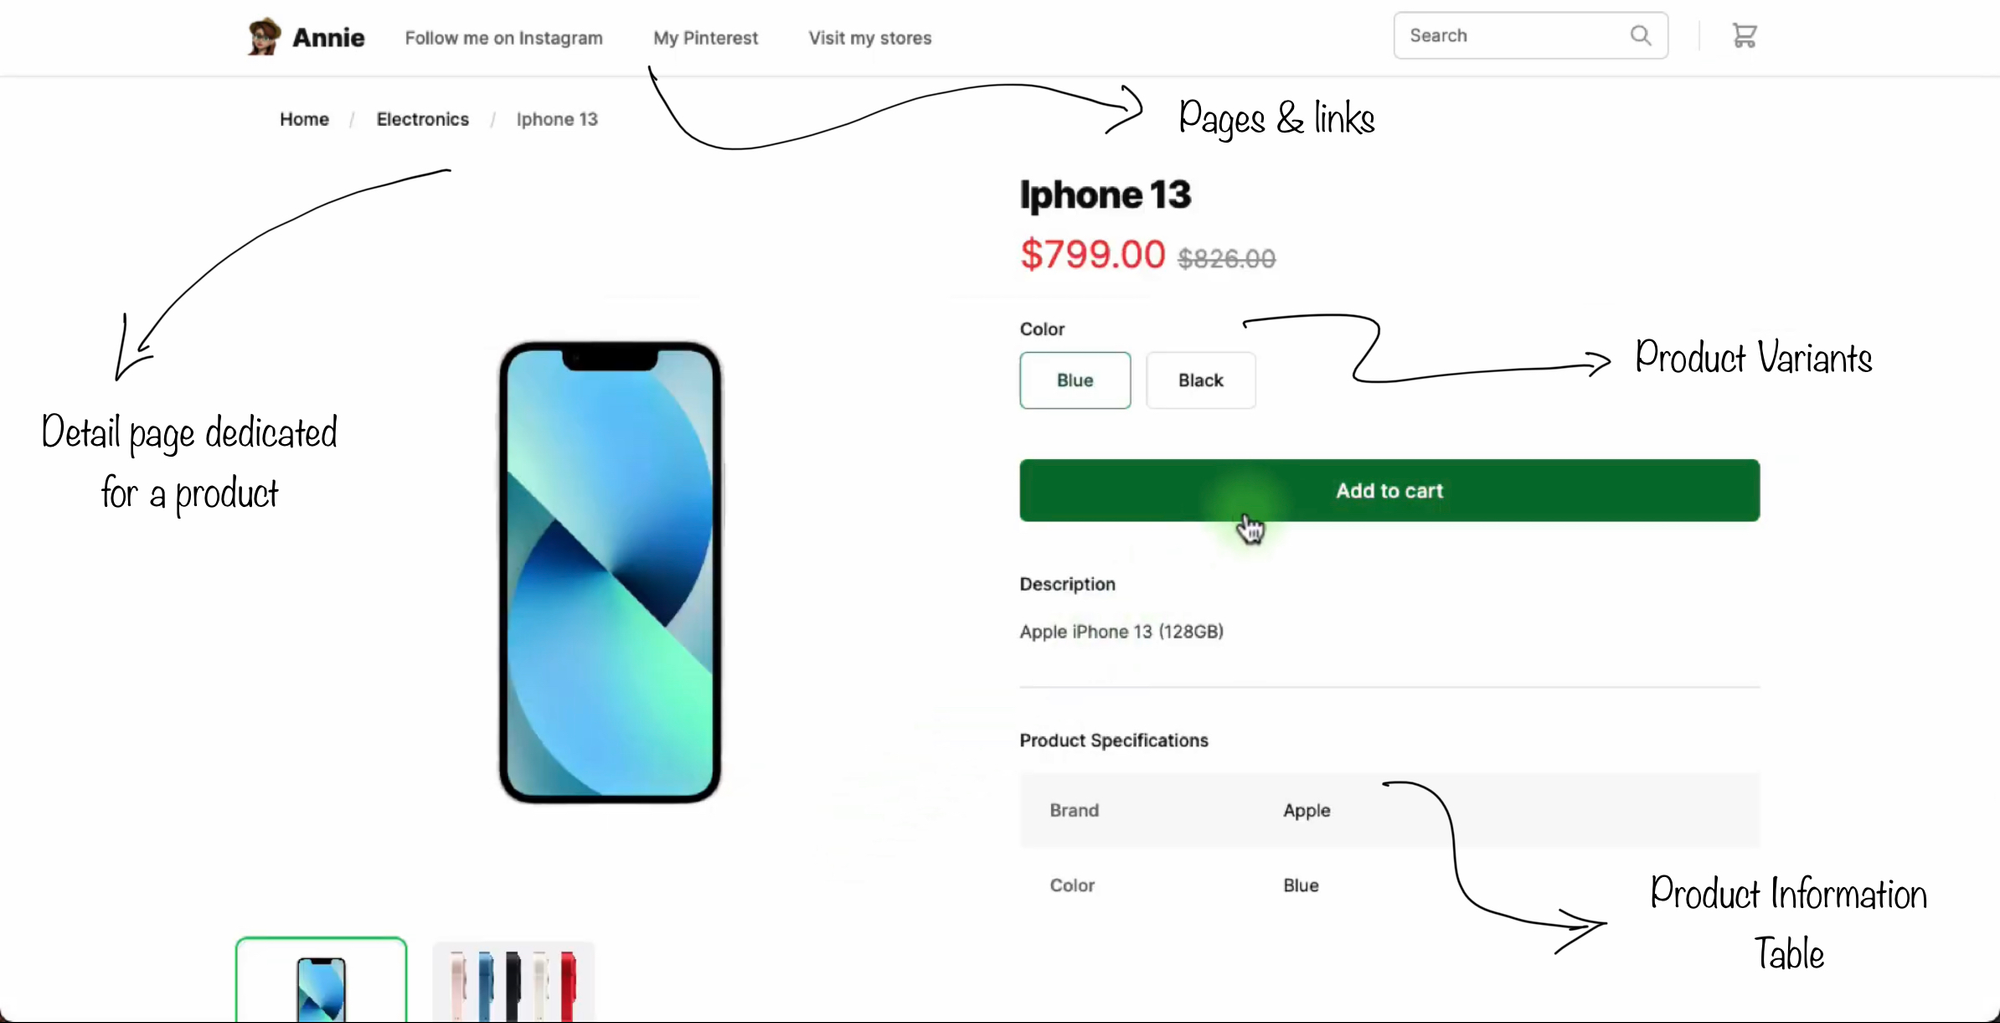
In Store.link, there is an option to enable a detail page for each product. When the inner page is turned on, it creates a dedicated page for each product.
Filter
This is where Annie can choose the columns for the purpose of filtering the products. Examples of filter columns are: Price, weight, size, color, etc.
Product Information
This is a small table of information shown inside the product detail page.
Variants
This feature allows Annie to show different variants of the same product under the same product card or detail page.
Pages & links
Annie can add links to other websites to her store.link website in the header. These links can be added to open in a new window, open in the same window or can be embedded inside the store. Annie proceeds to make changes to have something like:
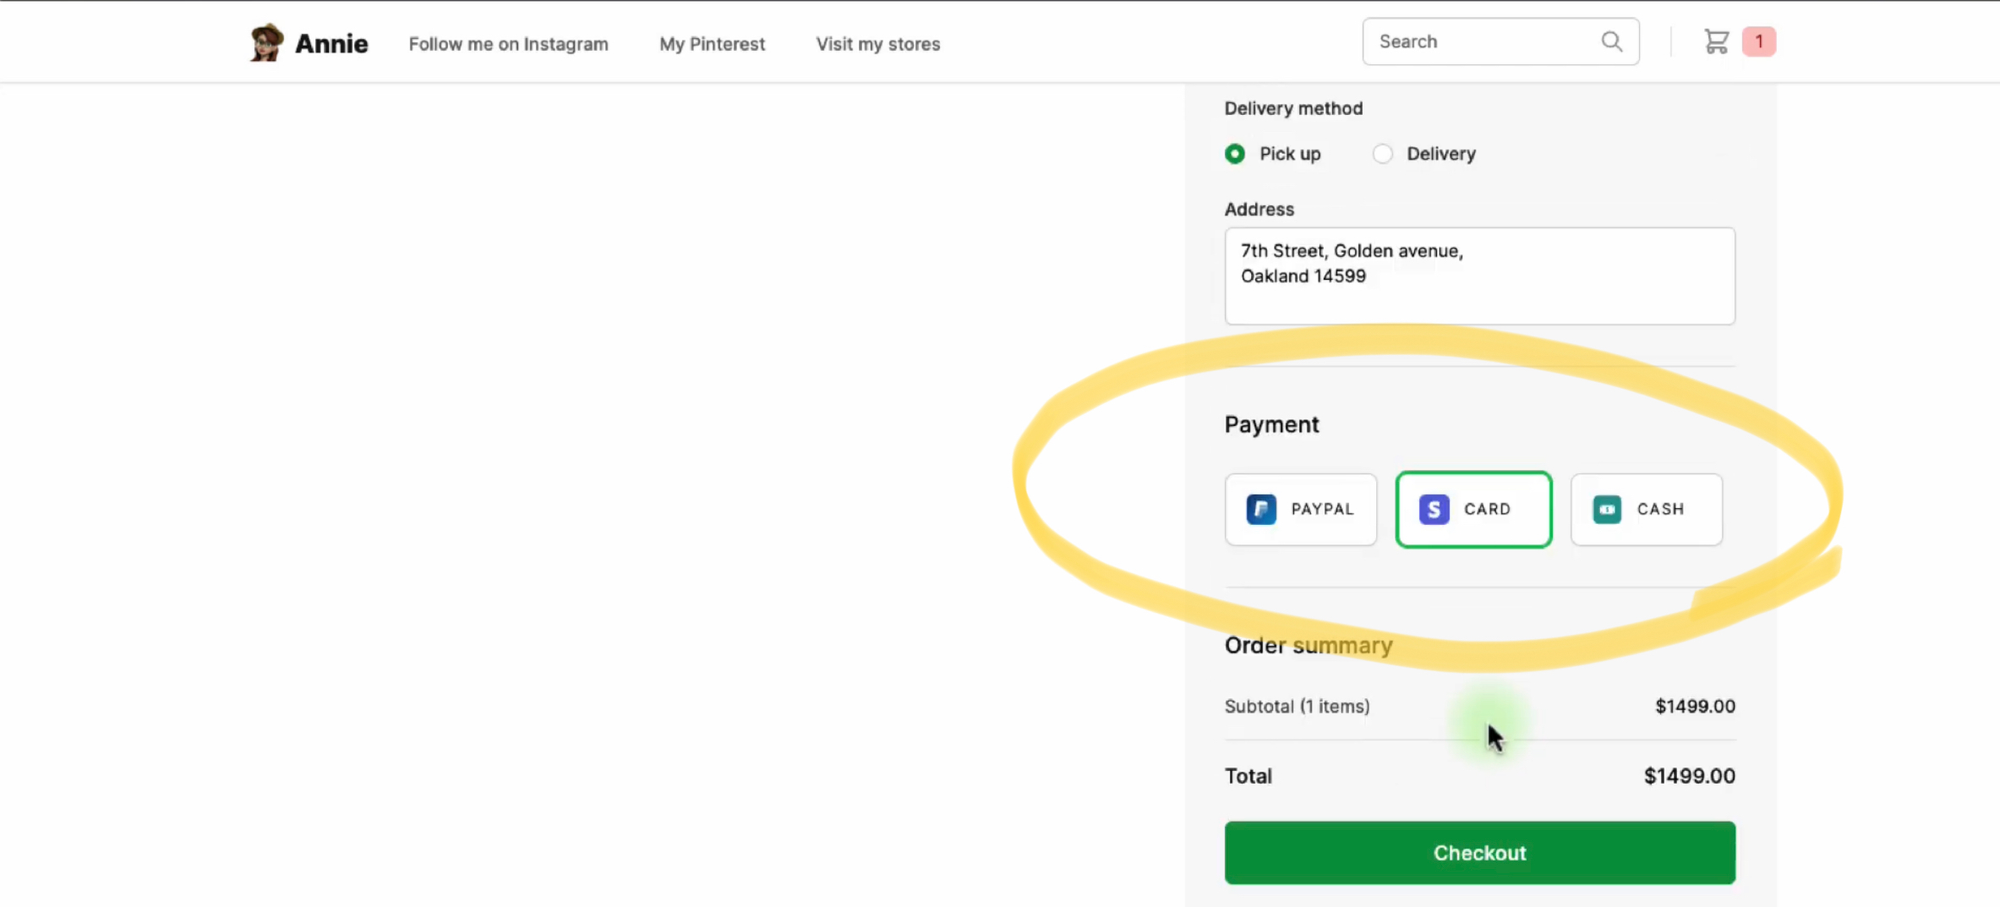
Payments in Store.Link

By default the payment method is Cash. This is enabled automatically.
Additionally, Annie can add accept payments through Paypal or accept card payments through Stripe (Store.Link currently supports RazorPay as well, which means Indian users can accept payments via UPI)Adding the three payment options will be shown in the cart page as:
Checkout Settings
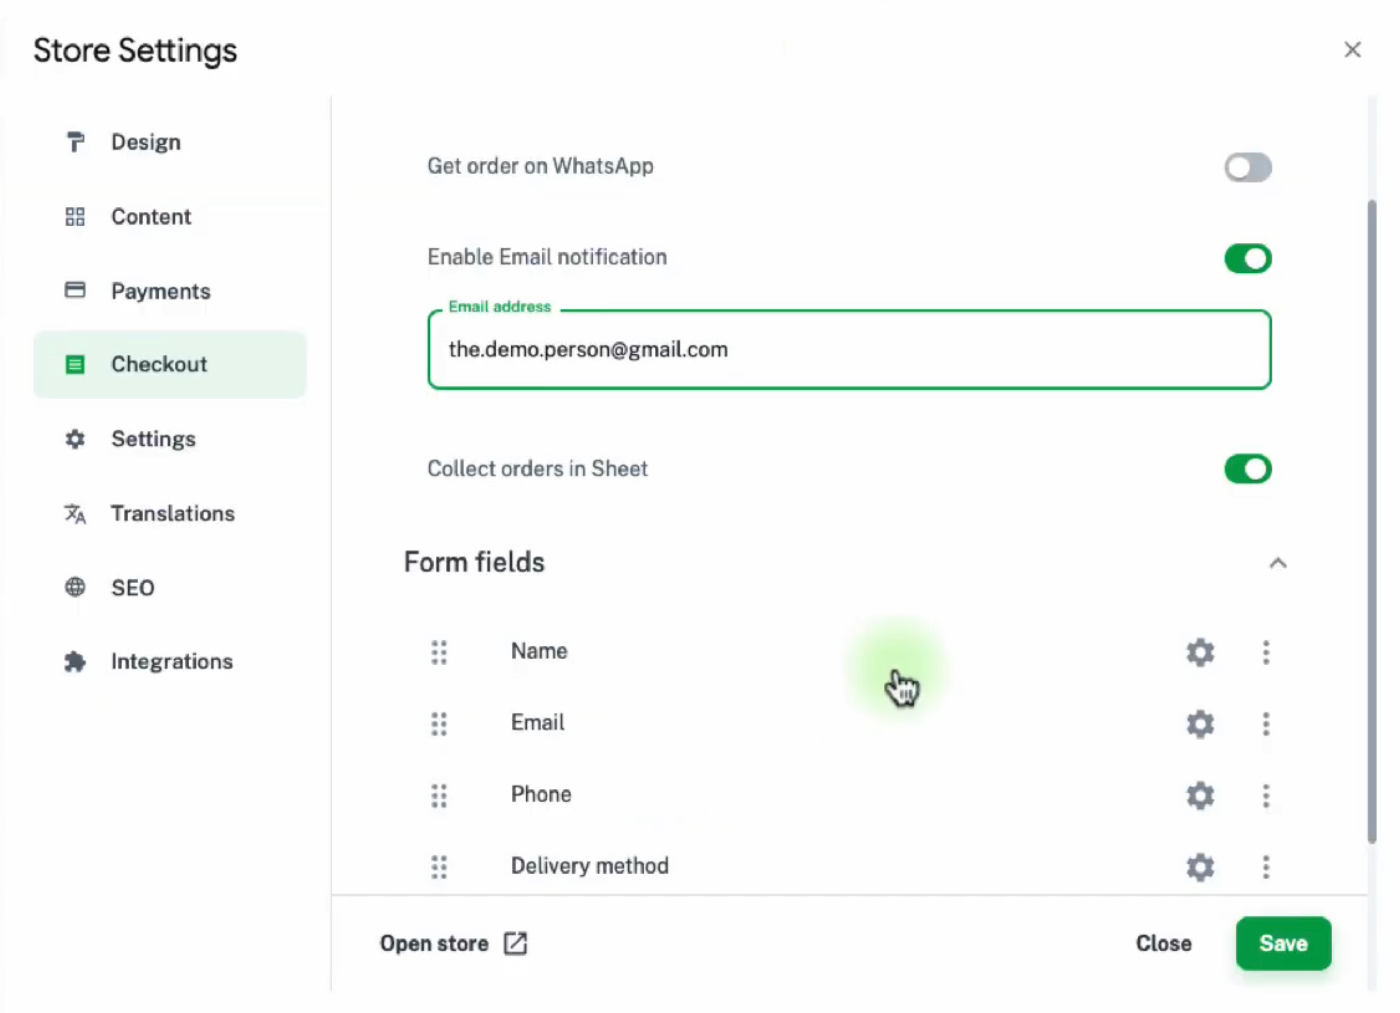
Annie has three options to get updates about her orders.
- She can choose to get orders in her WhatsApp number. She only has to provide her WhatsApp number
- She can get order update in her email address.
- She can get order updates inside the Order sheet There is also the option to add or delete checkout fields in the checkout page. This can be used to collect more details about the customer.
Translation Settings
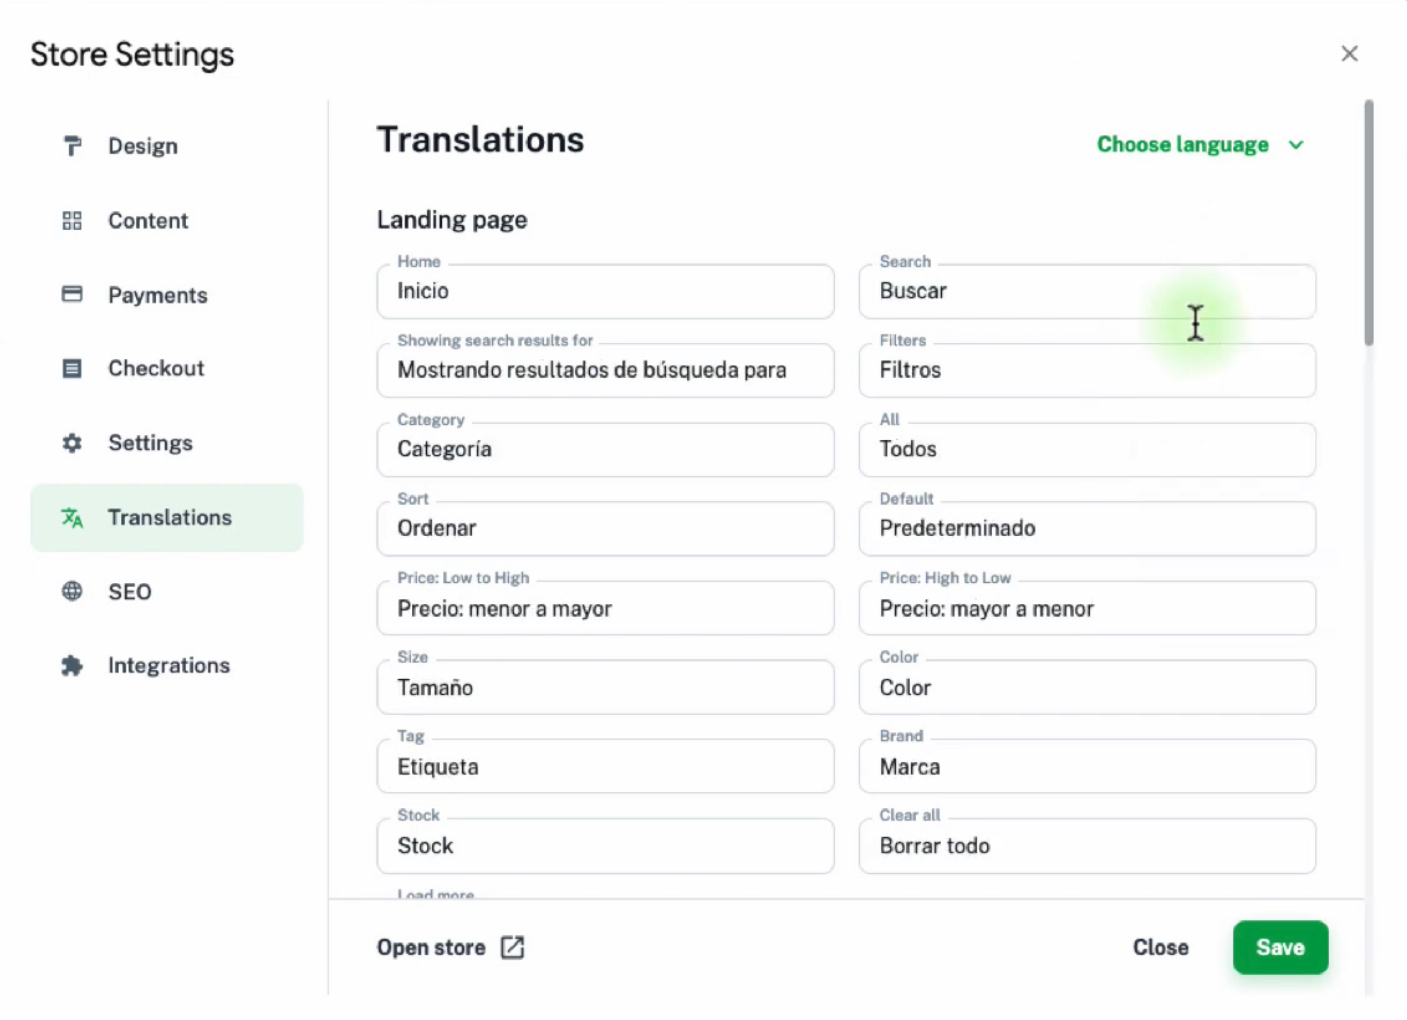
Annie can translate her store to any language she likes. To translate the store to a new language, she needs to make sure three steps.
- Change the language under the translation settings, as shown in the above screenshot
- Change the sheet content, i.e. the product details to the desired language
- Change the language of checkout form fields, explicitly.
SEO Settings
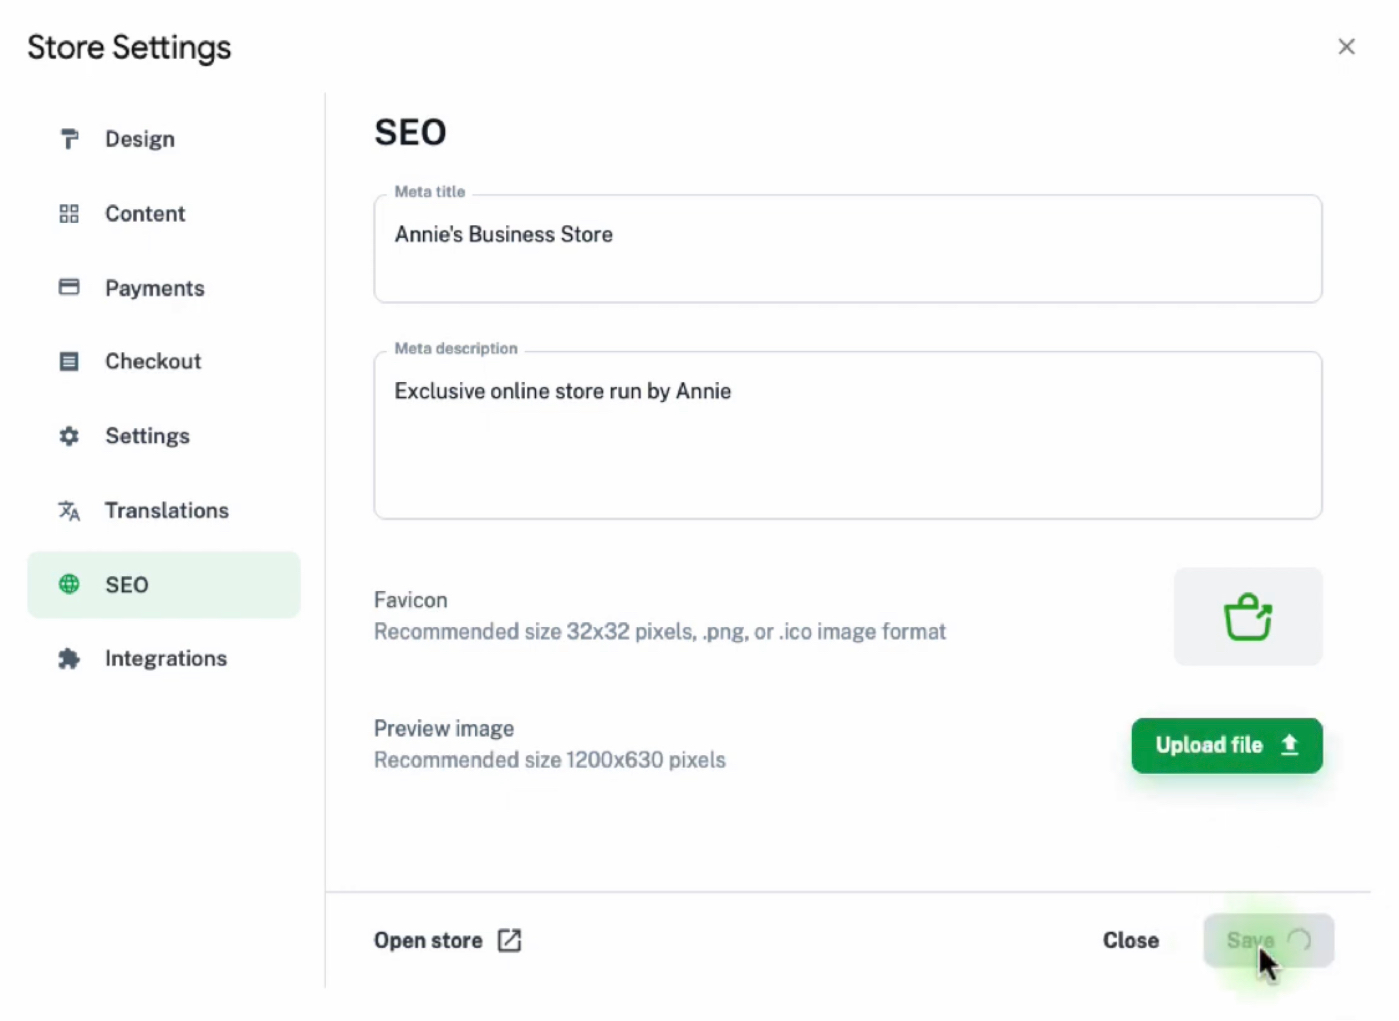
Annie can edit her SEO meta title, meta description and meta image under SEO settings.
General Settings

General settings is where Annie can edit her storename and also the Store.Link URL. The store currency once set cannot be changed easily. Annie has to get in touch with the Store.Link team to change the currency.
Inject custom code
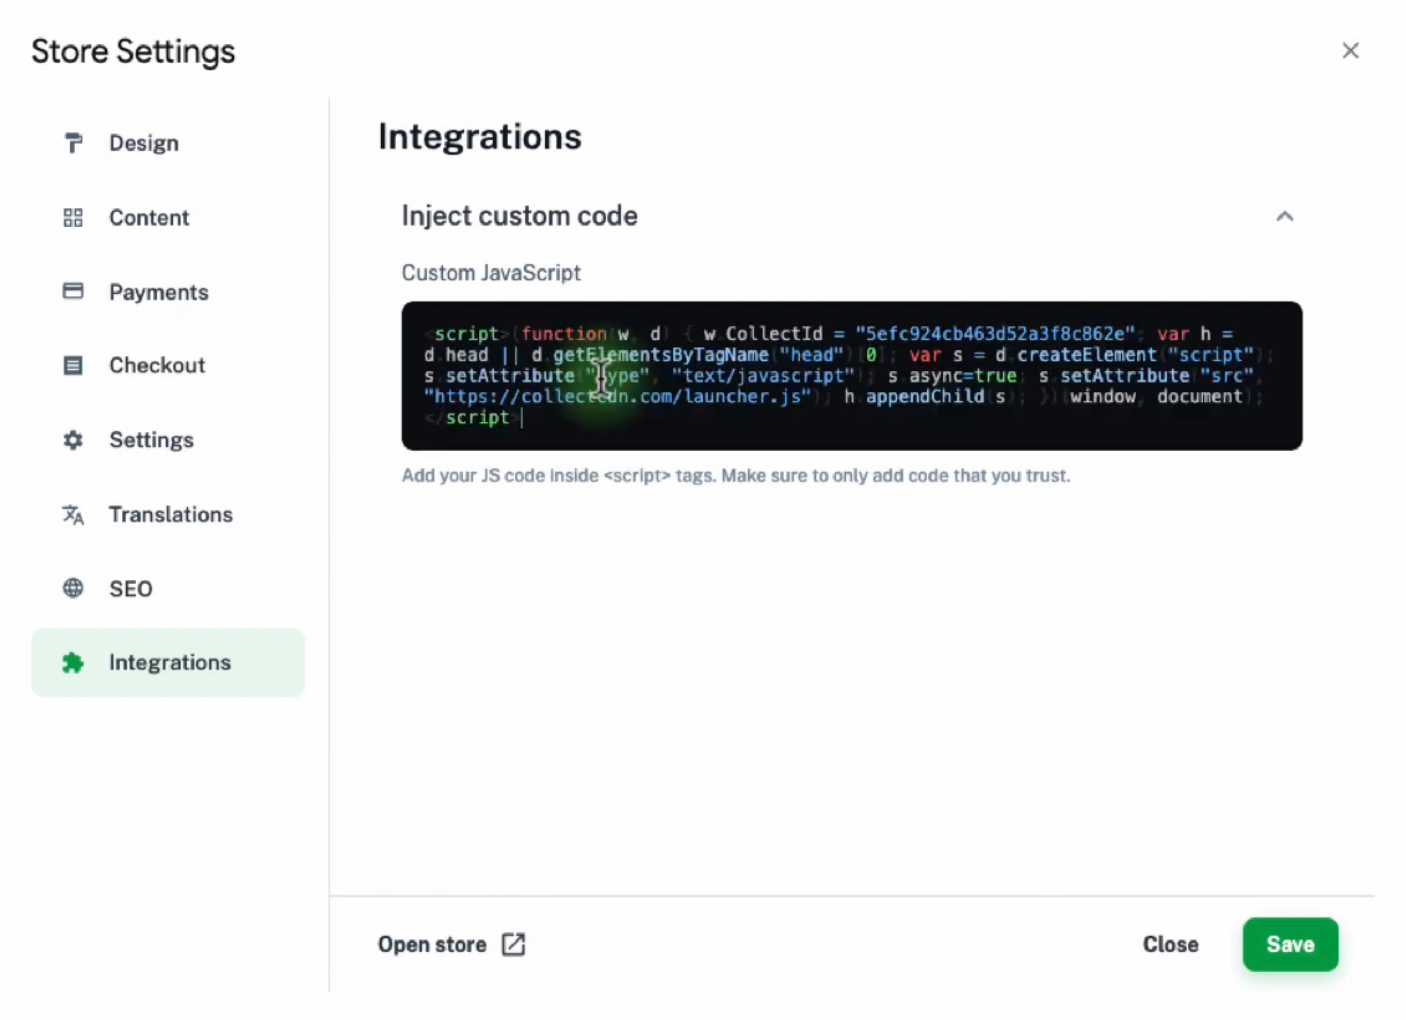
Annie can add custom code using this option. This is useful to add a chatbot like Collect.chat or live chat tools. She can also add Google analytics and Facebook Pixel tracking code using the same option.
Summary
Thanks to Bobbie’s suggestion, Annie was able to setup her online store in a matter of seconds. Anyone can create an online store using Google sheets and Store.Link