Build a Client Portal using Softr.io for your WhatsApp Customers
Learn how to start a client portal on Softr.io that is linked to Airtable, and how you can use Whatsform to directly add clients to your Airtable and subsequently your client portal on Softr!
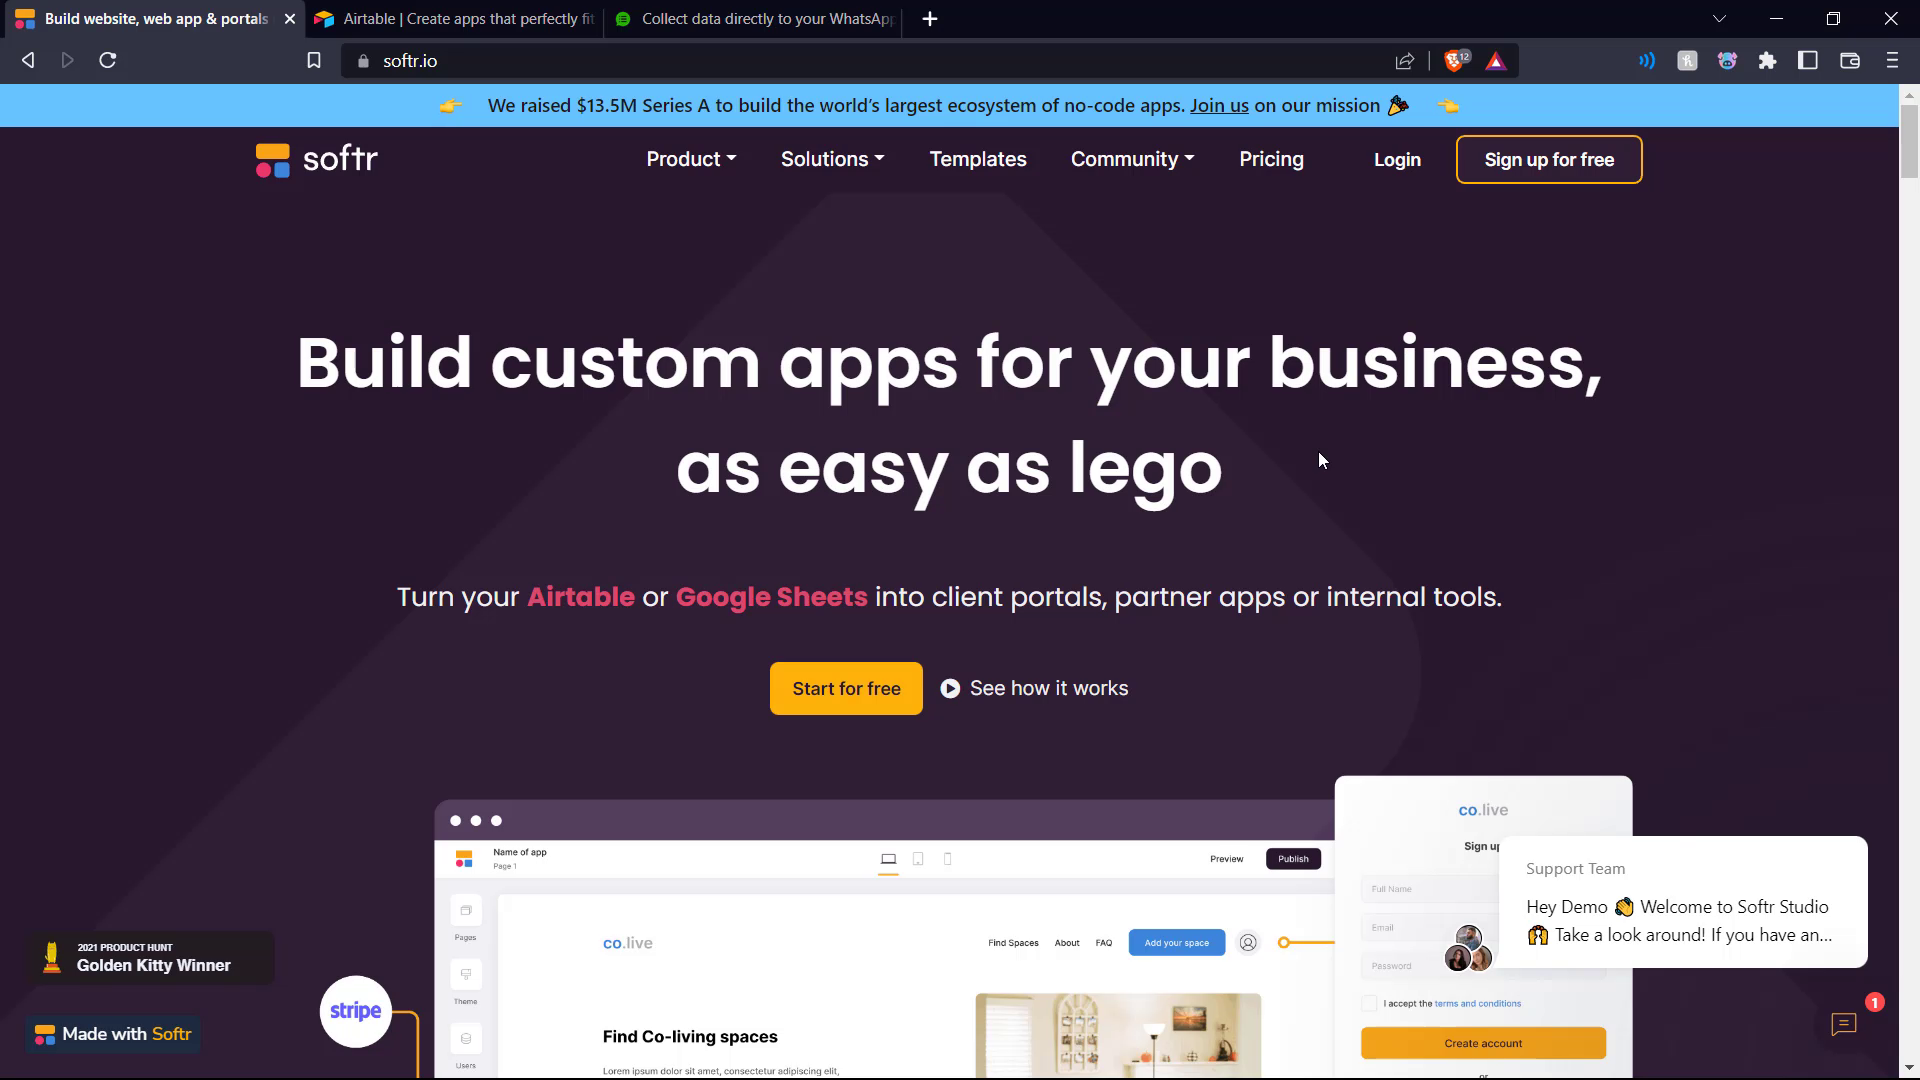
Softr.io lets you create client portals and internal tools for your business in minutes, without code.
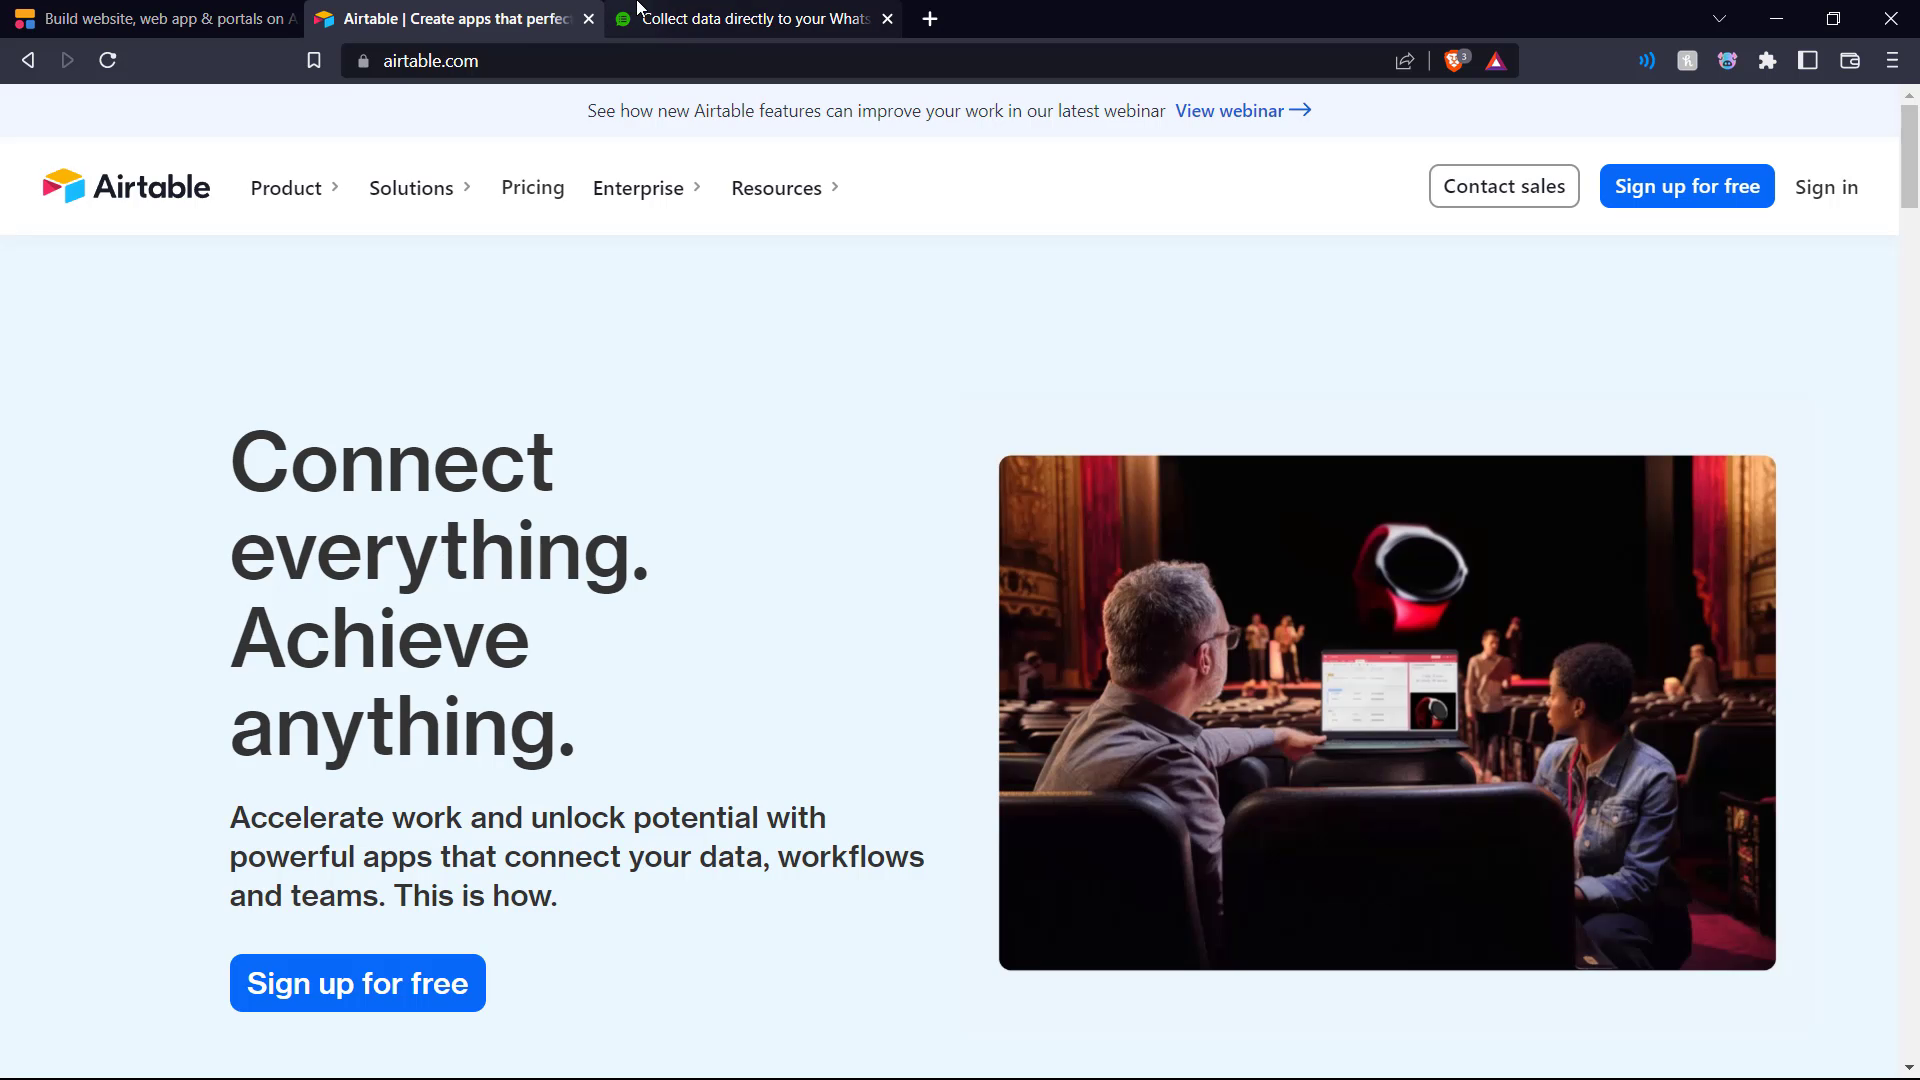
Airtable allows you to easily create a database that holds the information that matters for your work, then use it to power the visualizations, processes, and integrations that make up a custom application that's truly unique to you.
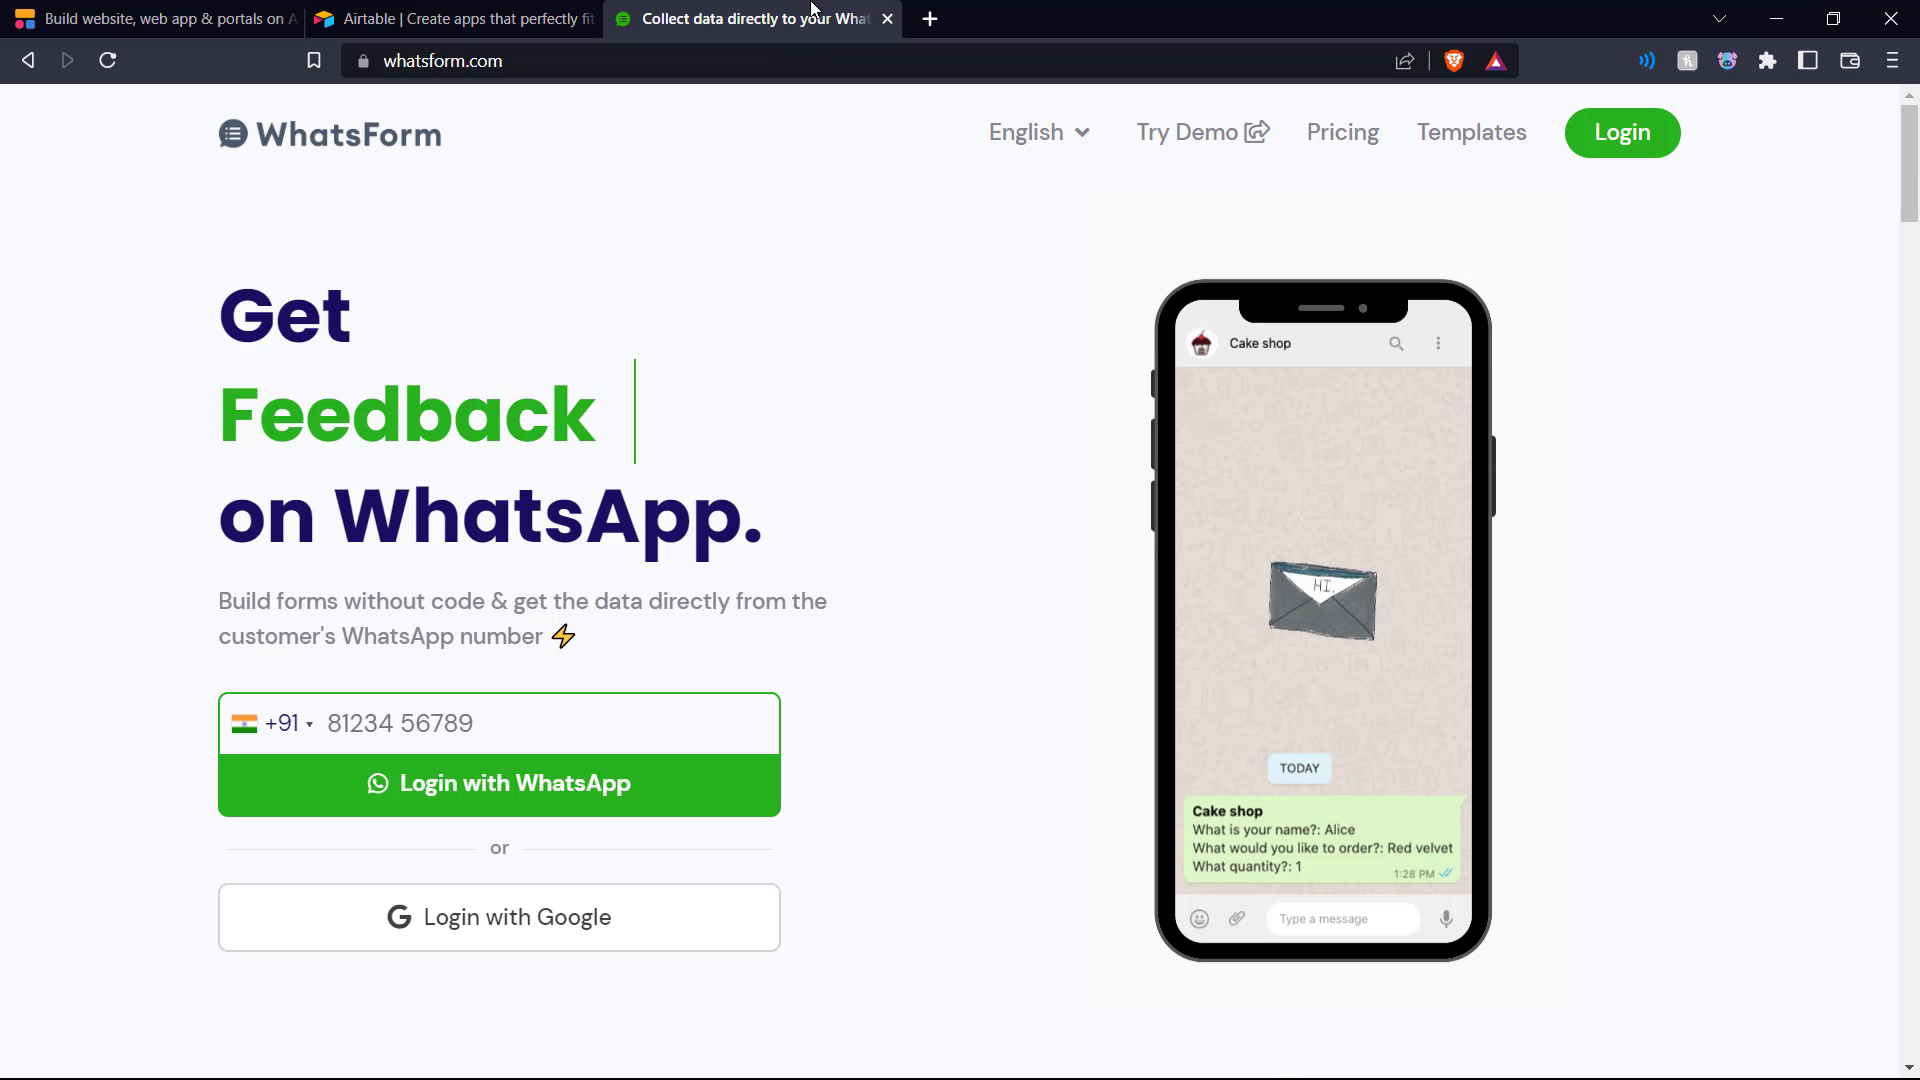
Whatsform is a tool that allows you to build forms that can be shared through WhatsApp for various use cases.
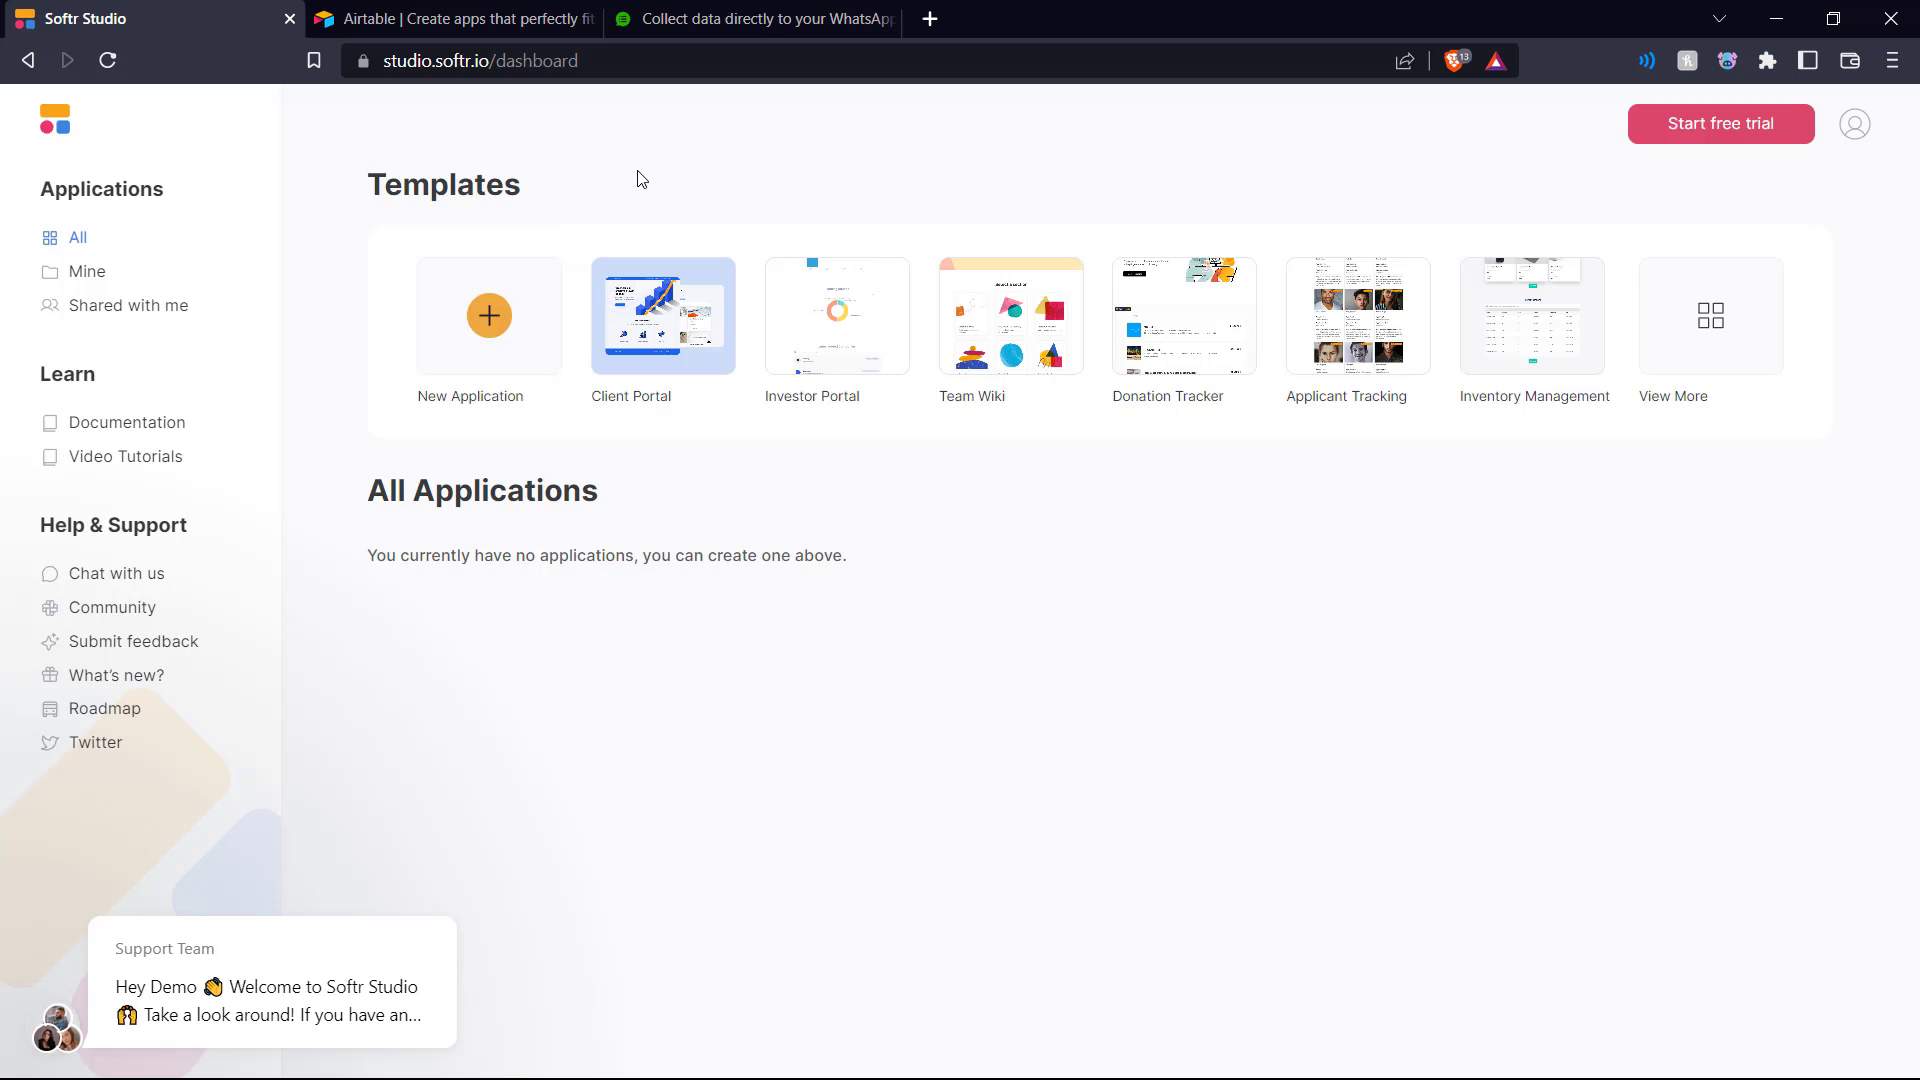
We start off by signing in to Softr and here we can see the various templates at our disposal. But our goal is to create a client portal, so we select that option.
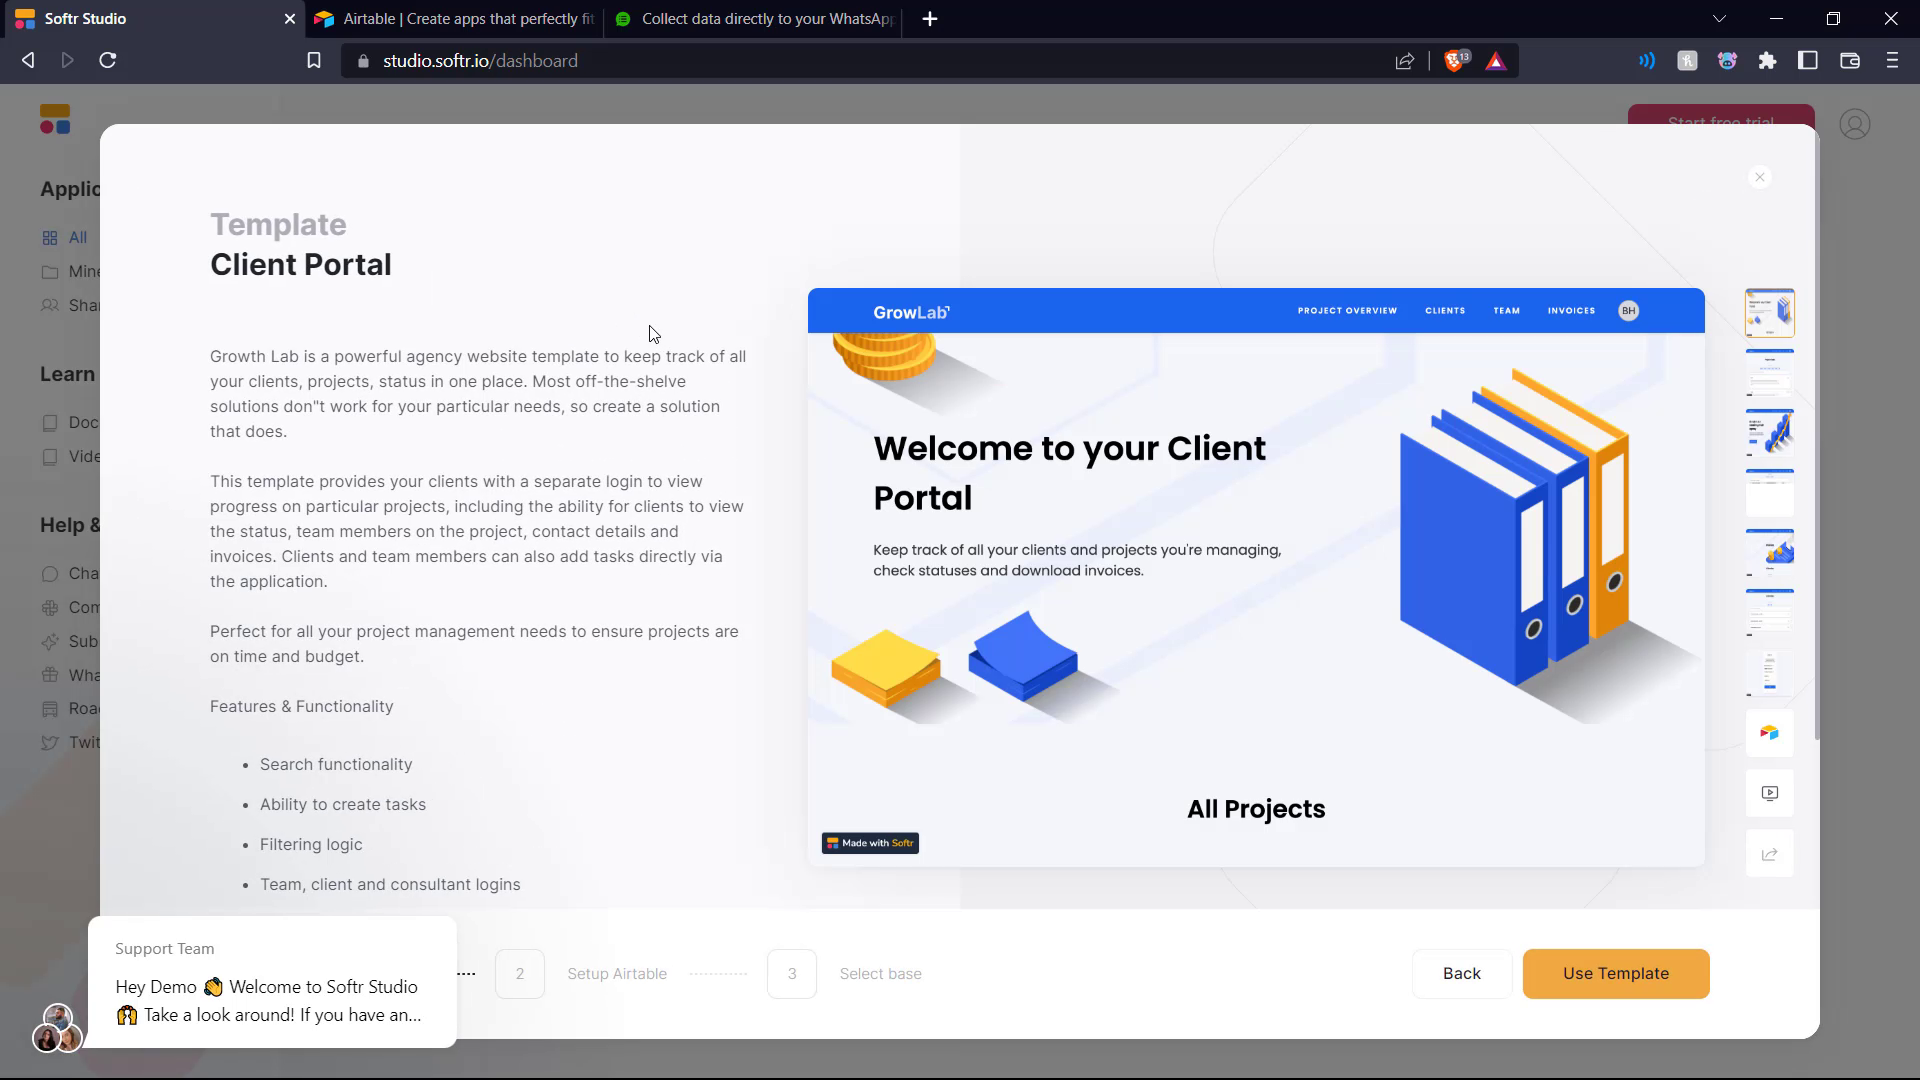
Here we can see the template details. We select Use Template.
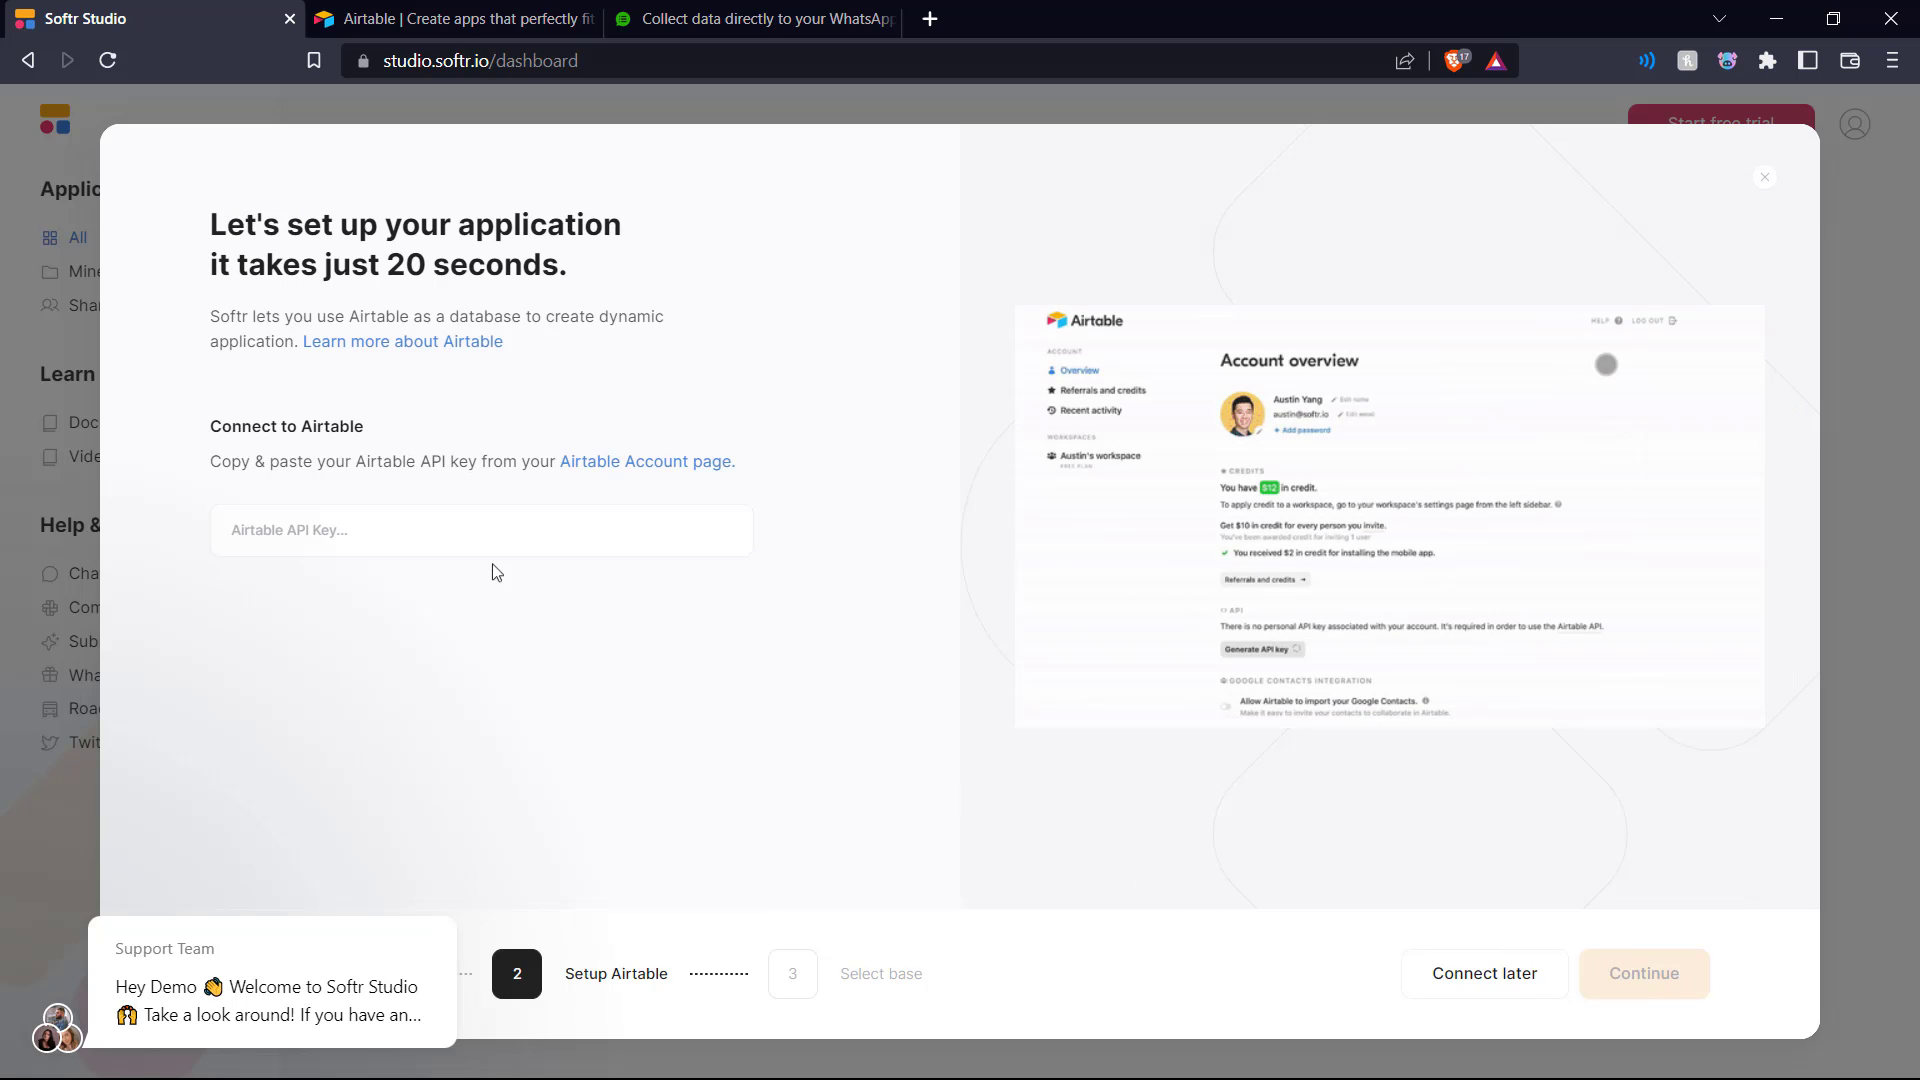
Here we can see we need to connect our Softr template to our Airtable. So we sign in to our Airtable account.
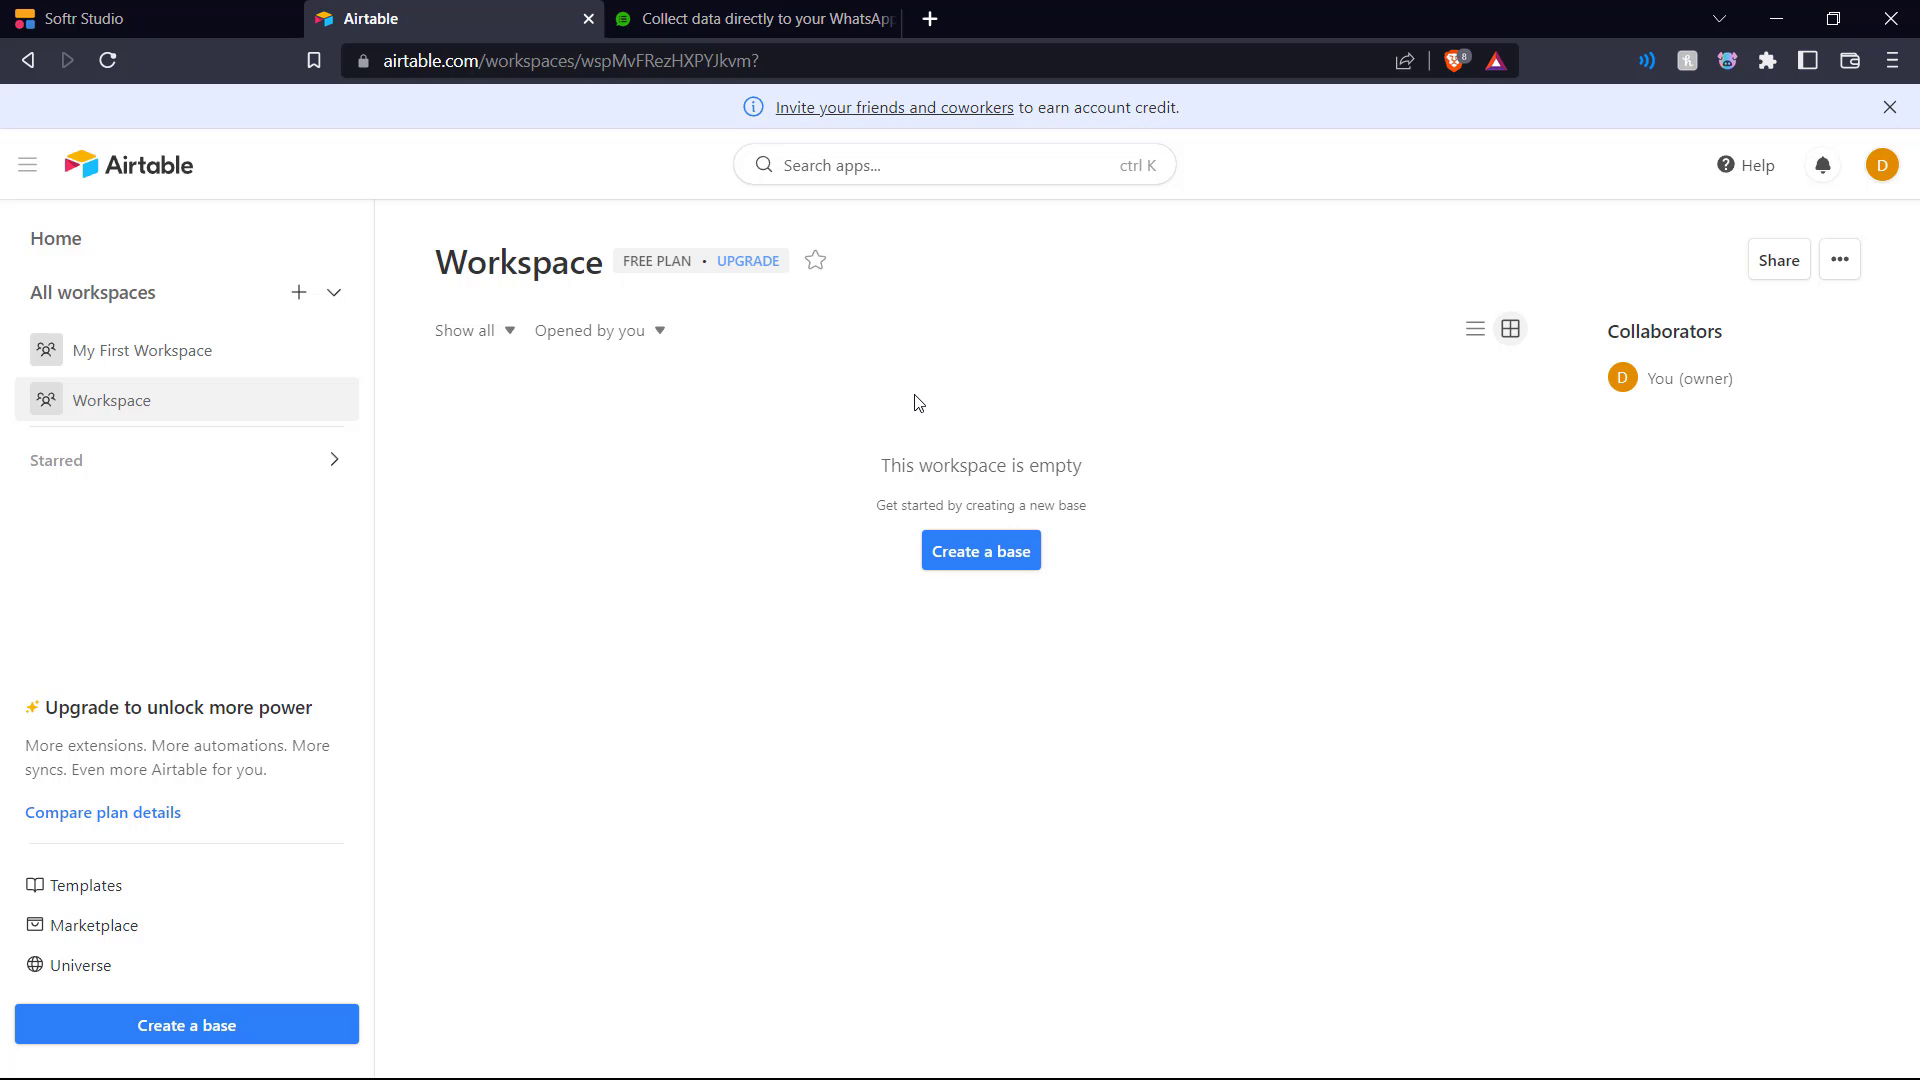
Once you sign in to Airtable, we have our workspace where database will be stored.
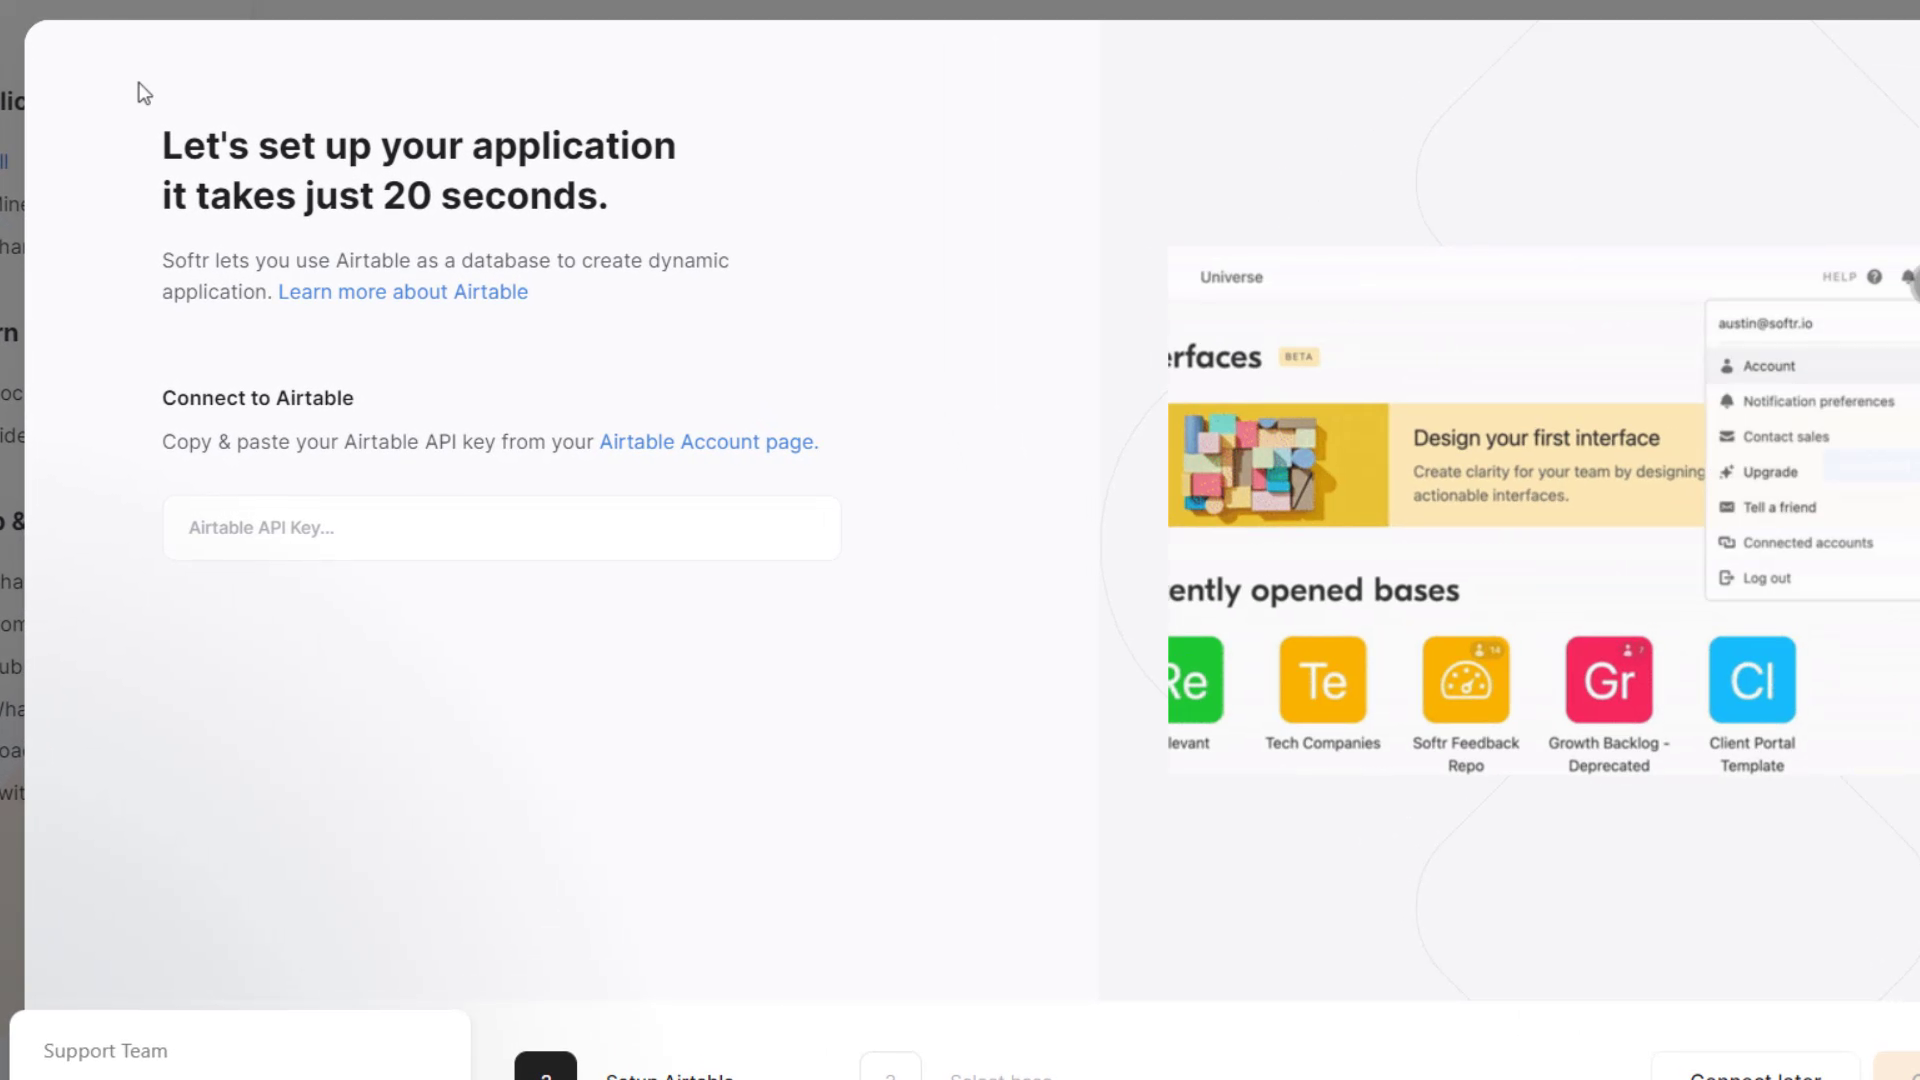
Back in Softr, in order to connect our Airtable, we need the Airtable API key.
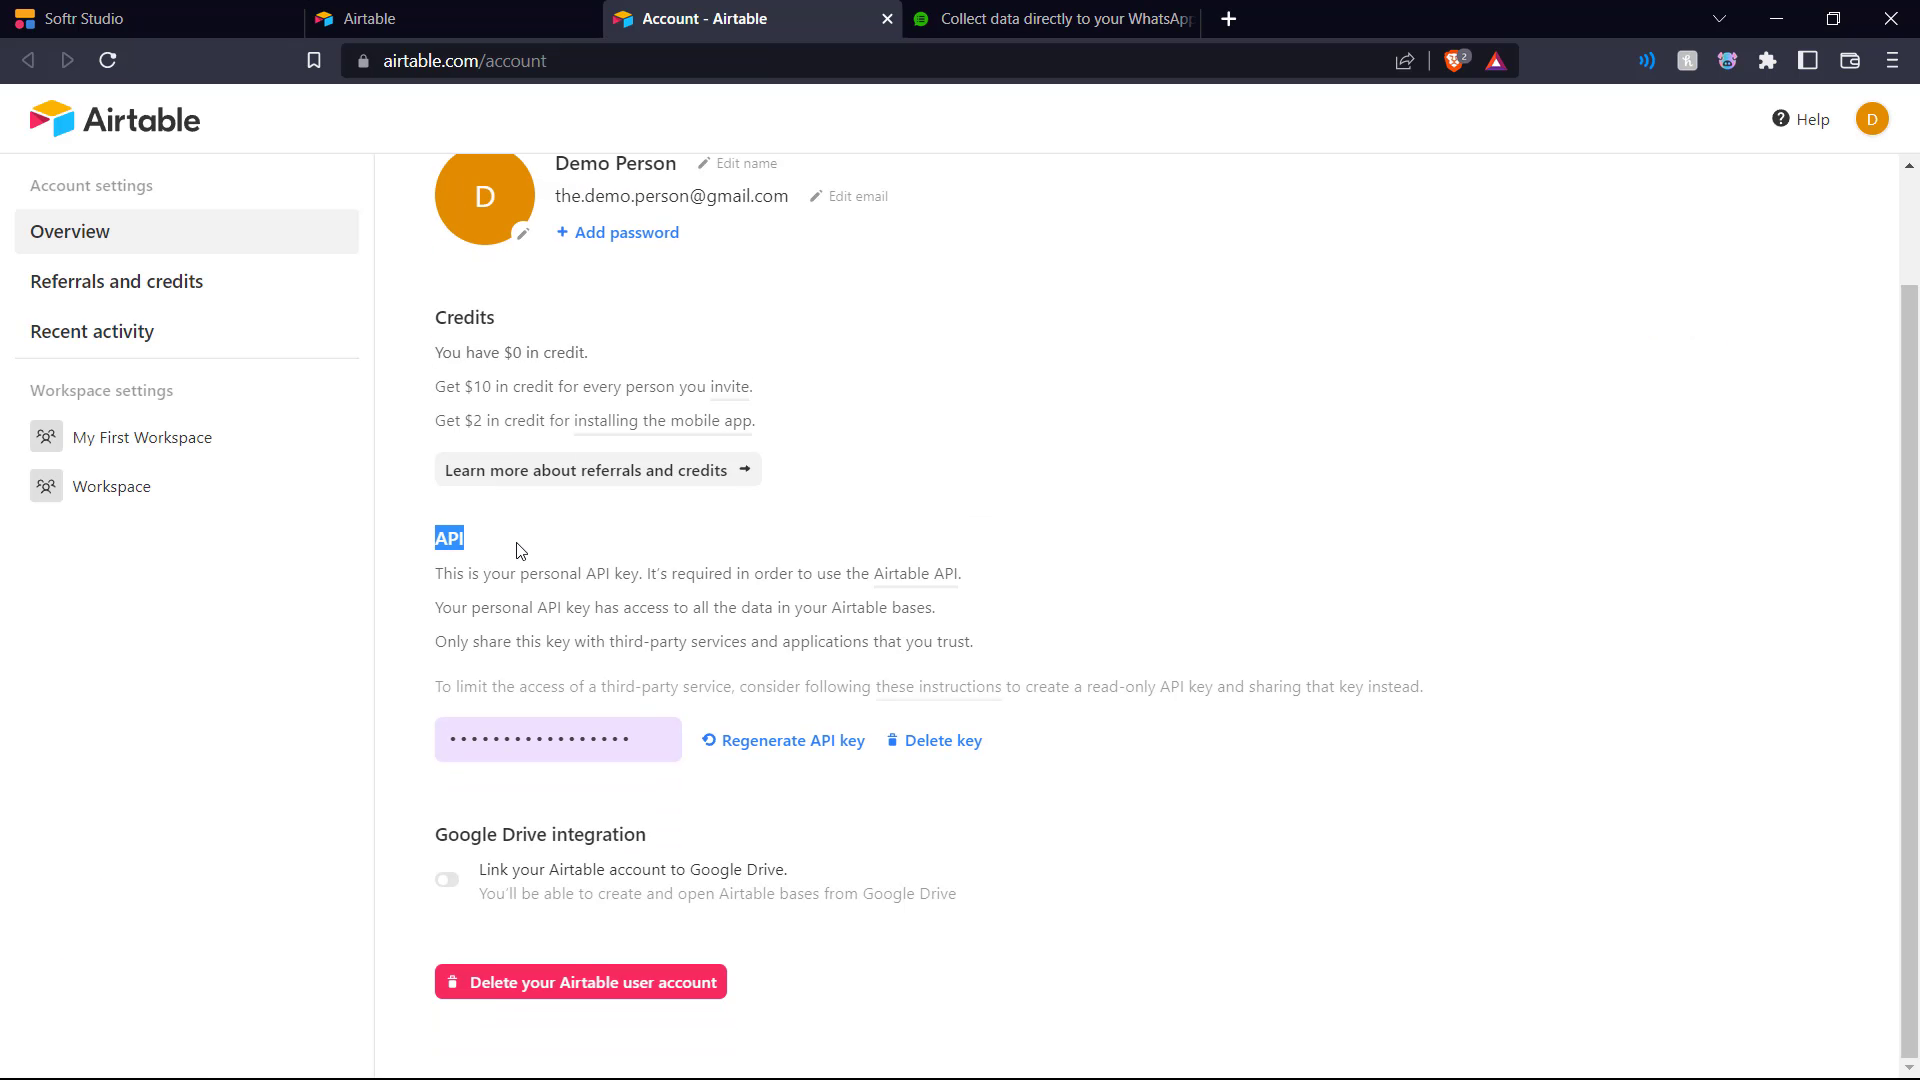
So we go into settings on Airtable and copy the API key given there and paste it into Softr.
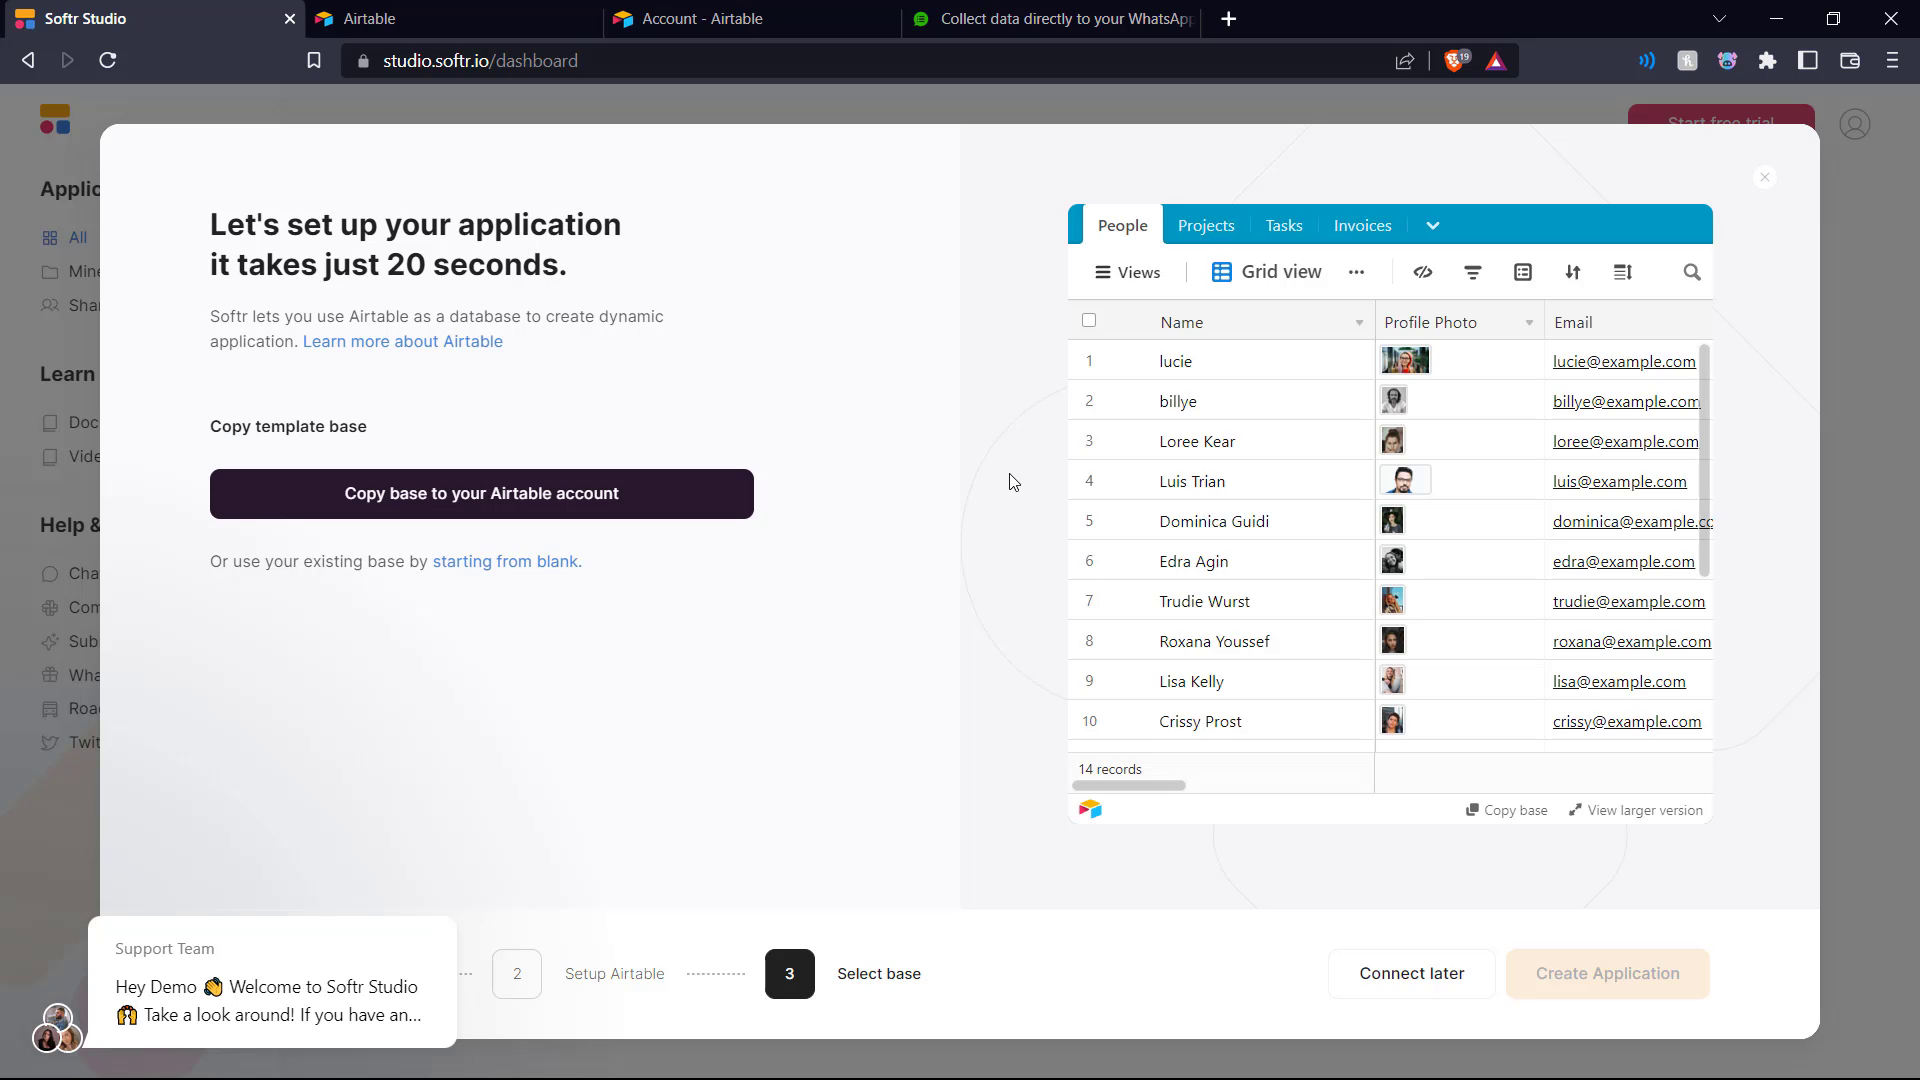
Back in Softr, we need to copy the client portal template database to our Airtable account.
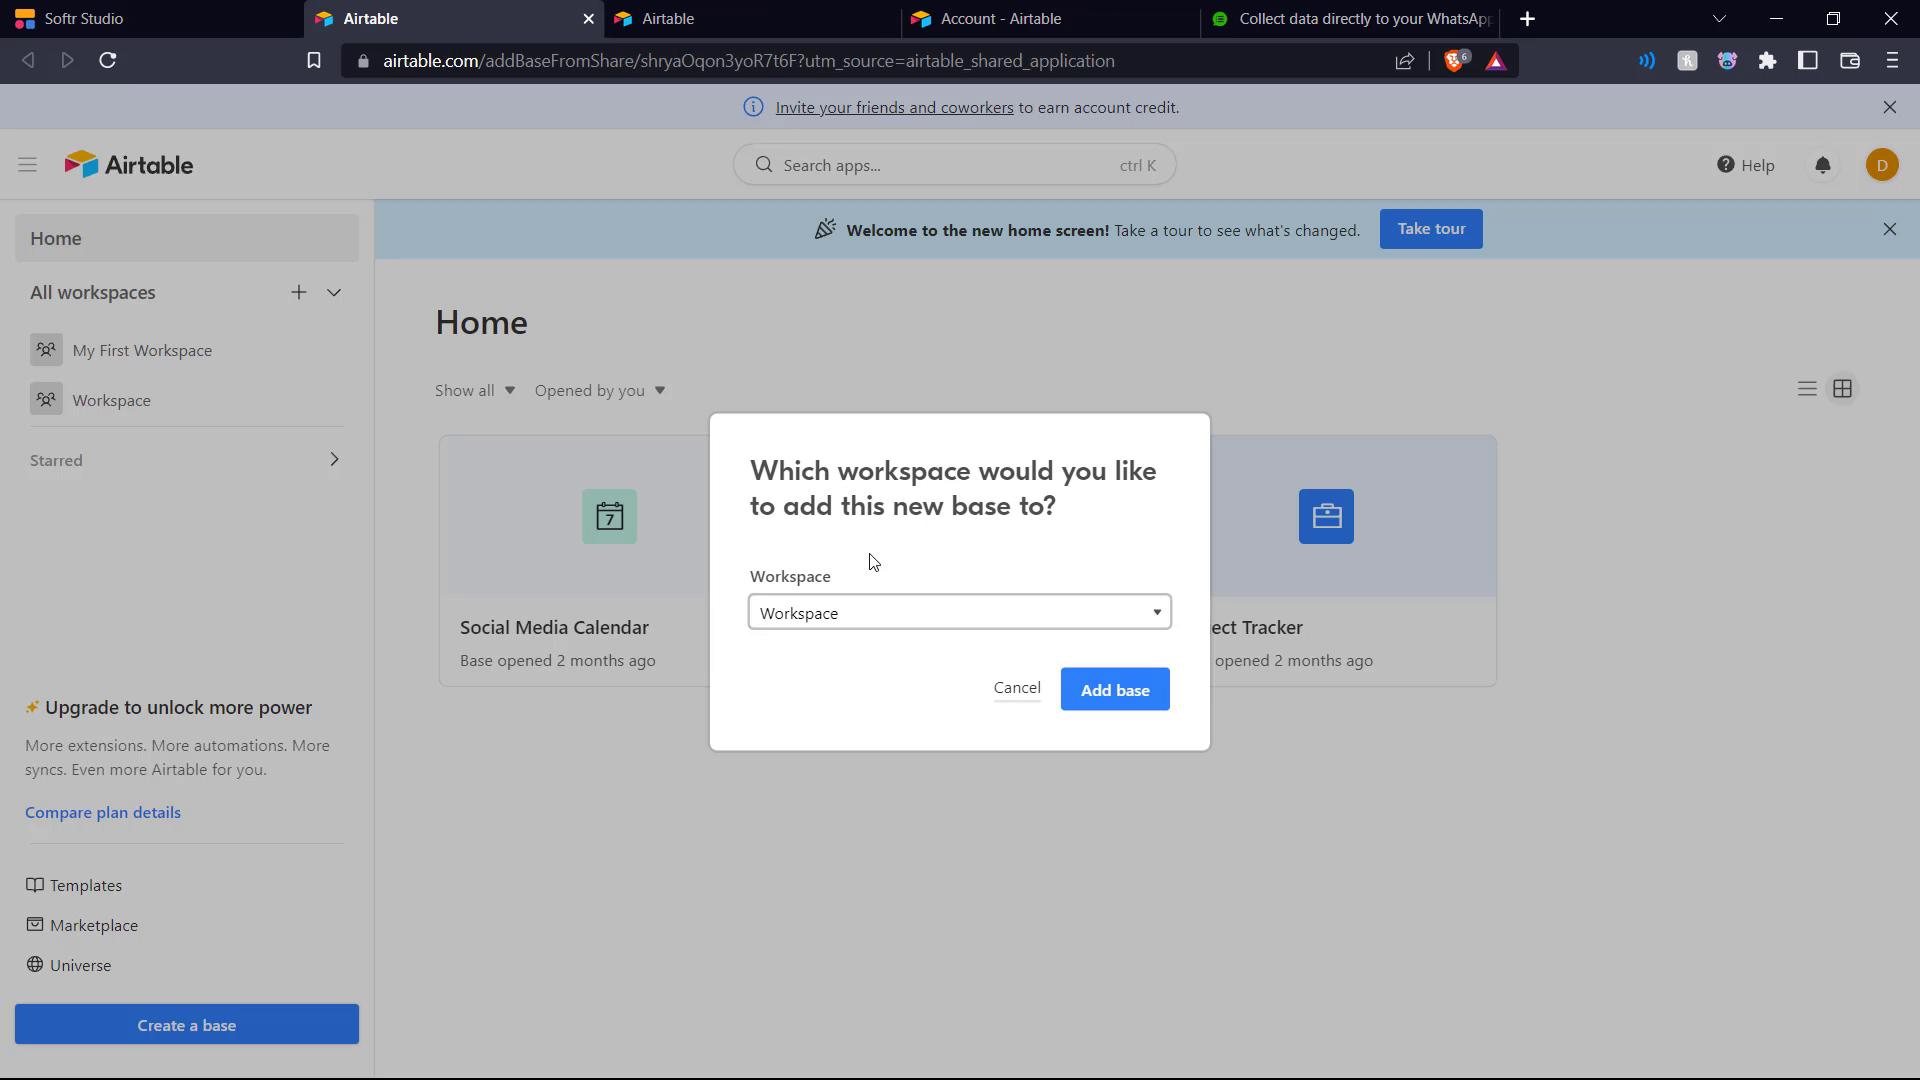
In Airtable, we choose the workspace to which the template database is copied to.
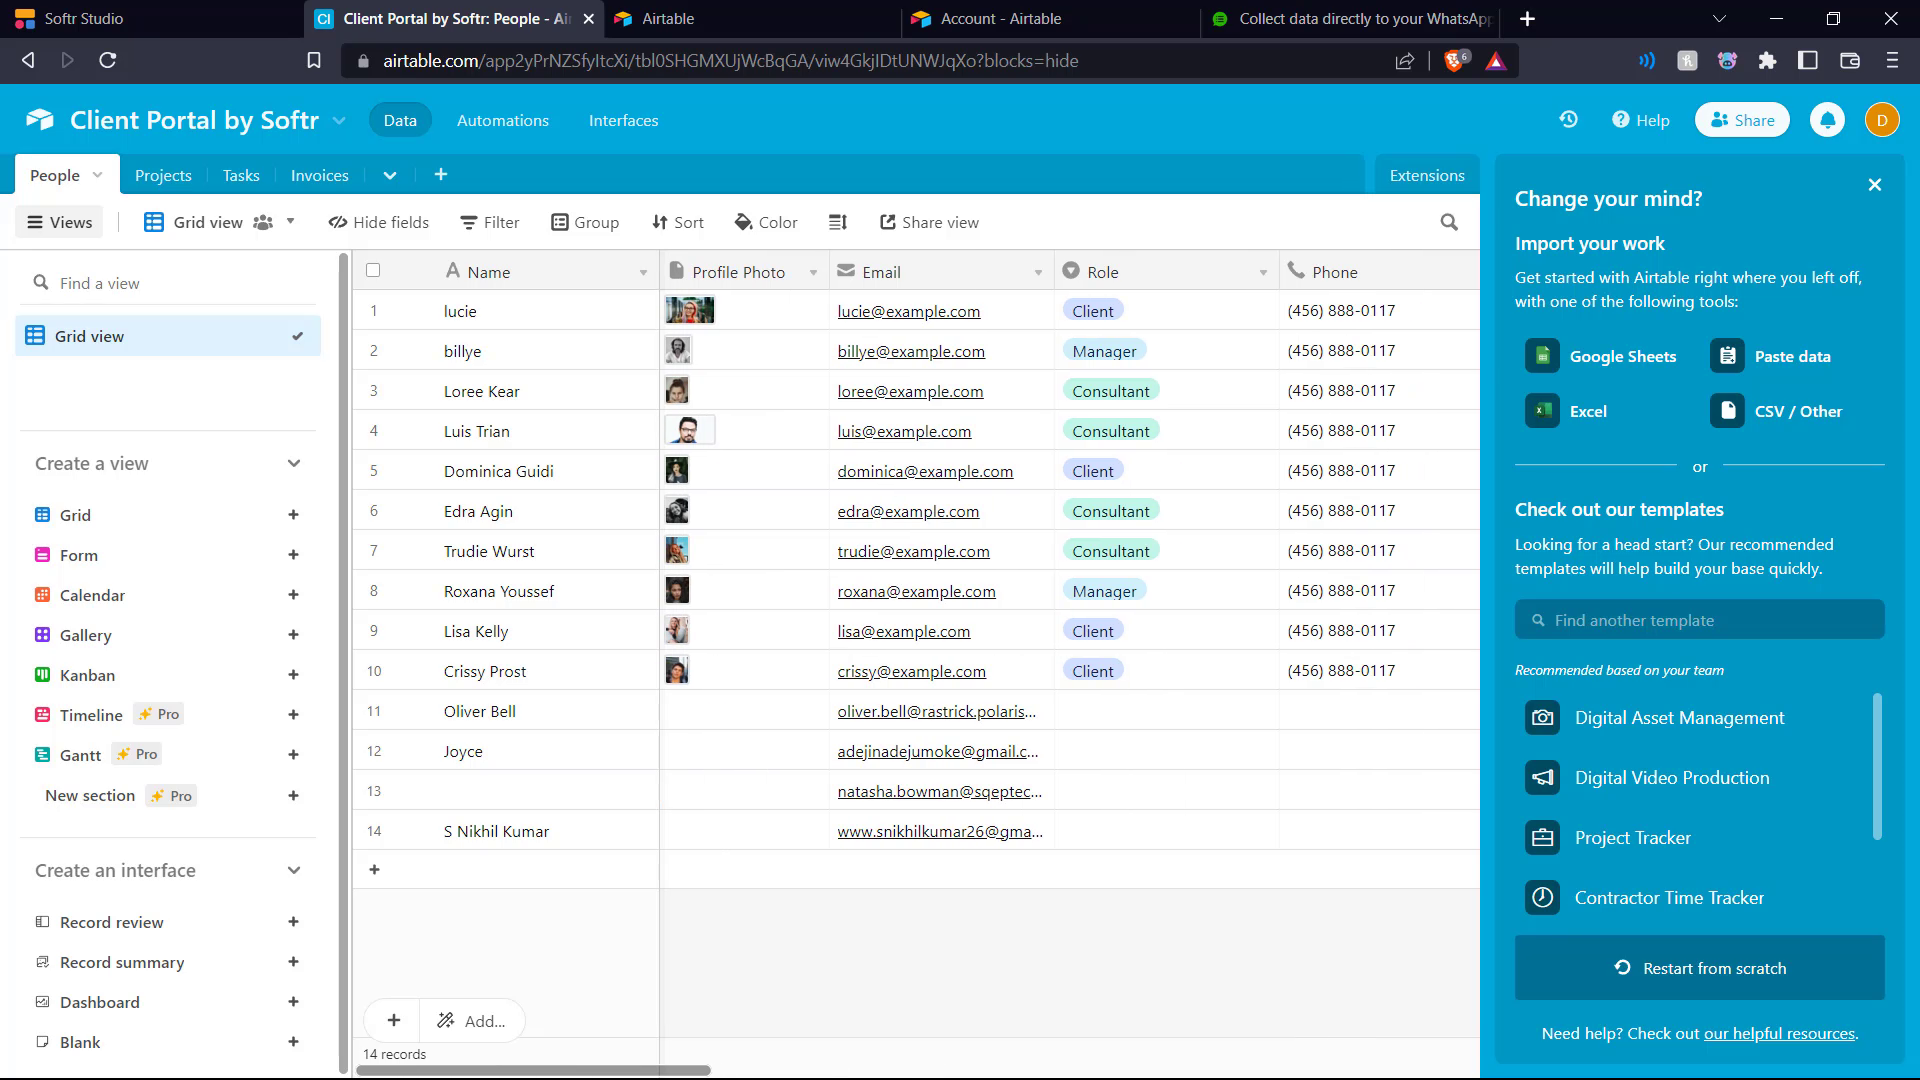
Here we have the template database in our Airtable.
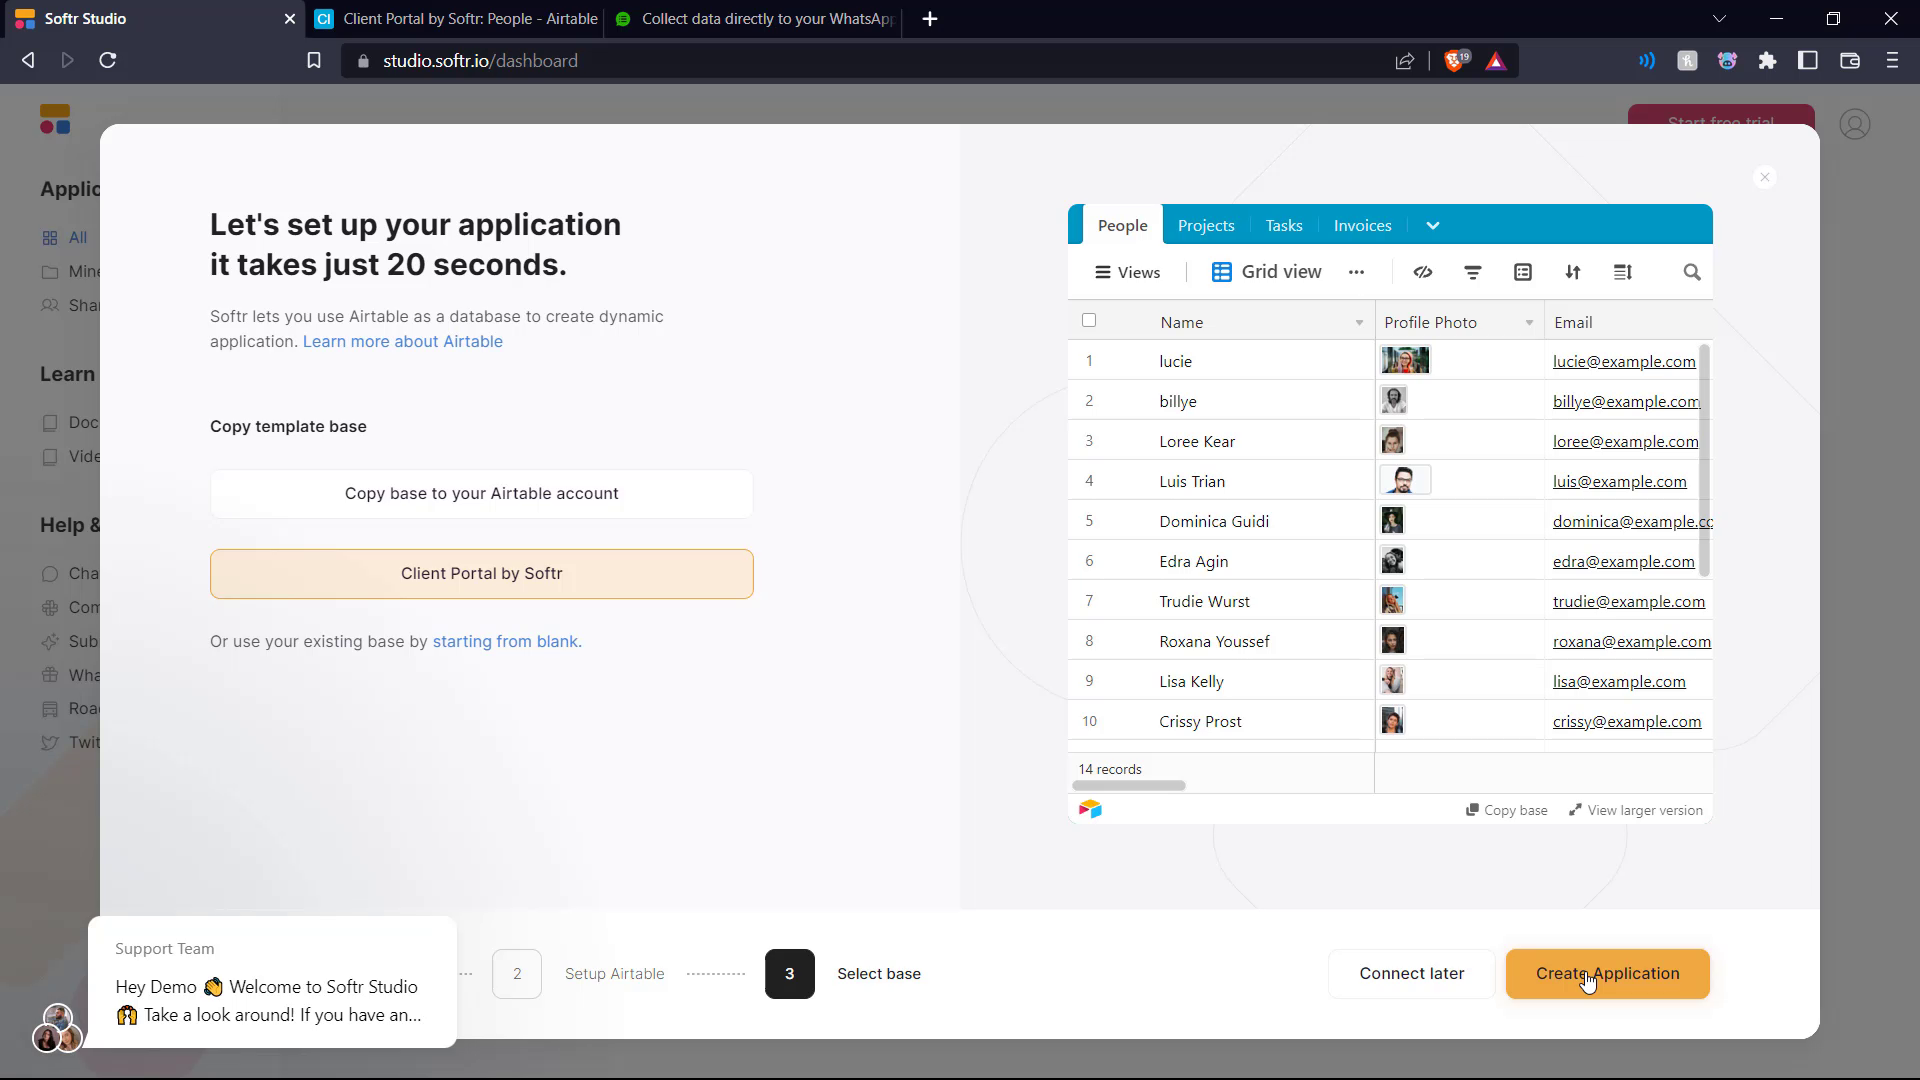
In Softr, we click Create Application.
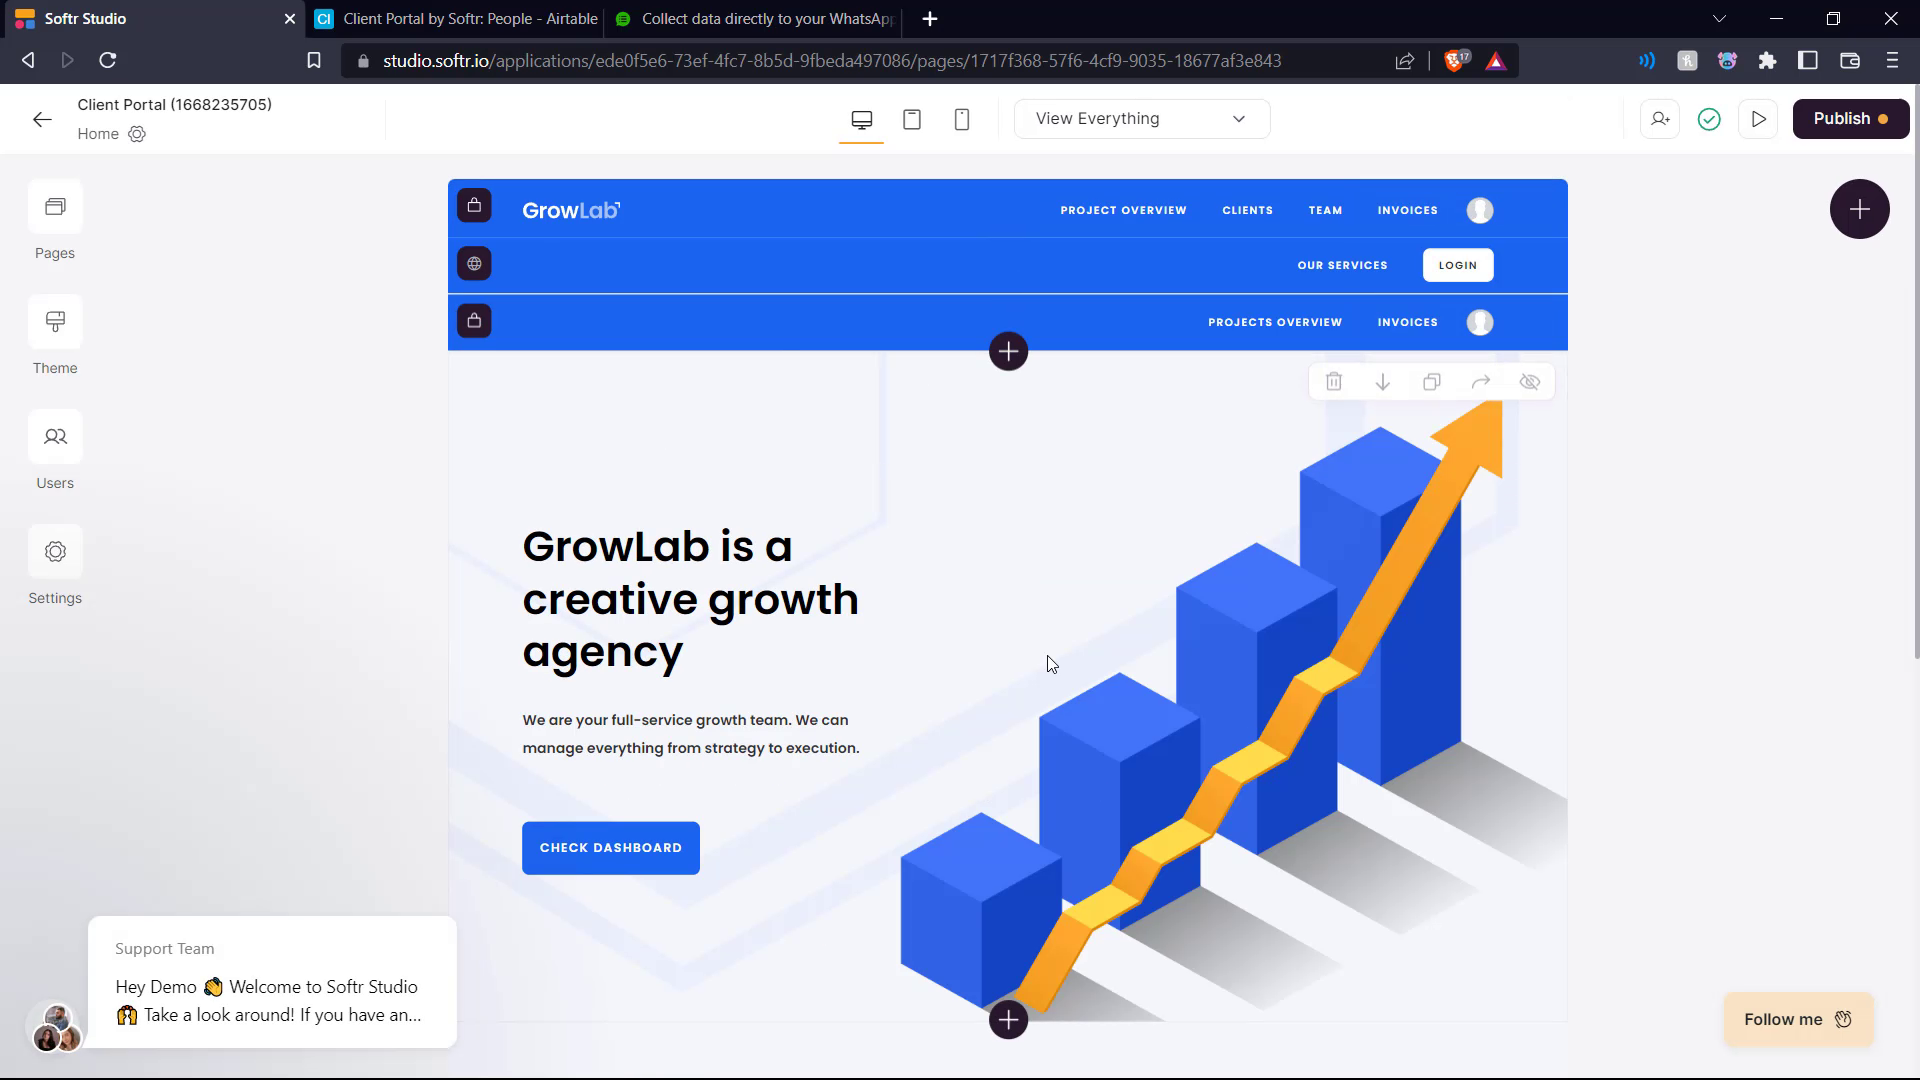
And here is our client portal template on display.
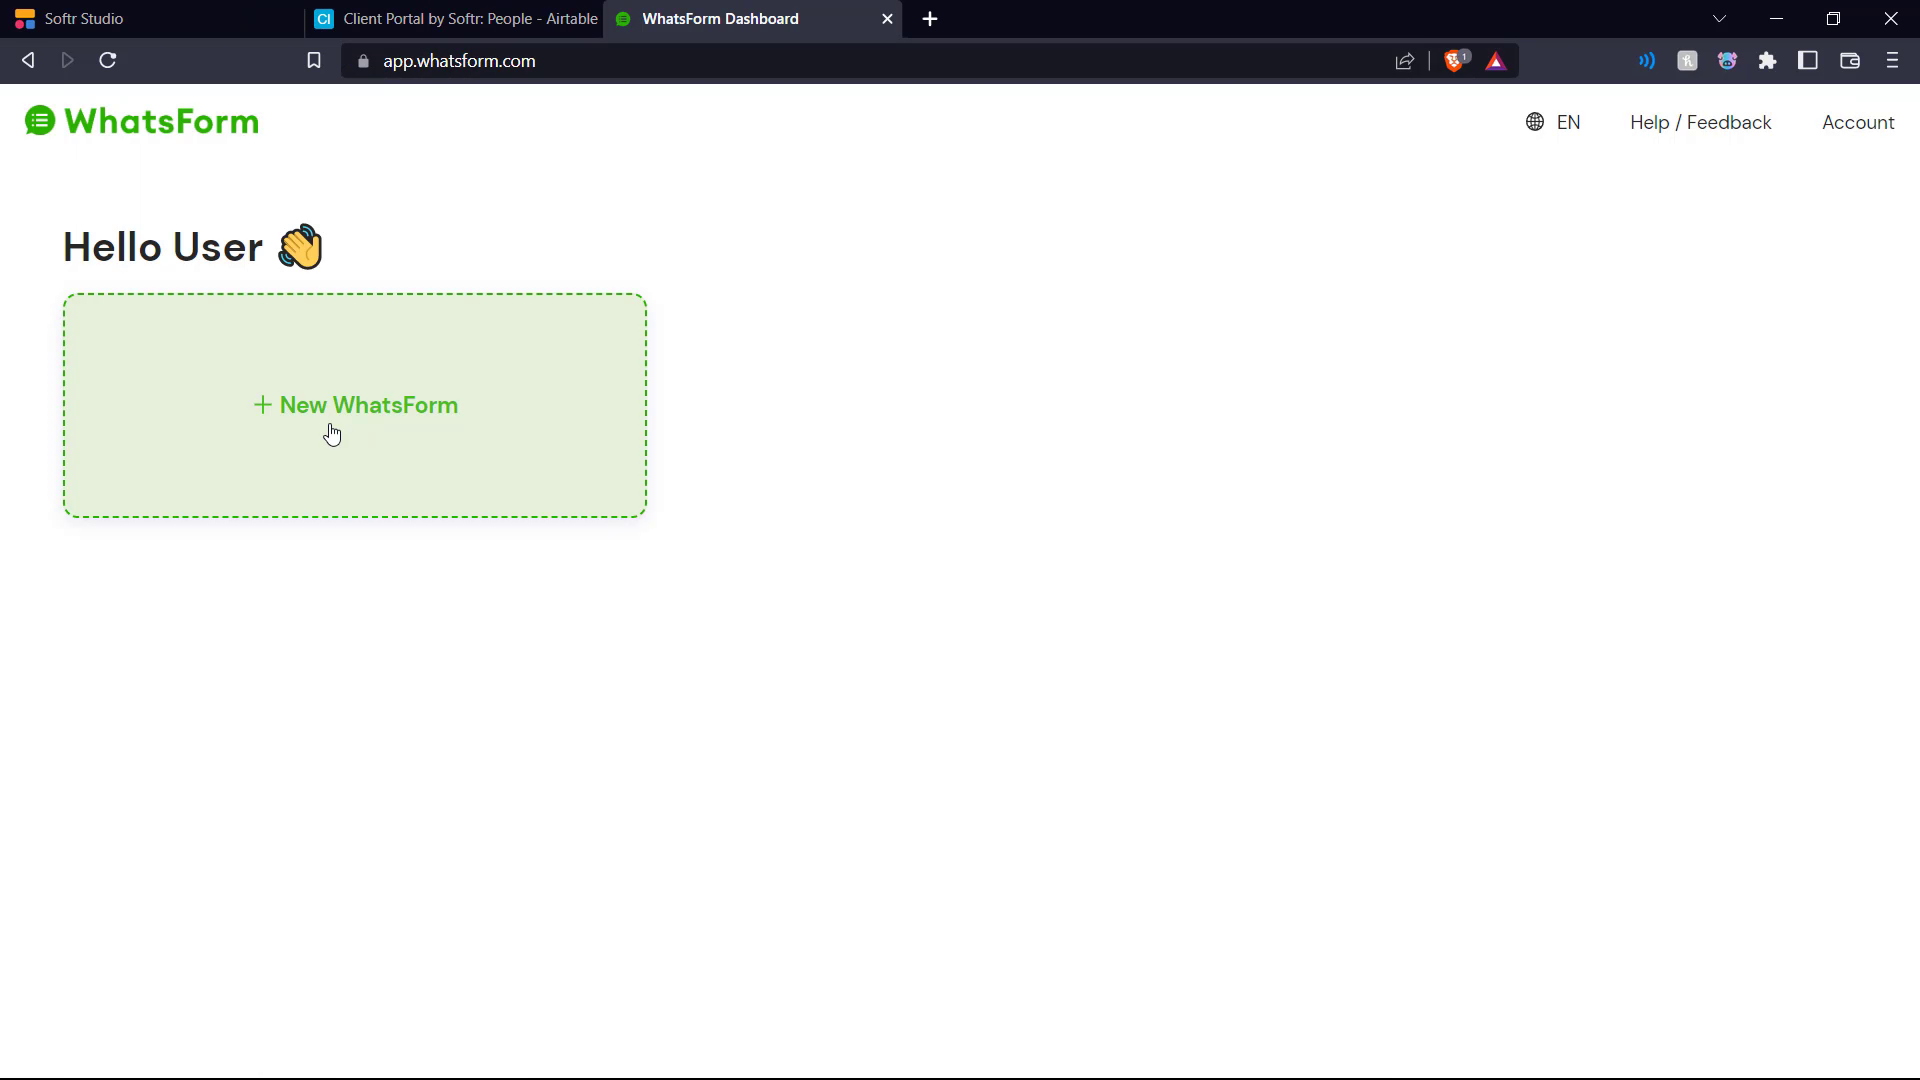
Now we move over to Whatsform where we are gonna create the form that will be sent to our potential customers on WhatsApp.
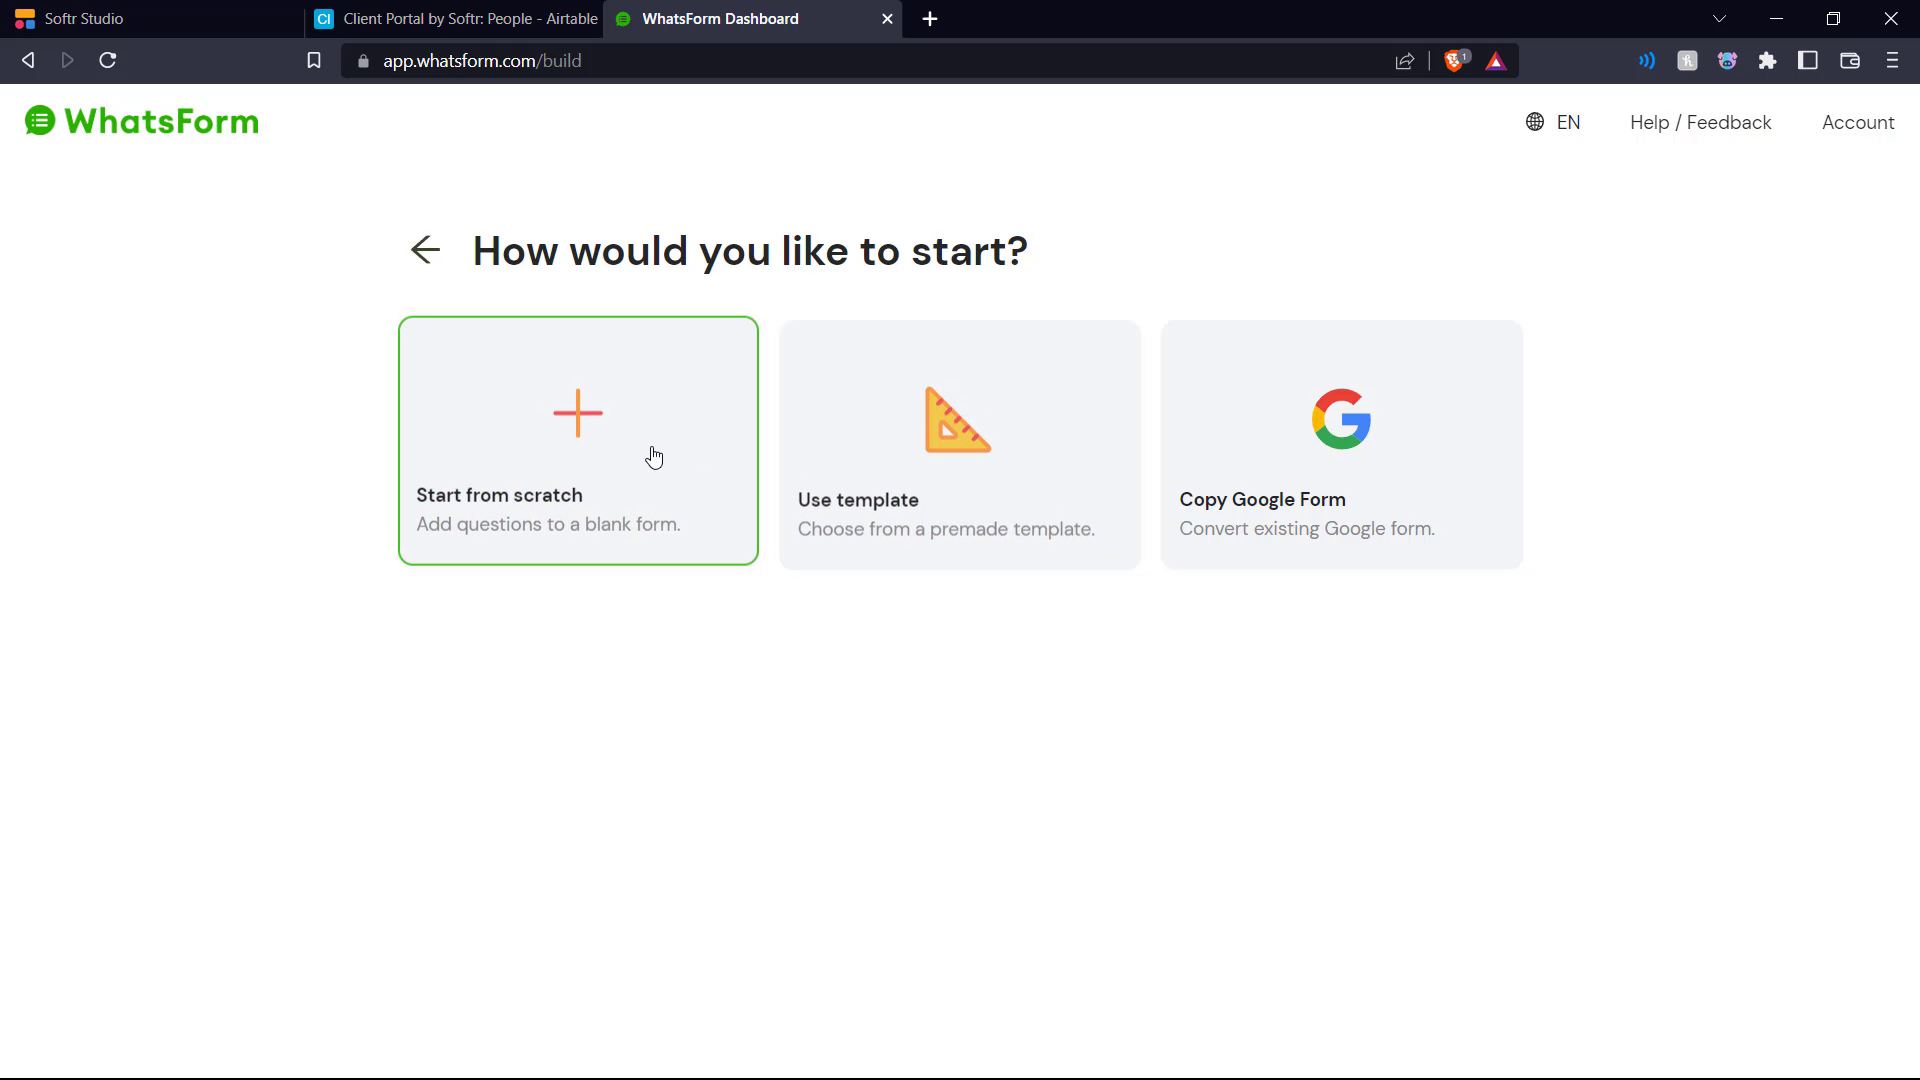
We click Start from scratch.

Here is our blank Whatsform canvas.
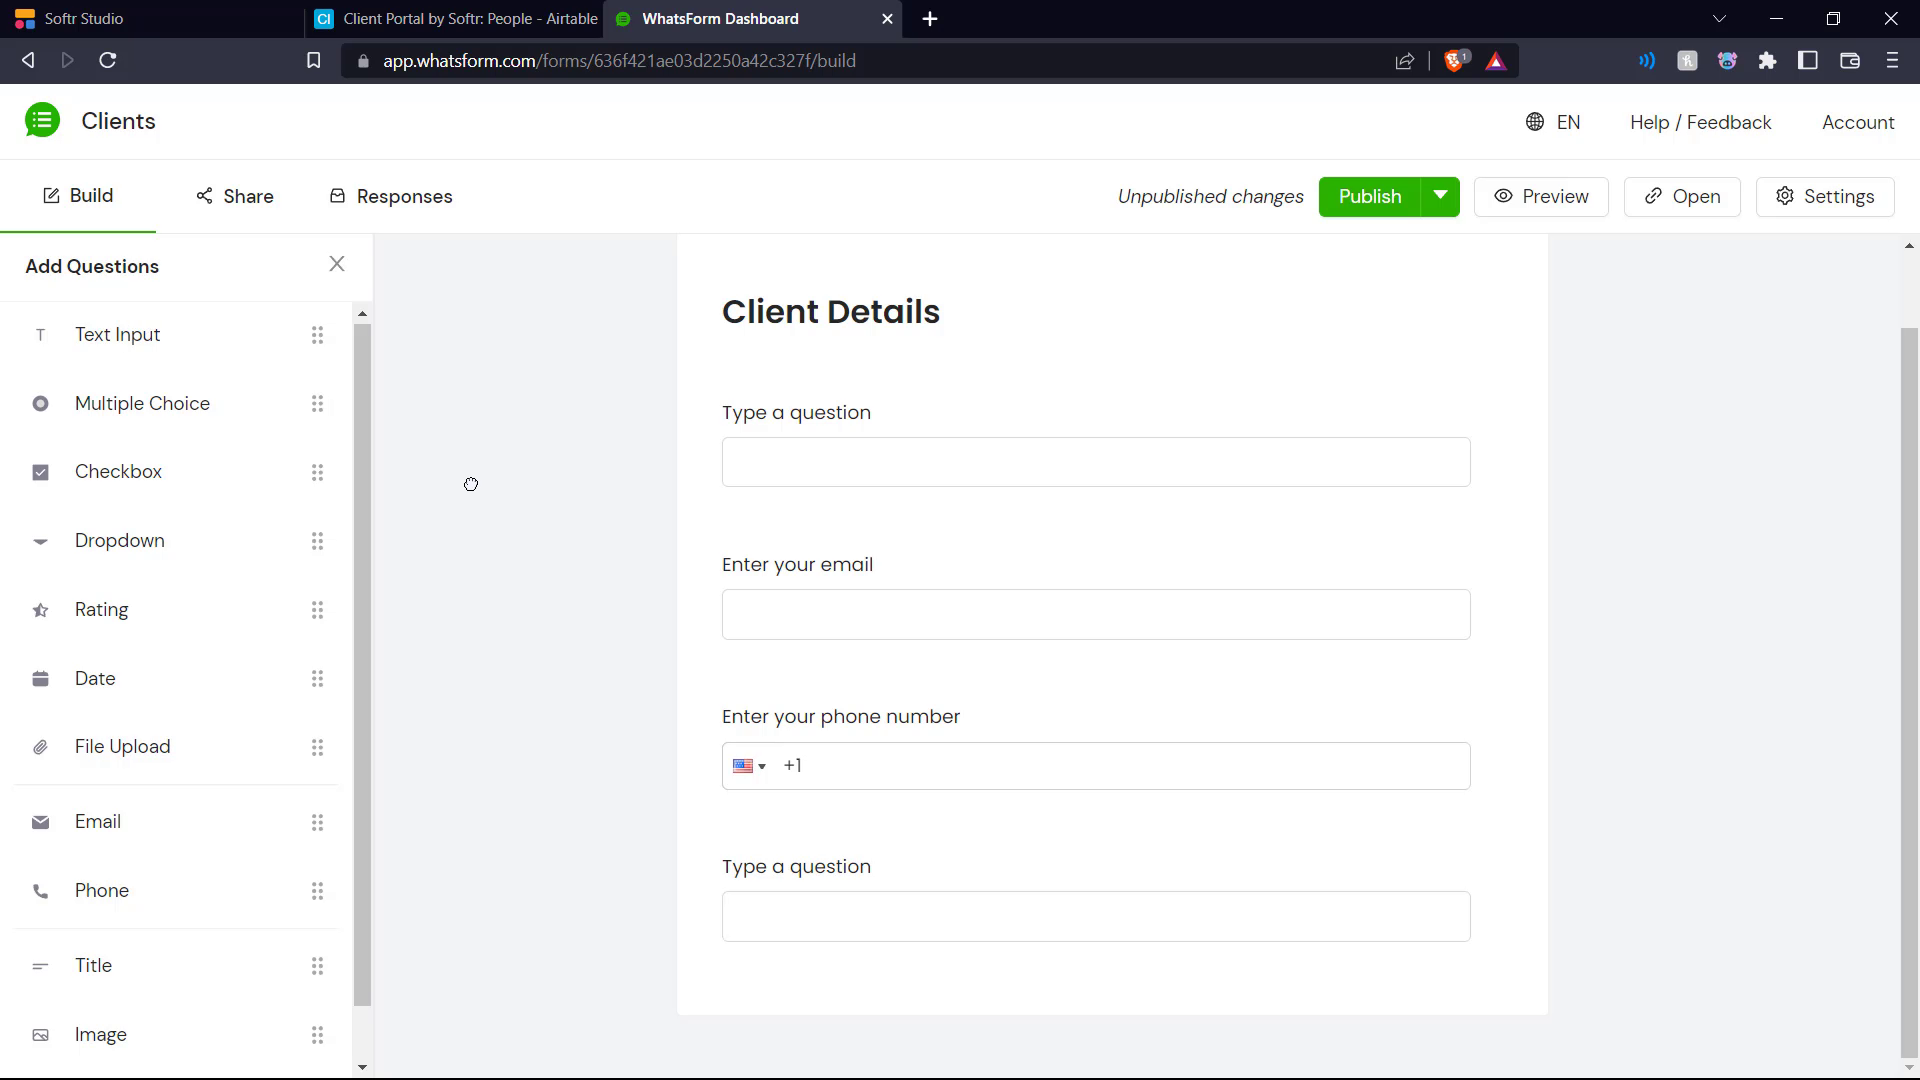
We select what all fields we need from our Airtable database and create a form with those questions.
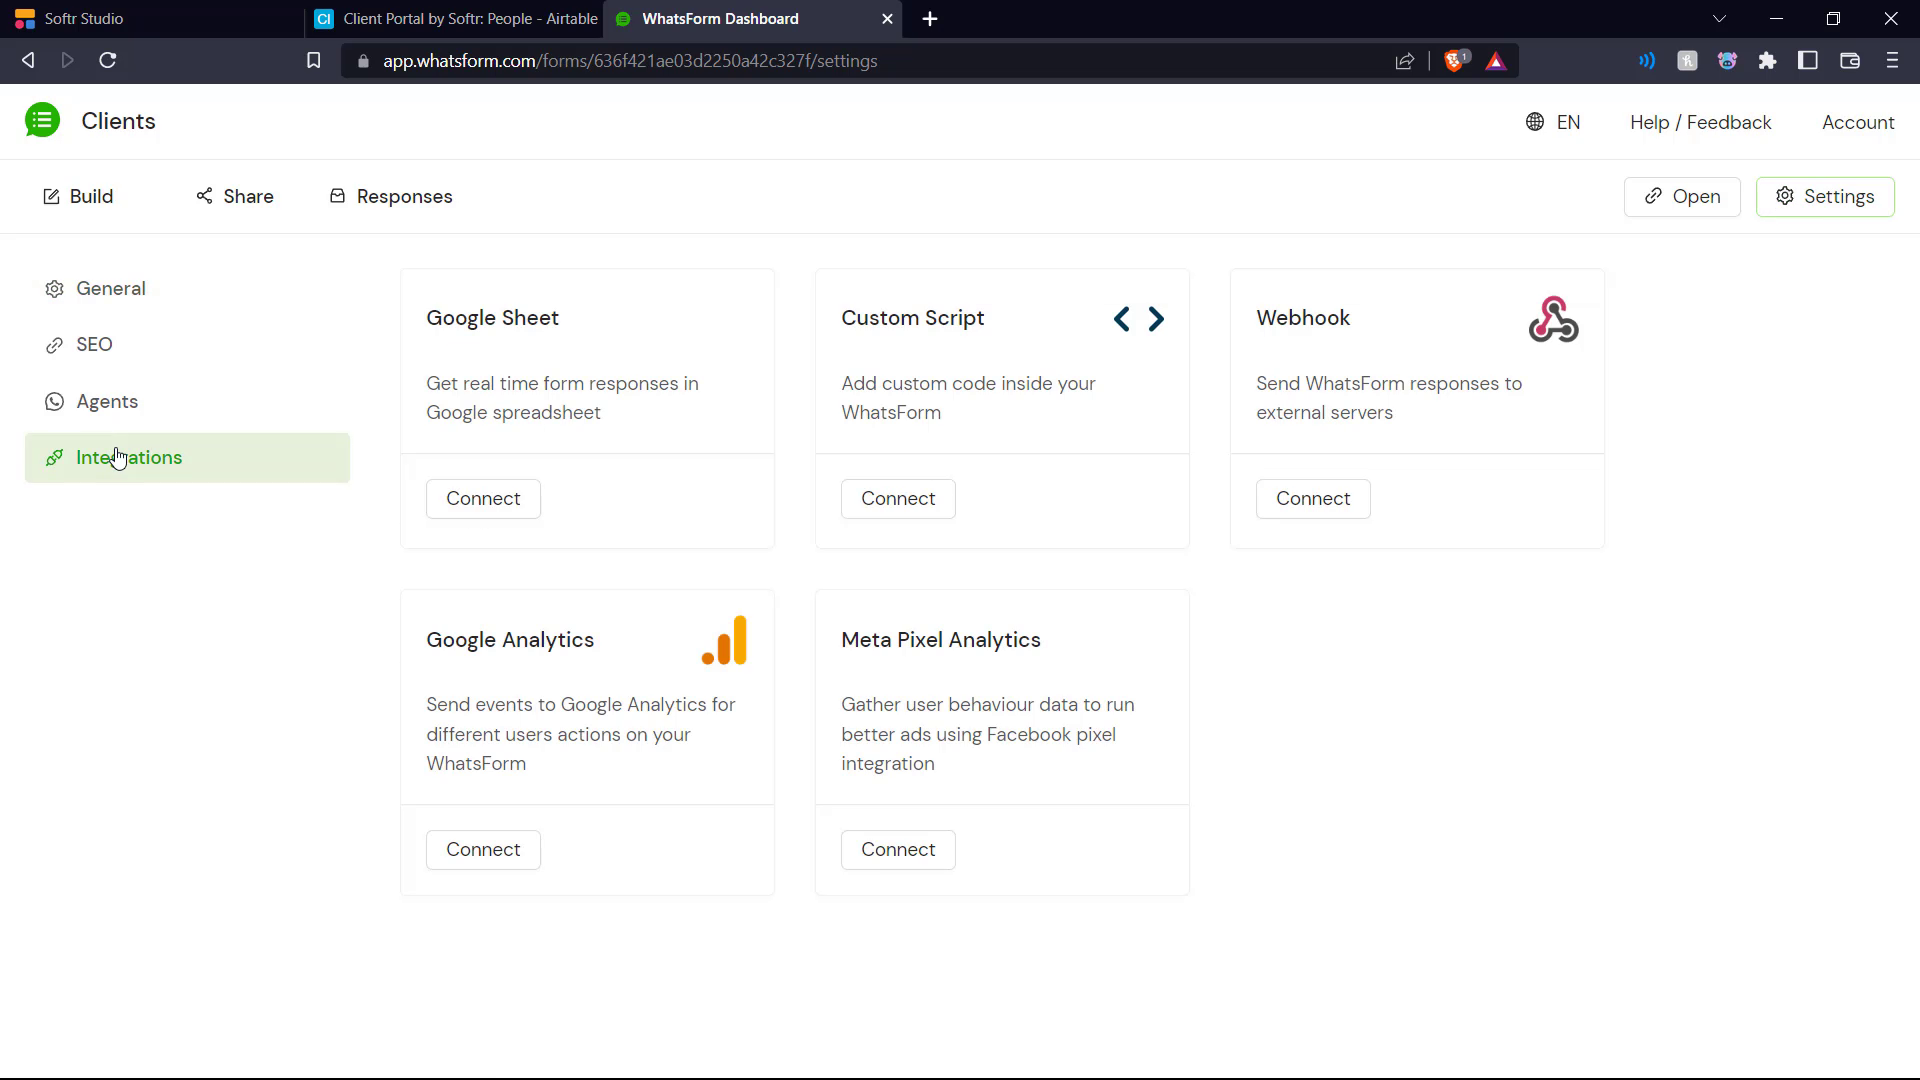
Once our form is created, we need to connect it to our Airtable database, so that the responses from the form will be added to the database. We go into the Whatsform integrations and choose Webhook.
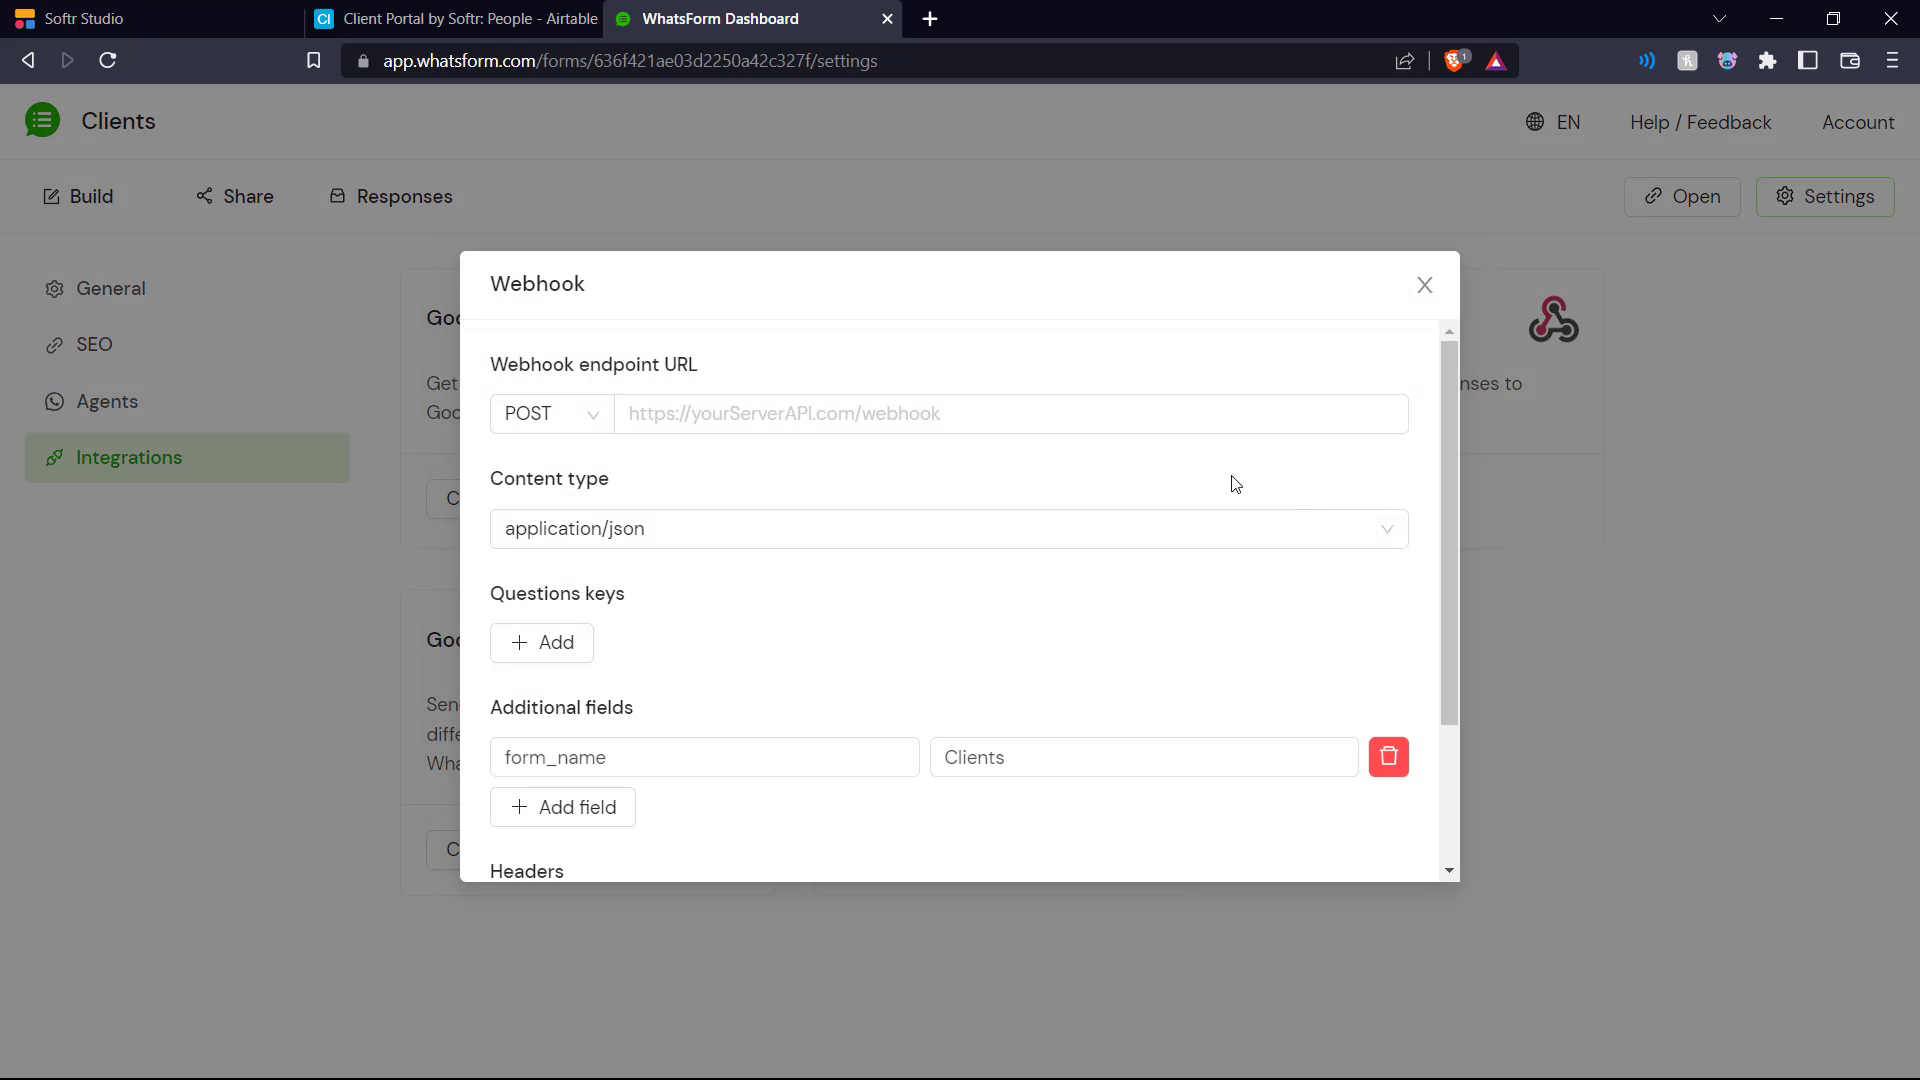
Here it says we need the webhook endpoint URL.
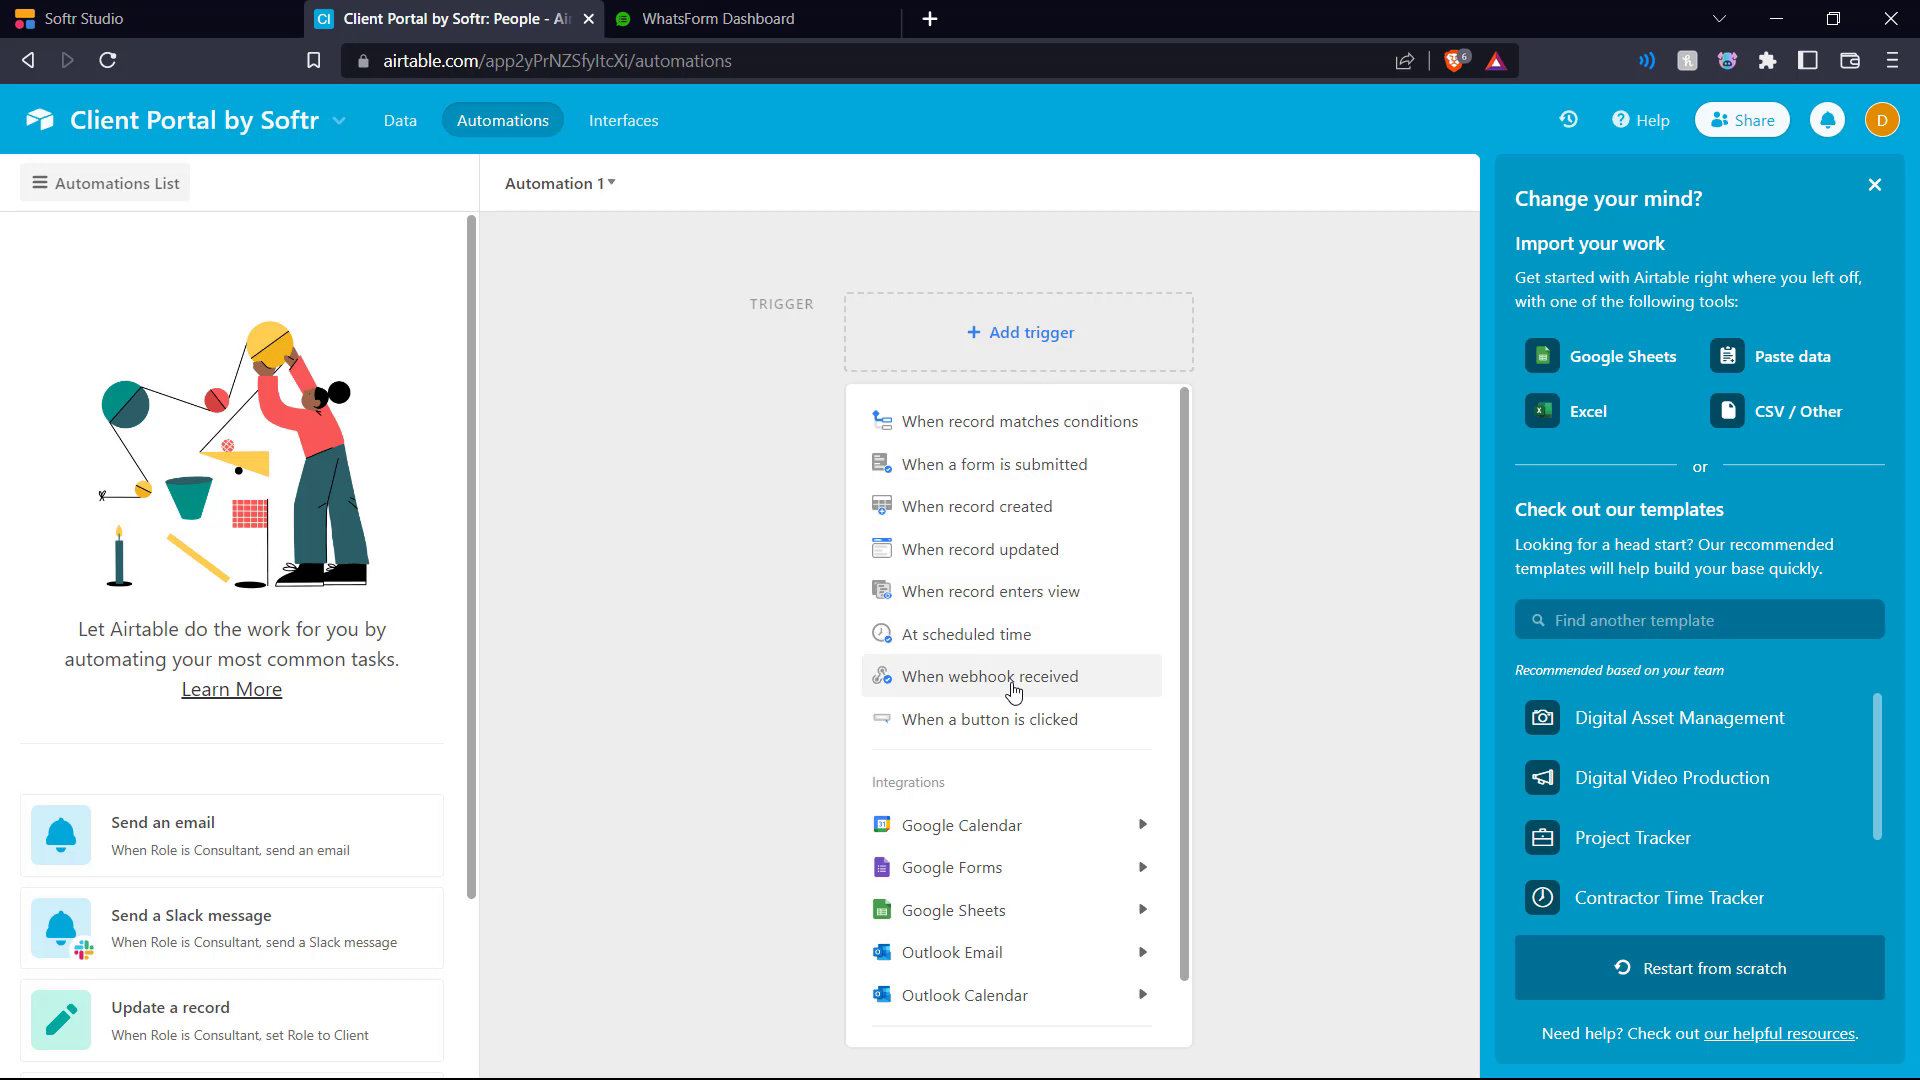
Back in Airtable, we go into the Automation tab. Here we select Add trigger and choose When webhook received.
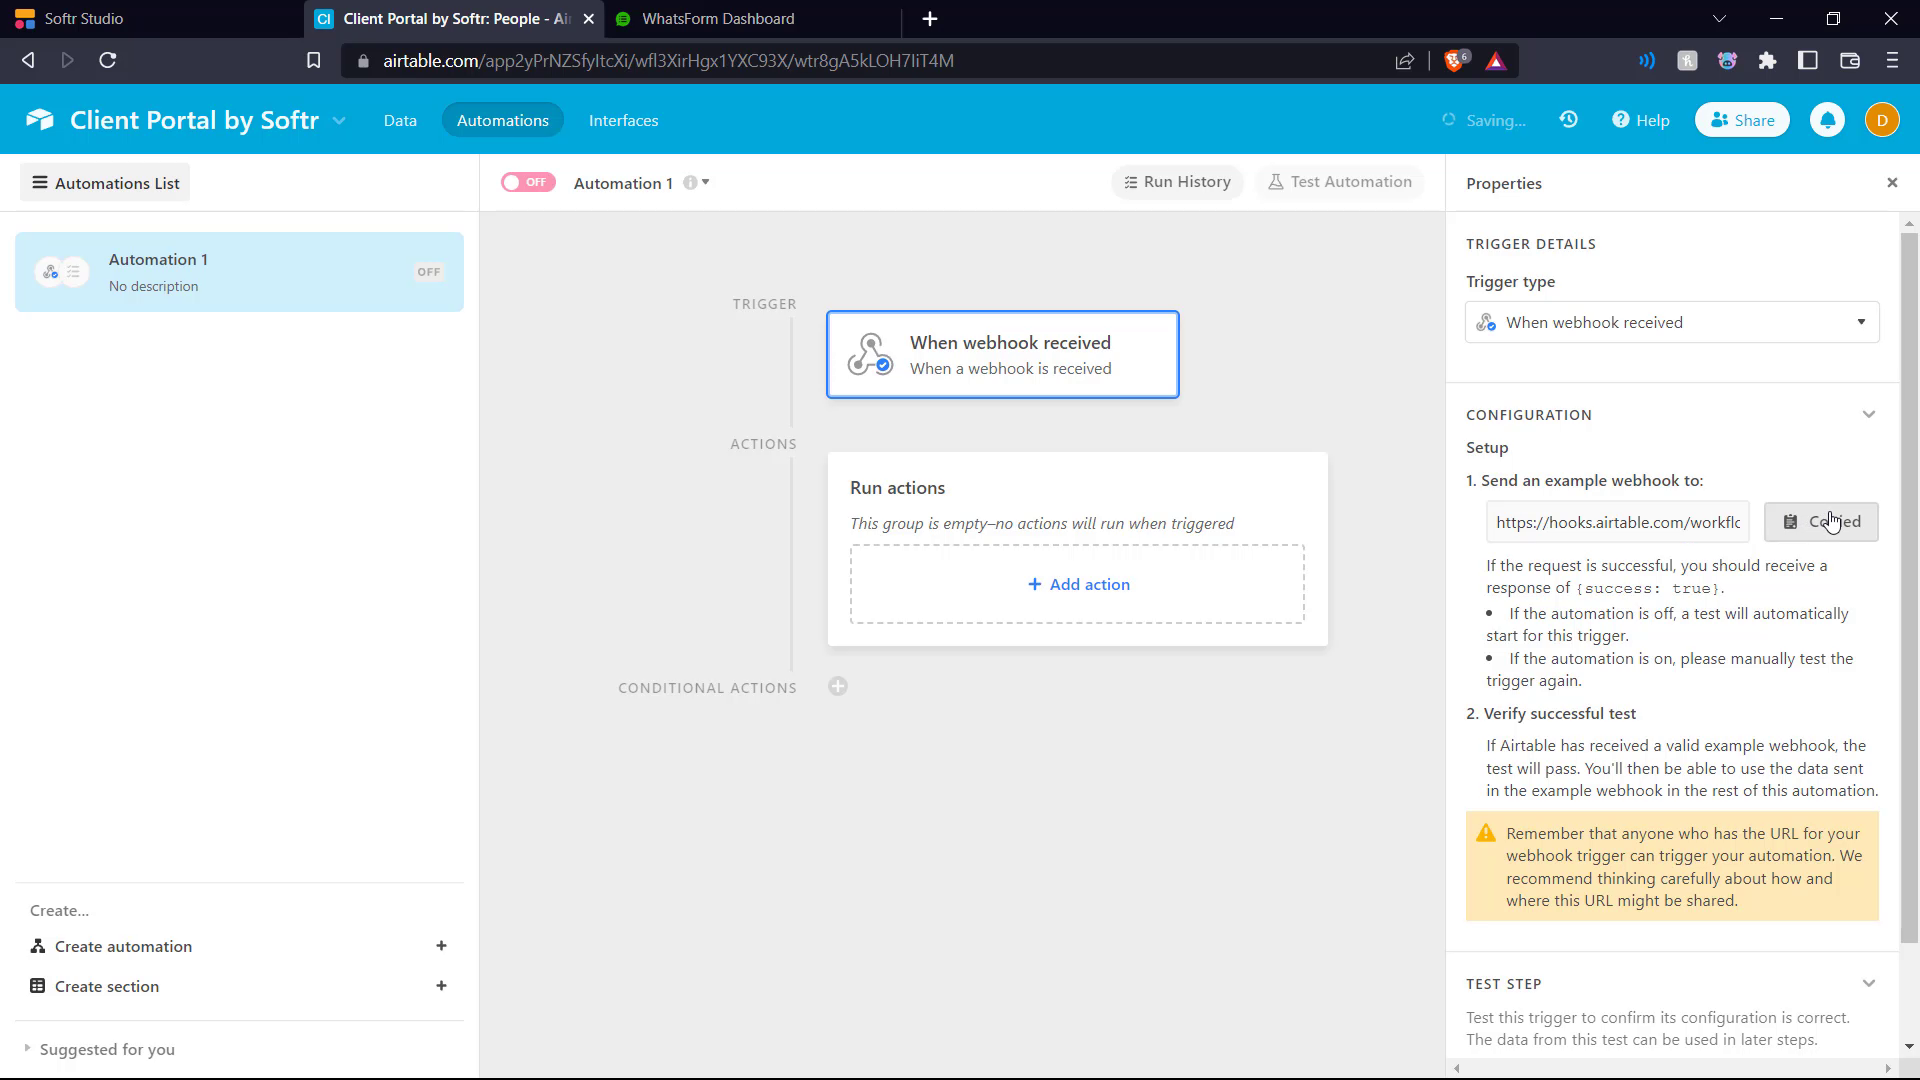
Here we copy the URL on the right hand side.
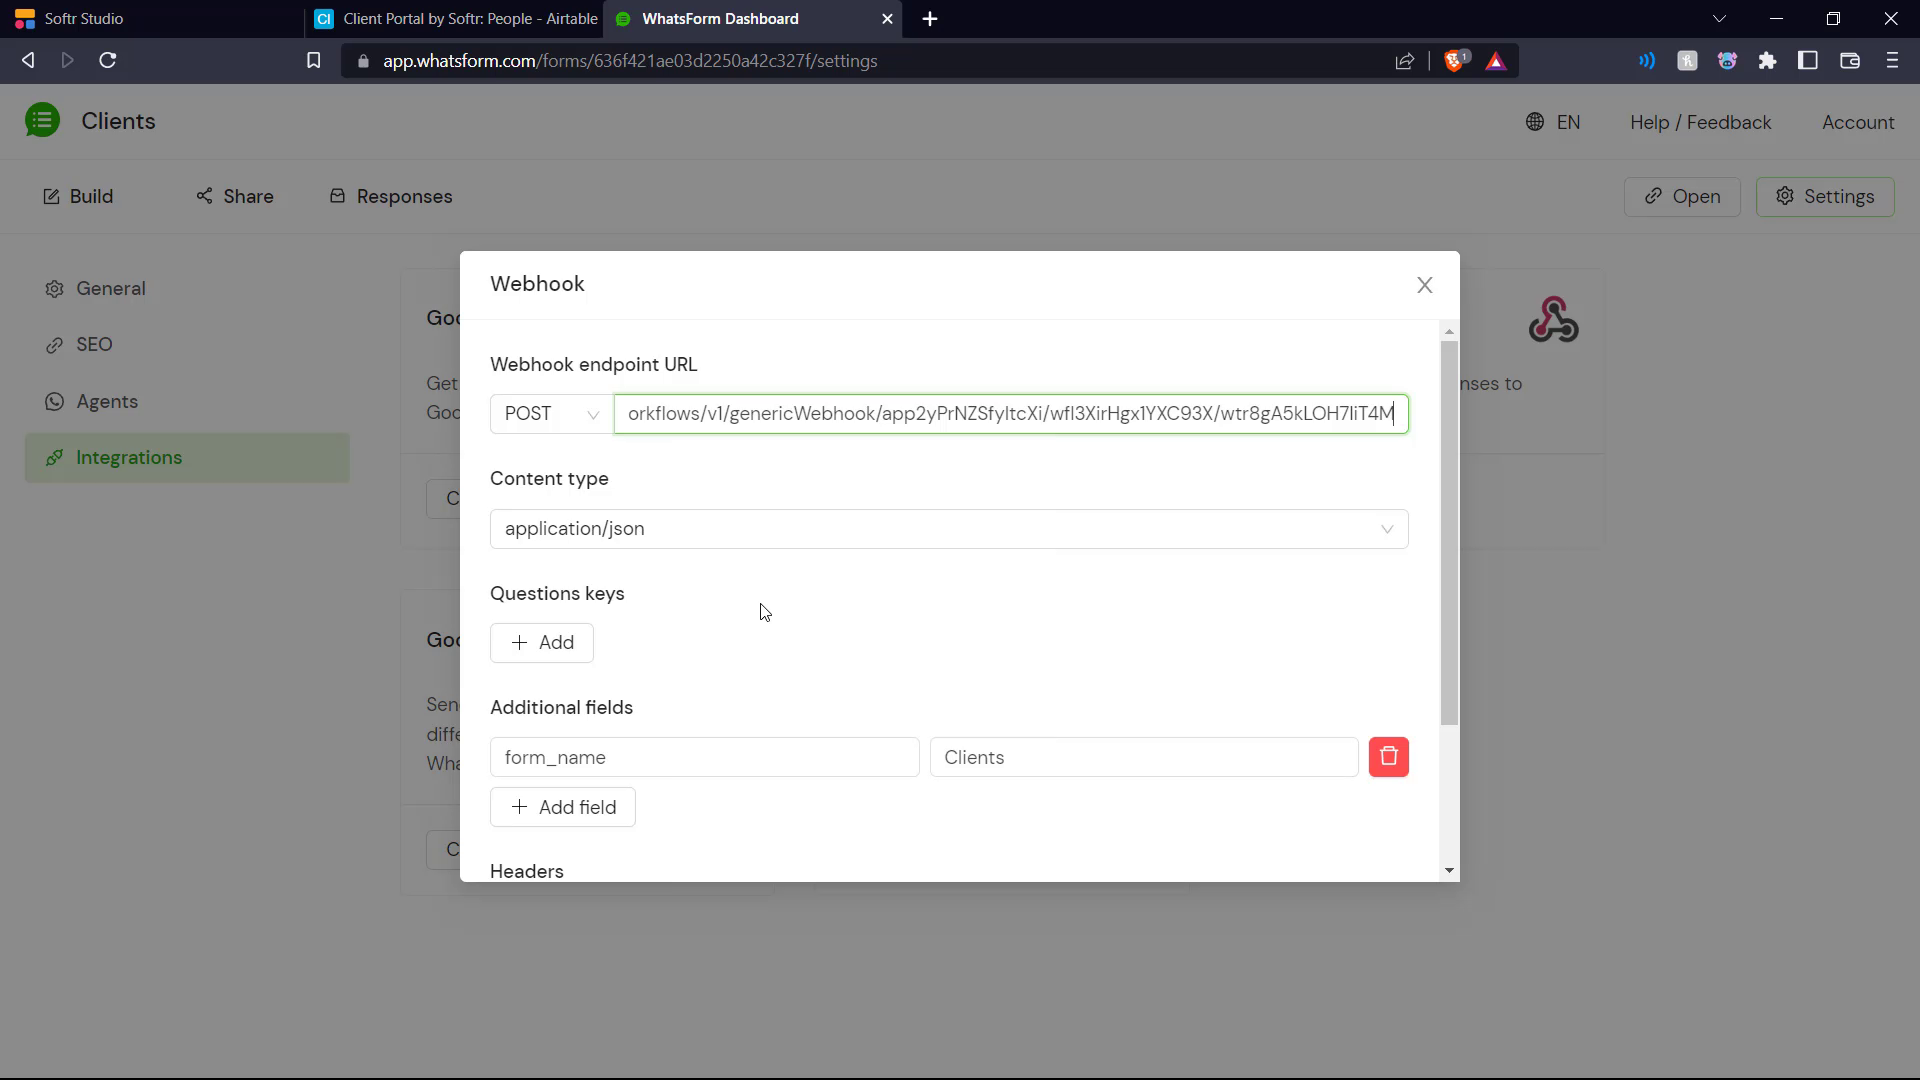
We paste that URL into the Whatsform integration webhook menu.

Then we add each of our questions fields and assign separate keys to them. For example, the Name field is assigned the key 'name'.
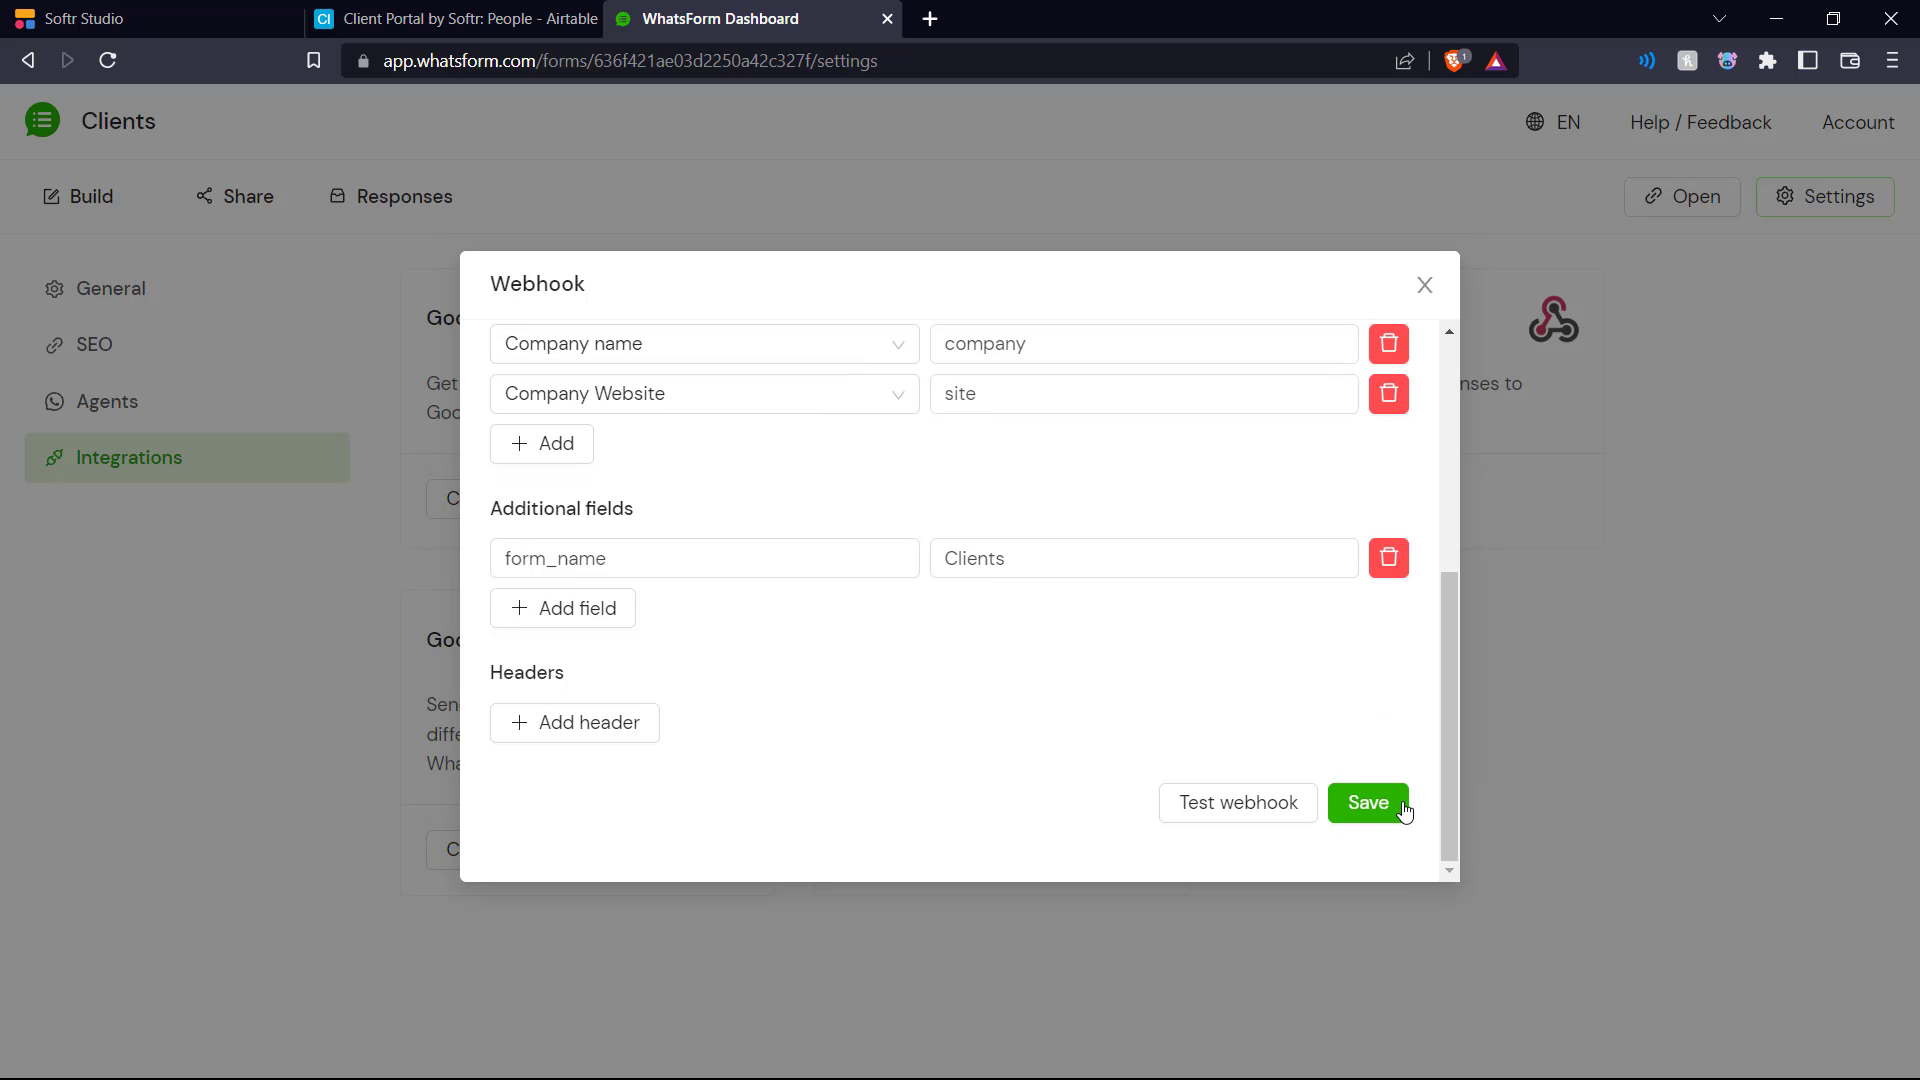
Then we save these settings.

Back in the Airtable automations tab, we select Run actions and choose Create record.
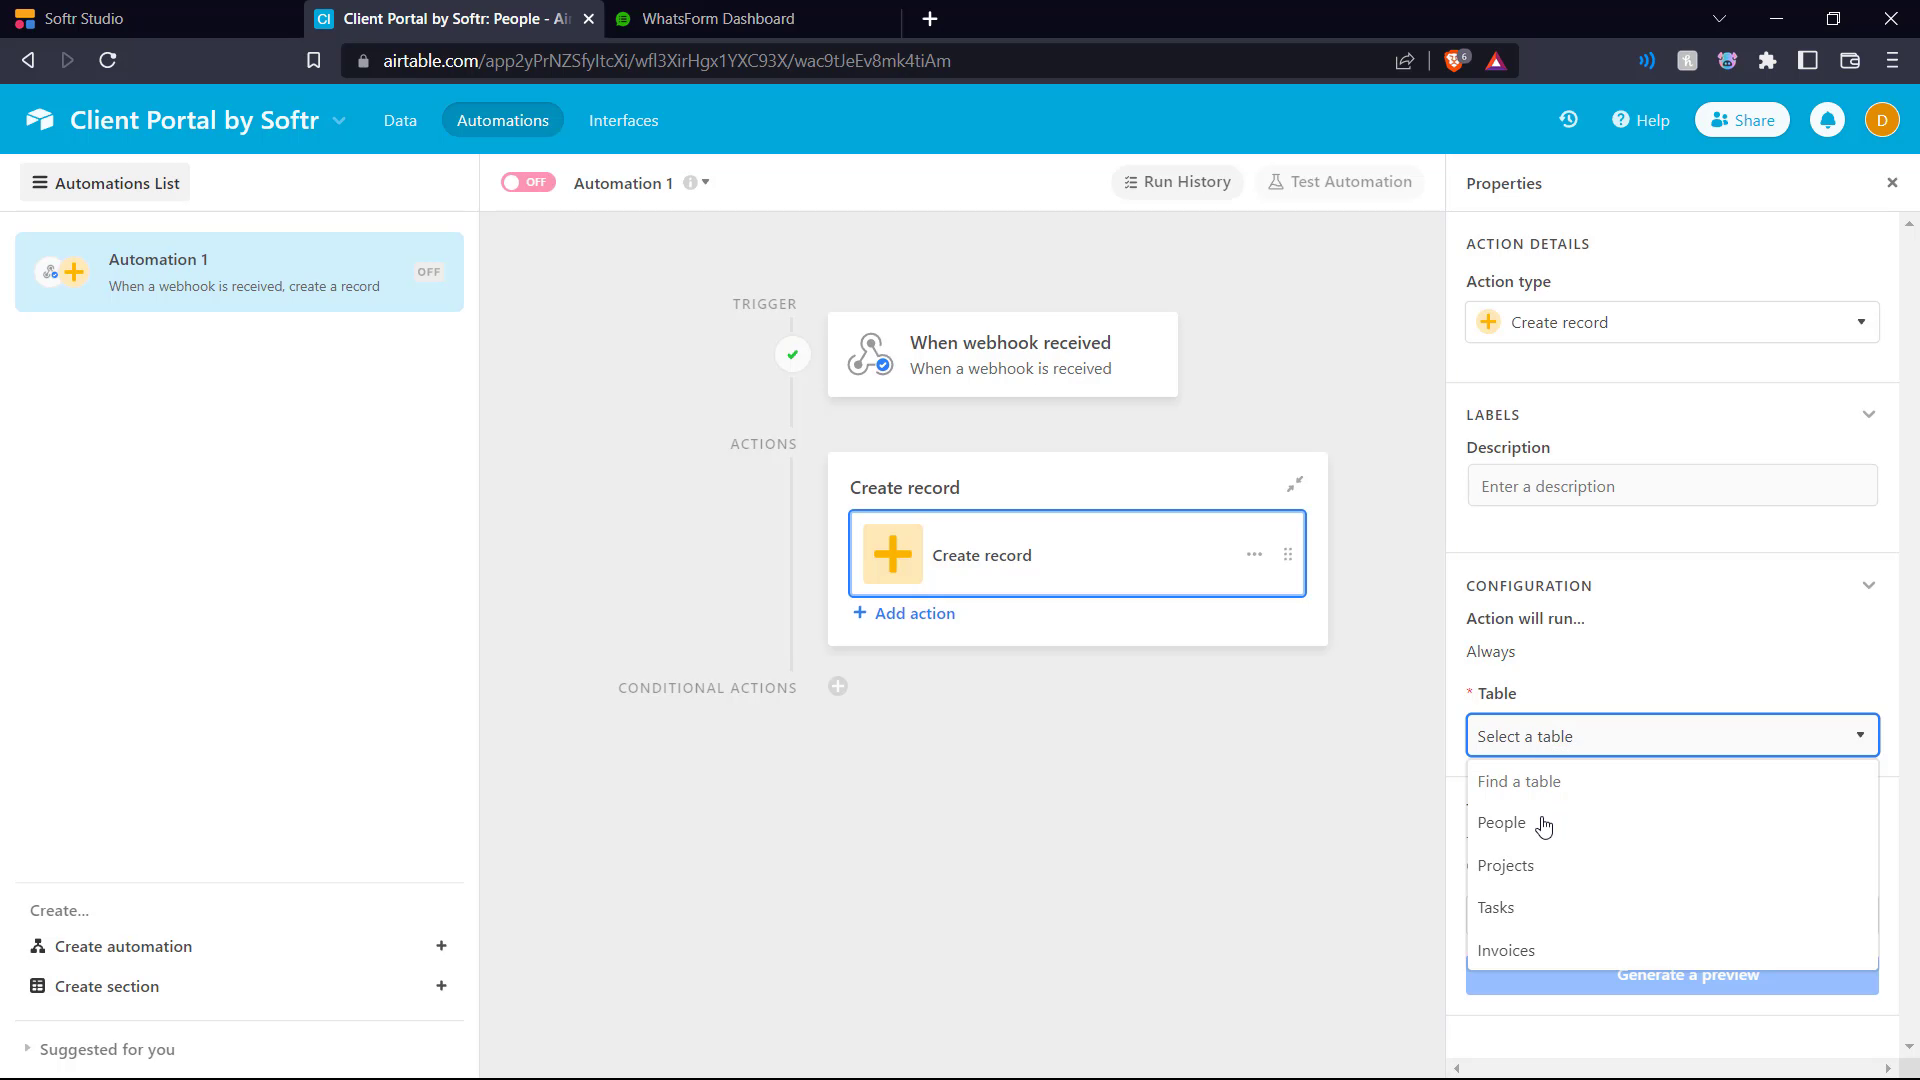
Then on the right hand side, we select the table we need.
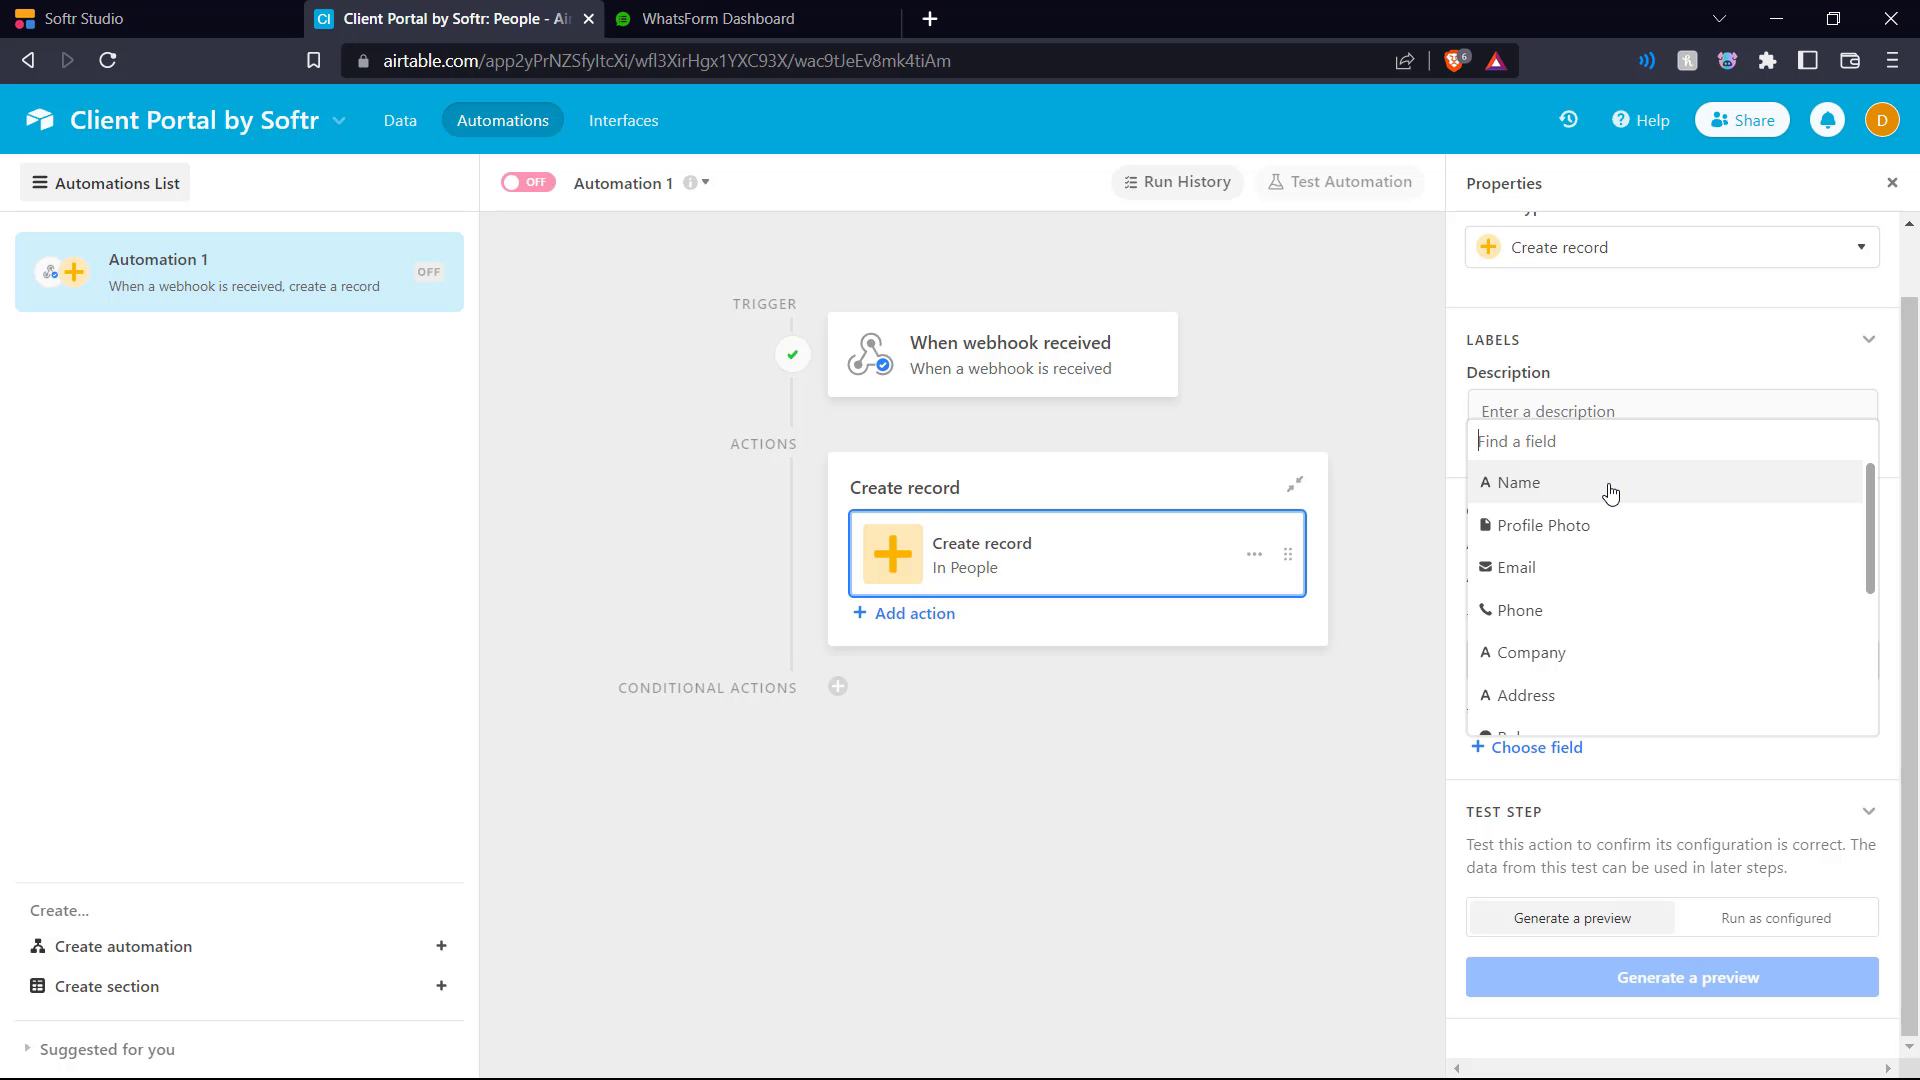
Then one-by-one we add the various fields mentioned in the webhook settings.
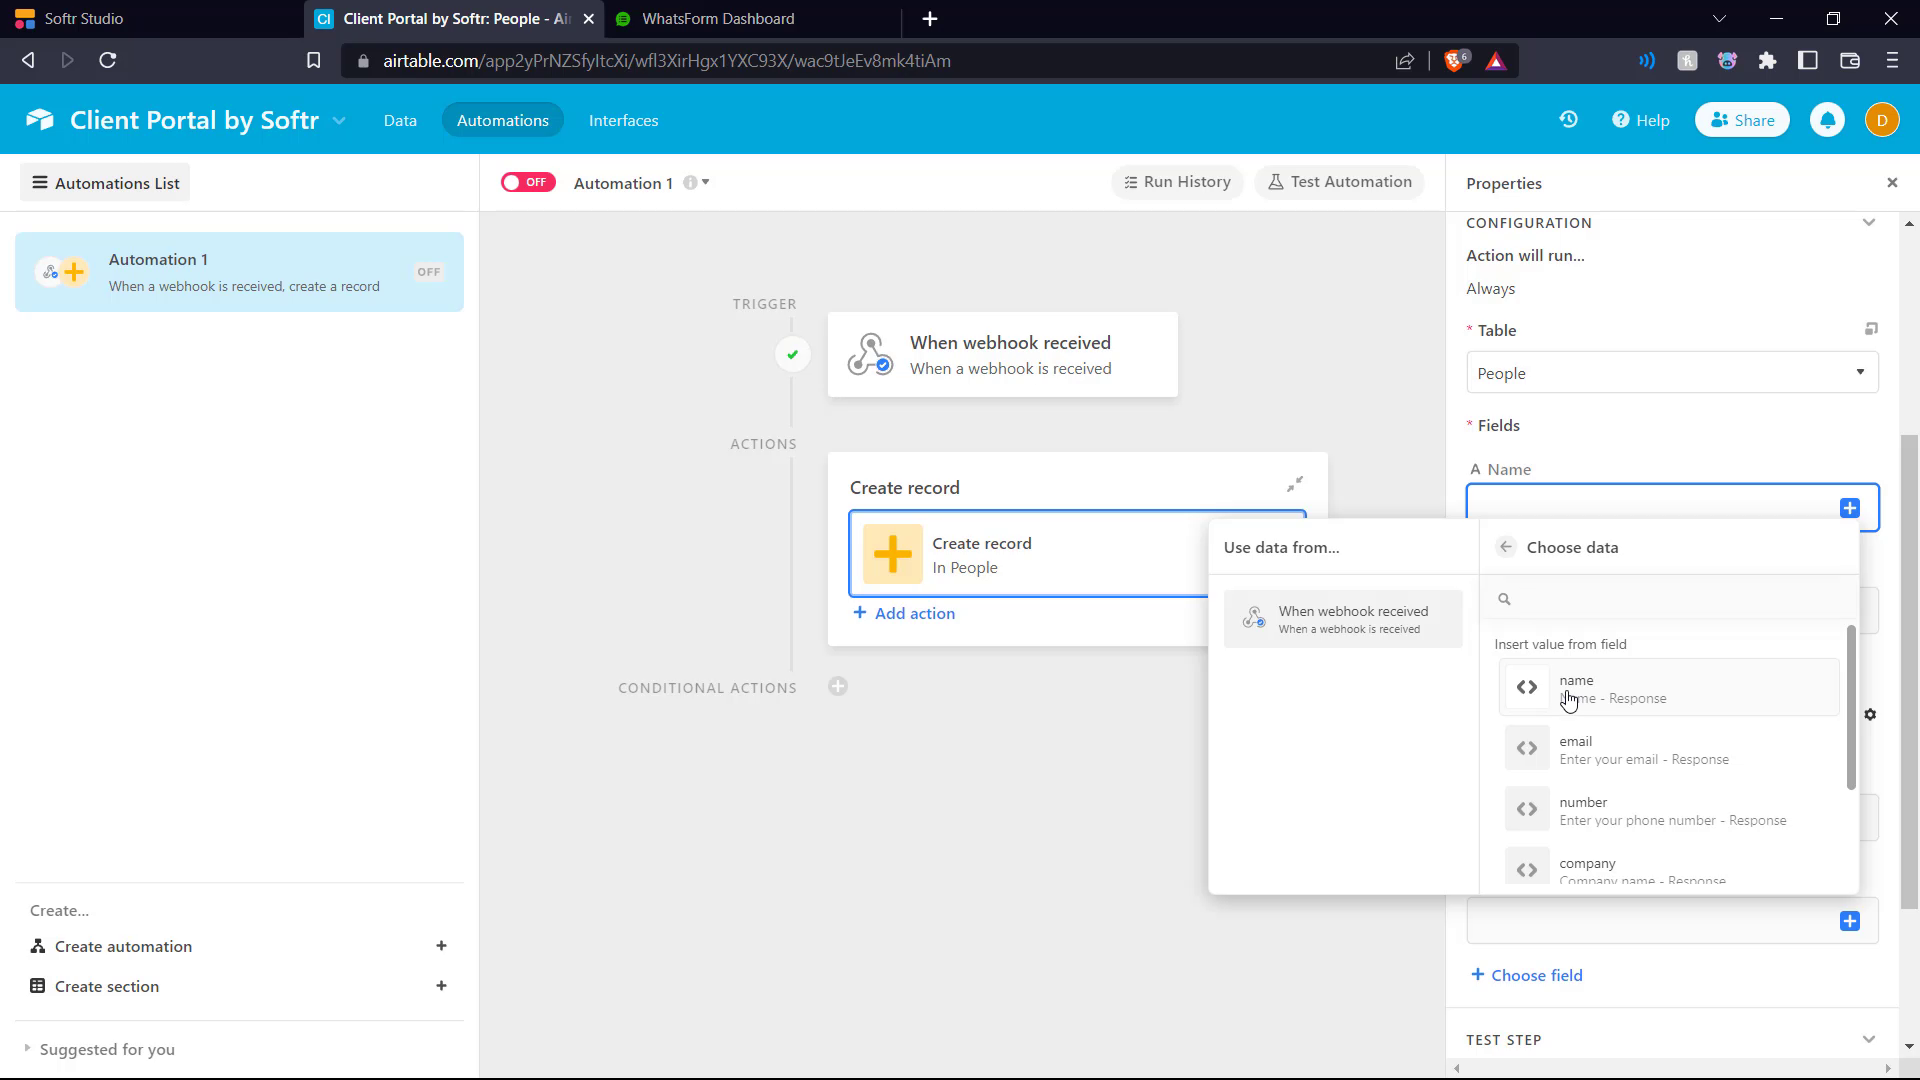
Then for each of these fields we link them using the keys we assigned.
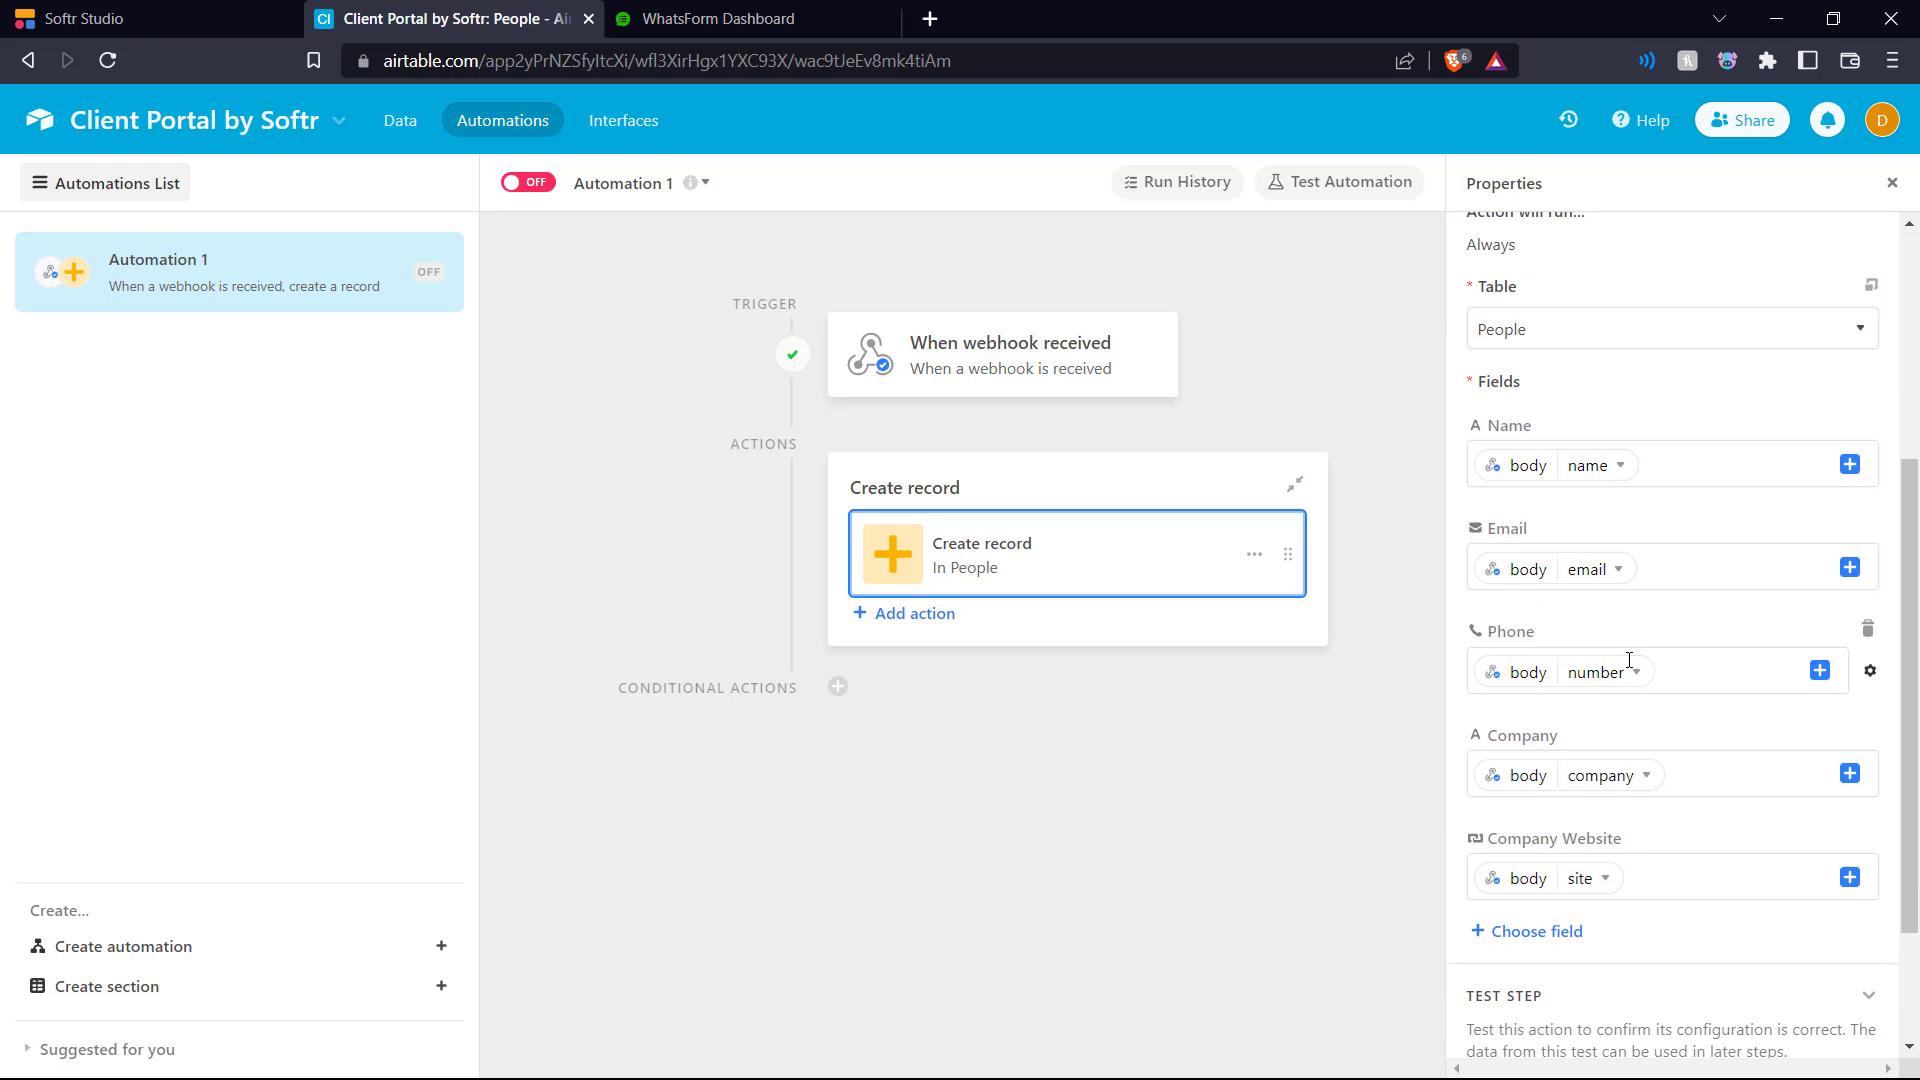
Now we've added all the fields and keys.
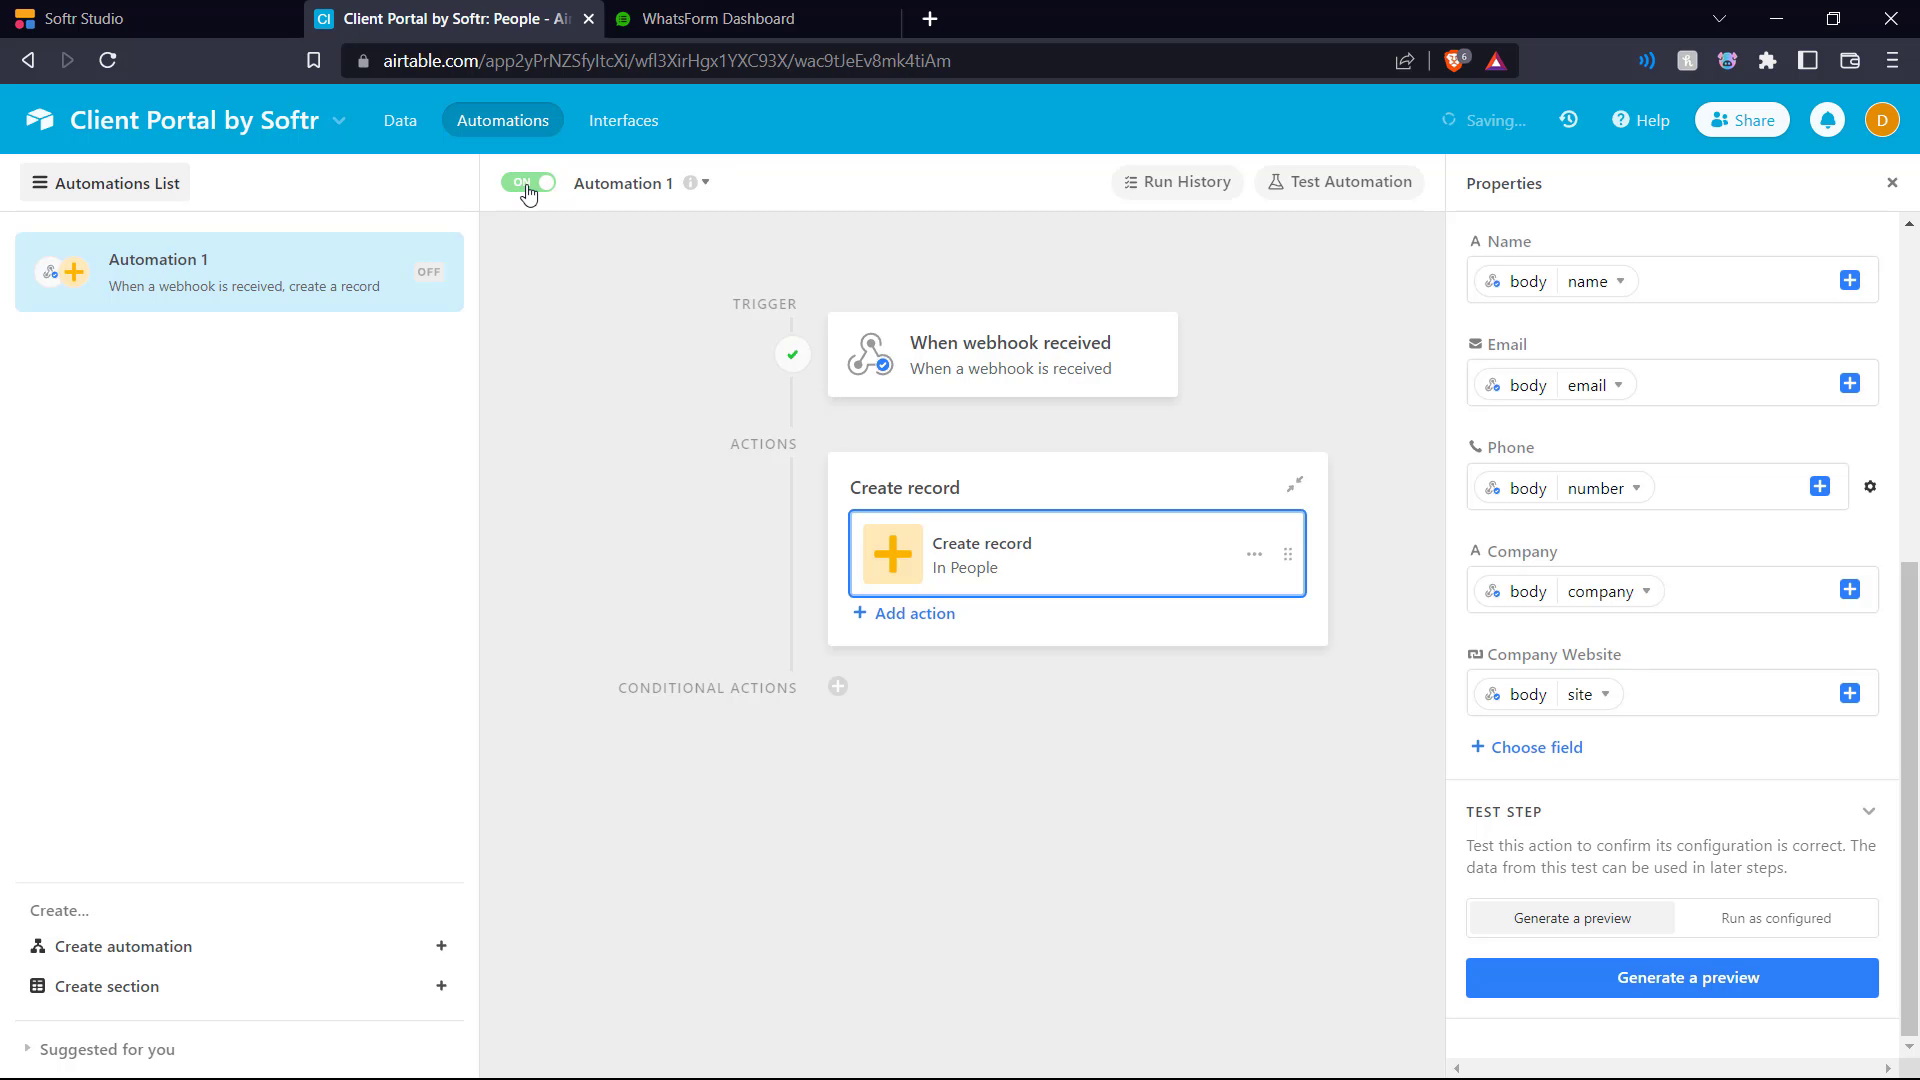
Now we switch the automation on and go back into our Whatsform settings.
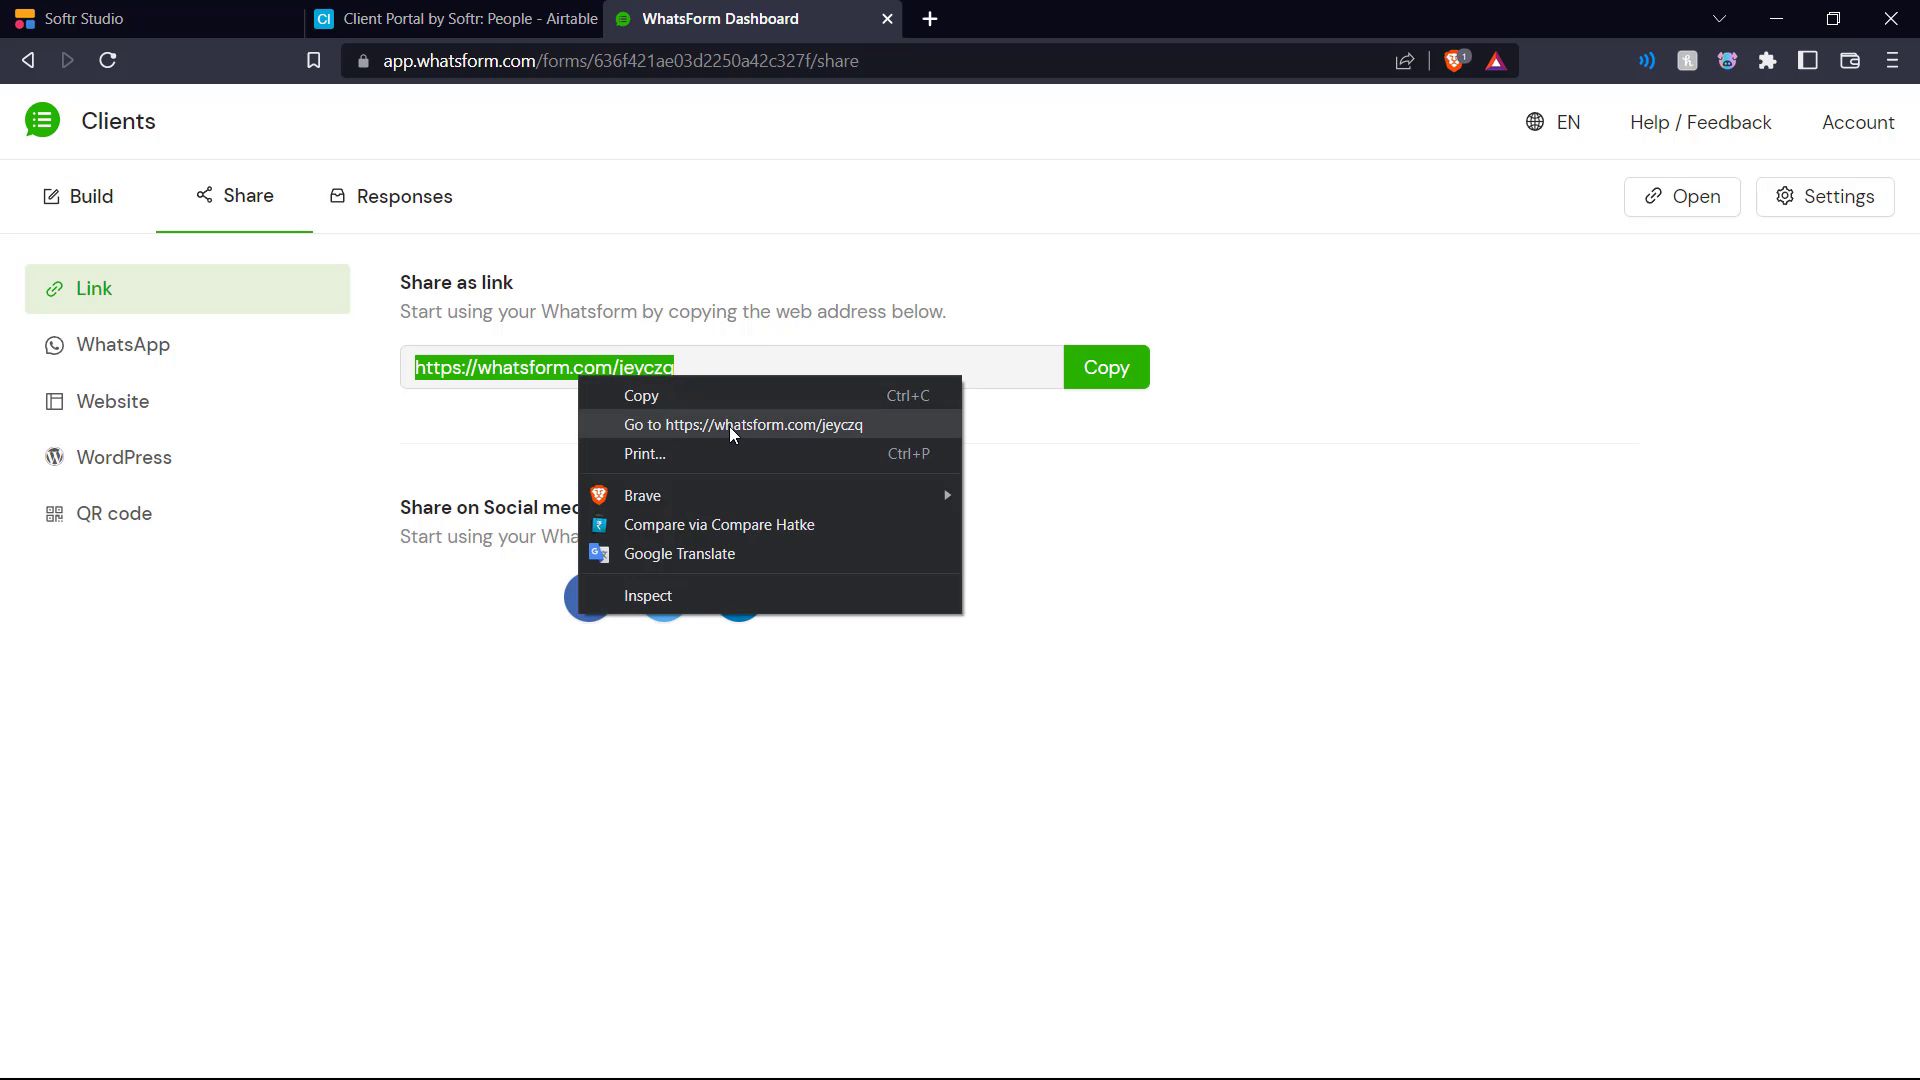
Here we go the link of the Whatsform.
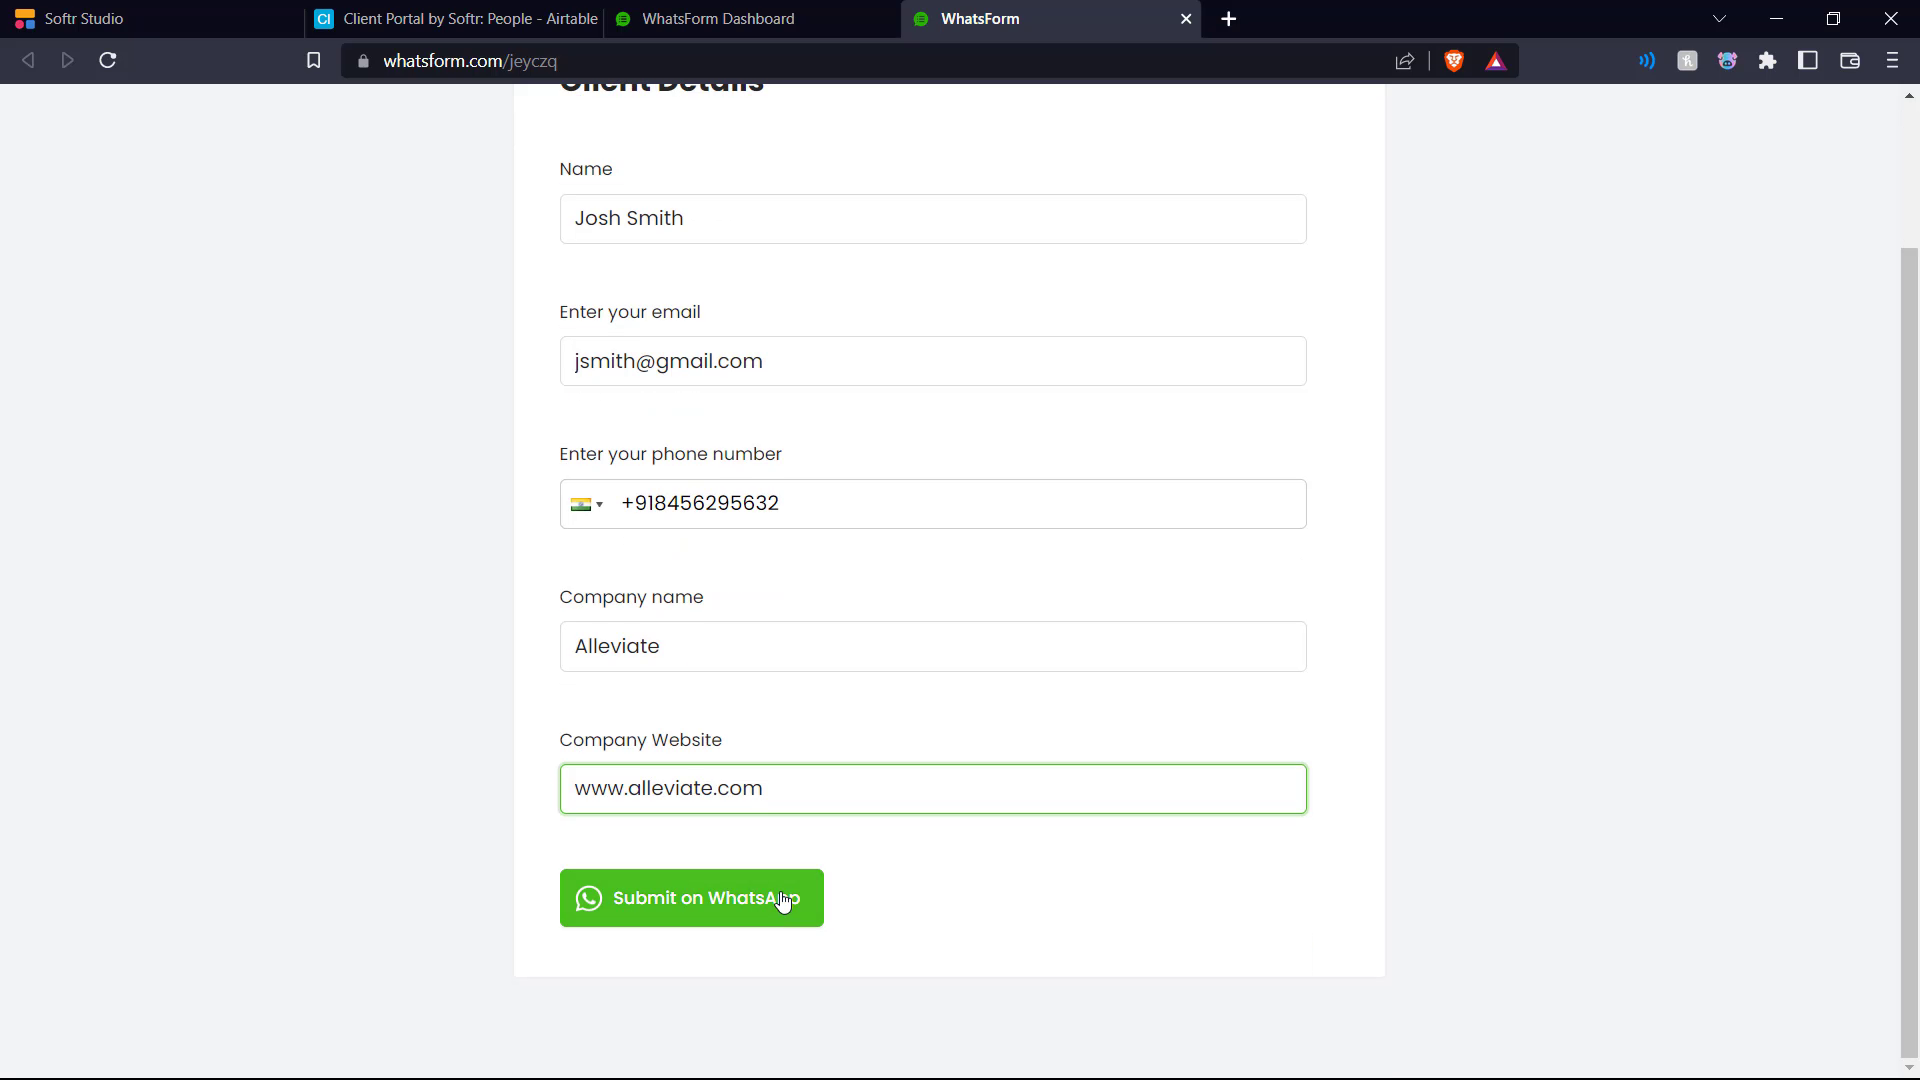
We fill in some sample details to test the Whatsform-Airtable webhook connection.
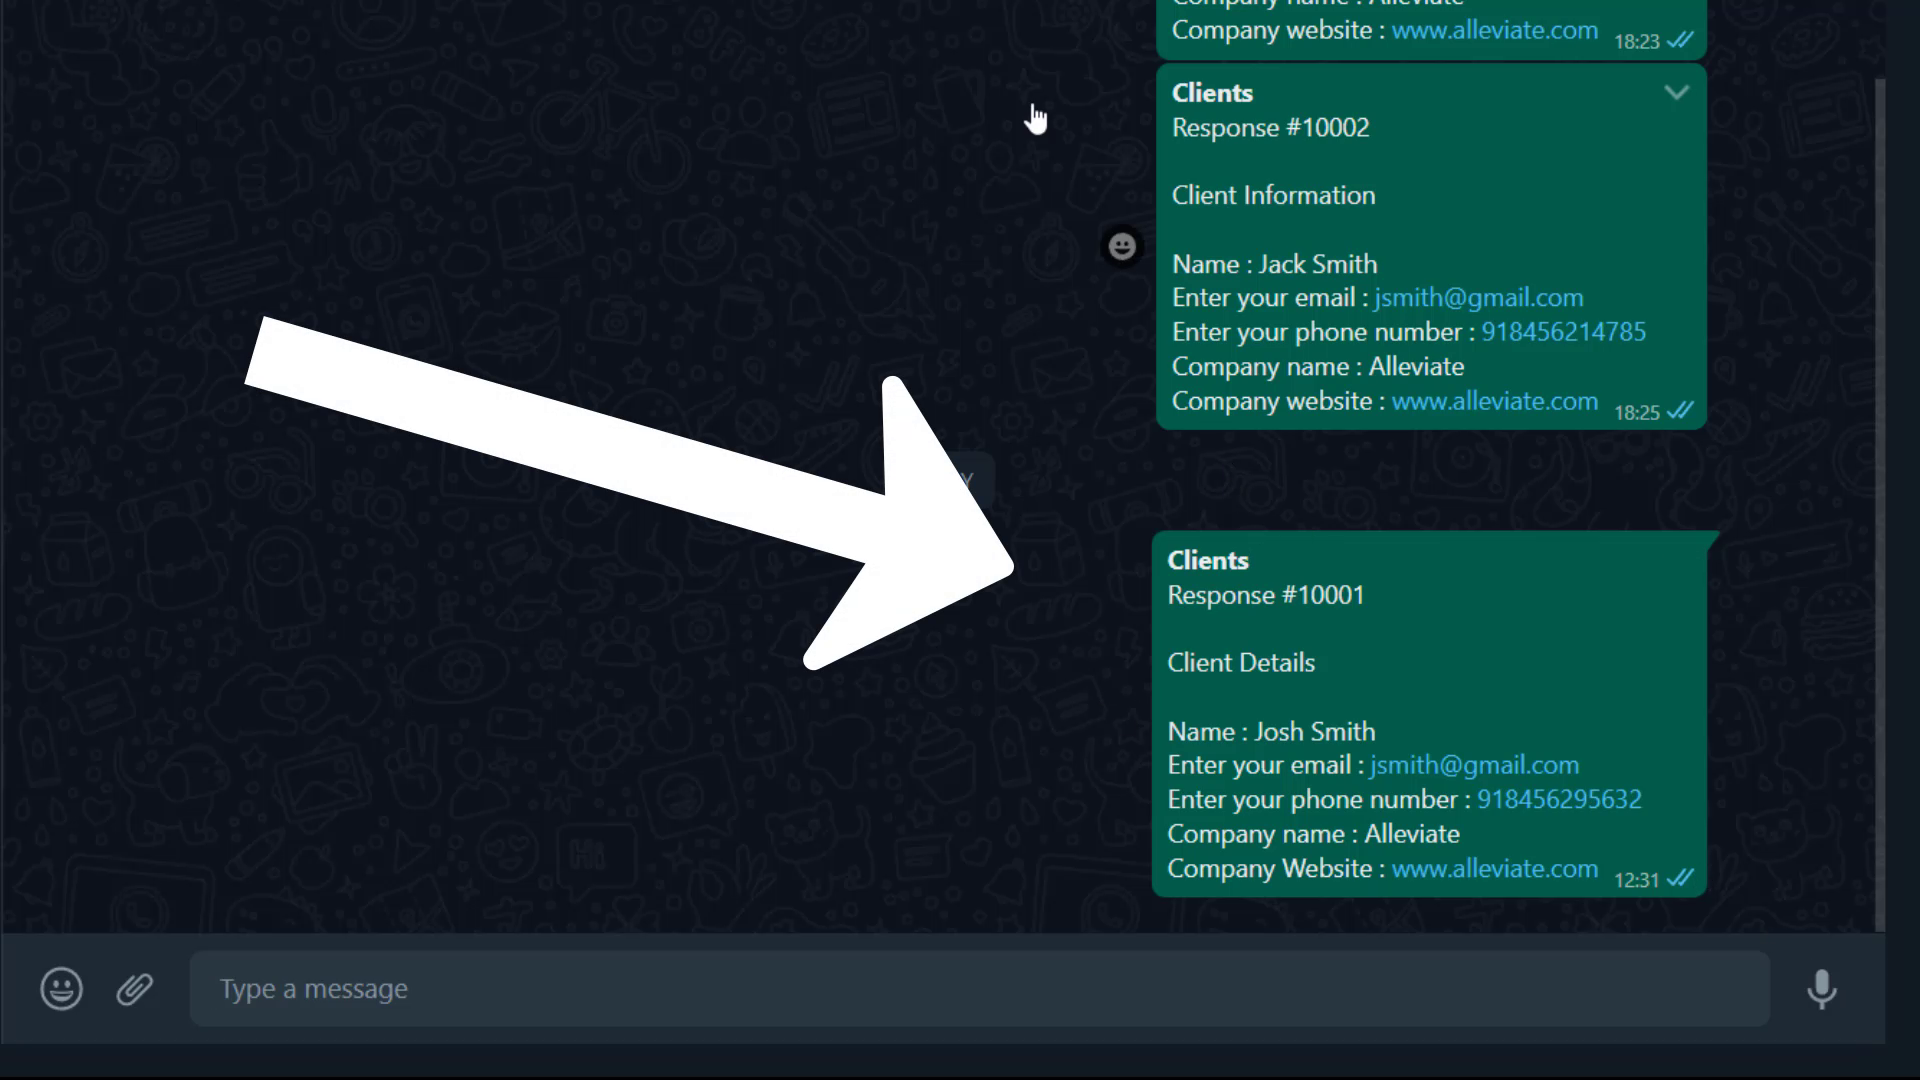
These details are then sent to the WhatsApp number of the form creator.
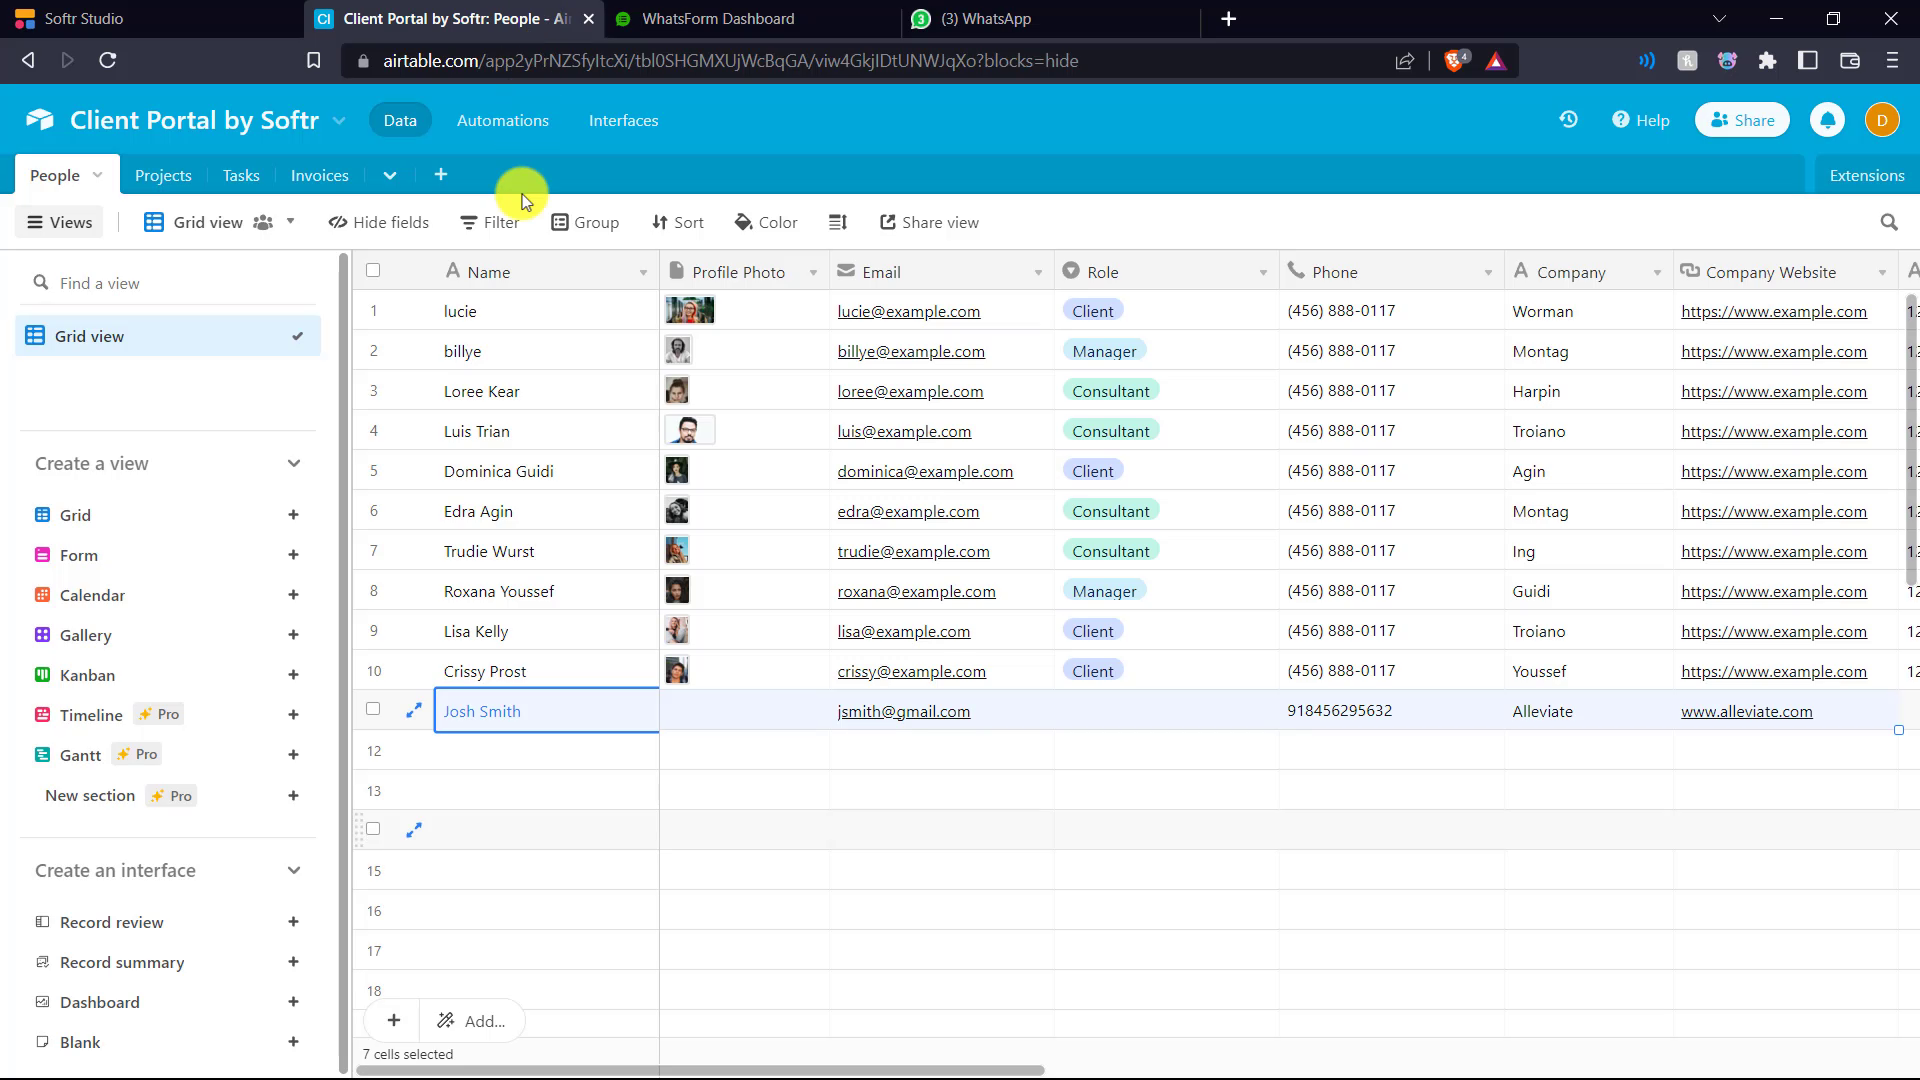
And here in the Airtable we can see the responses from the Whatsform have updated in the database, showing the integration is successful.
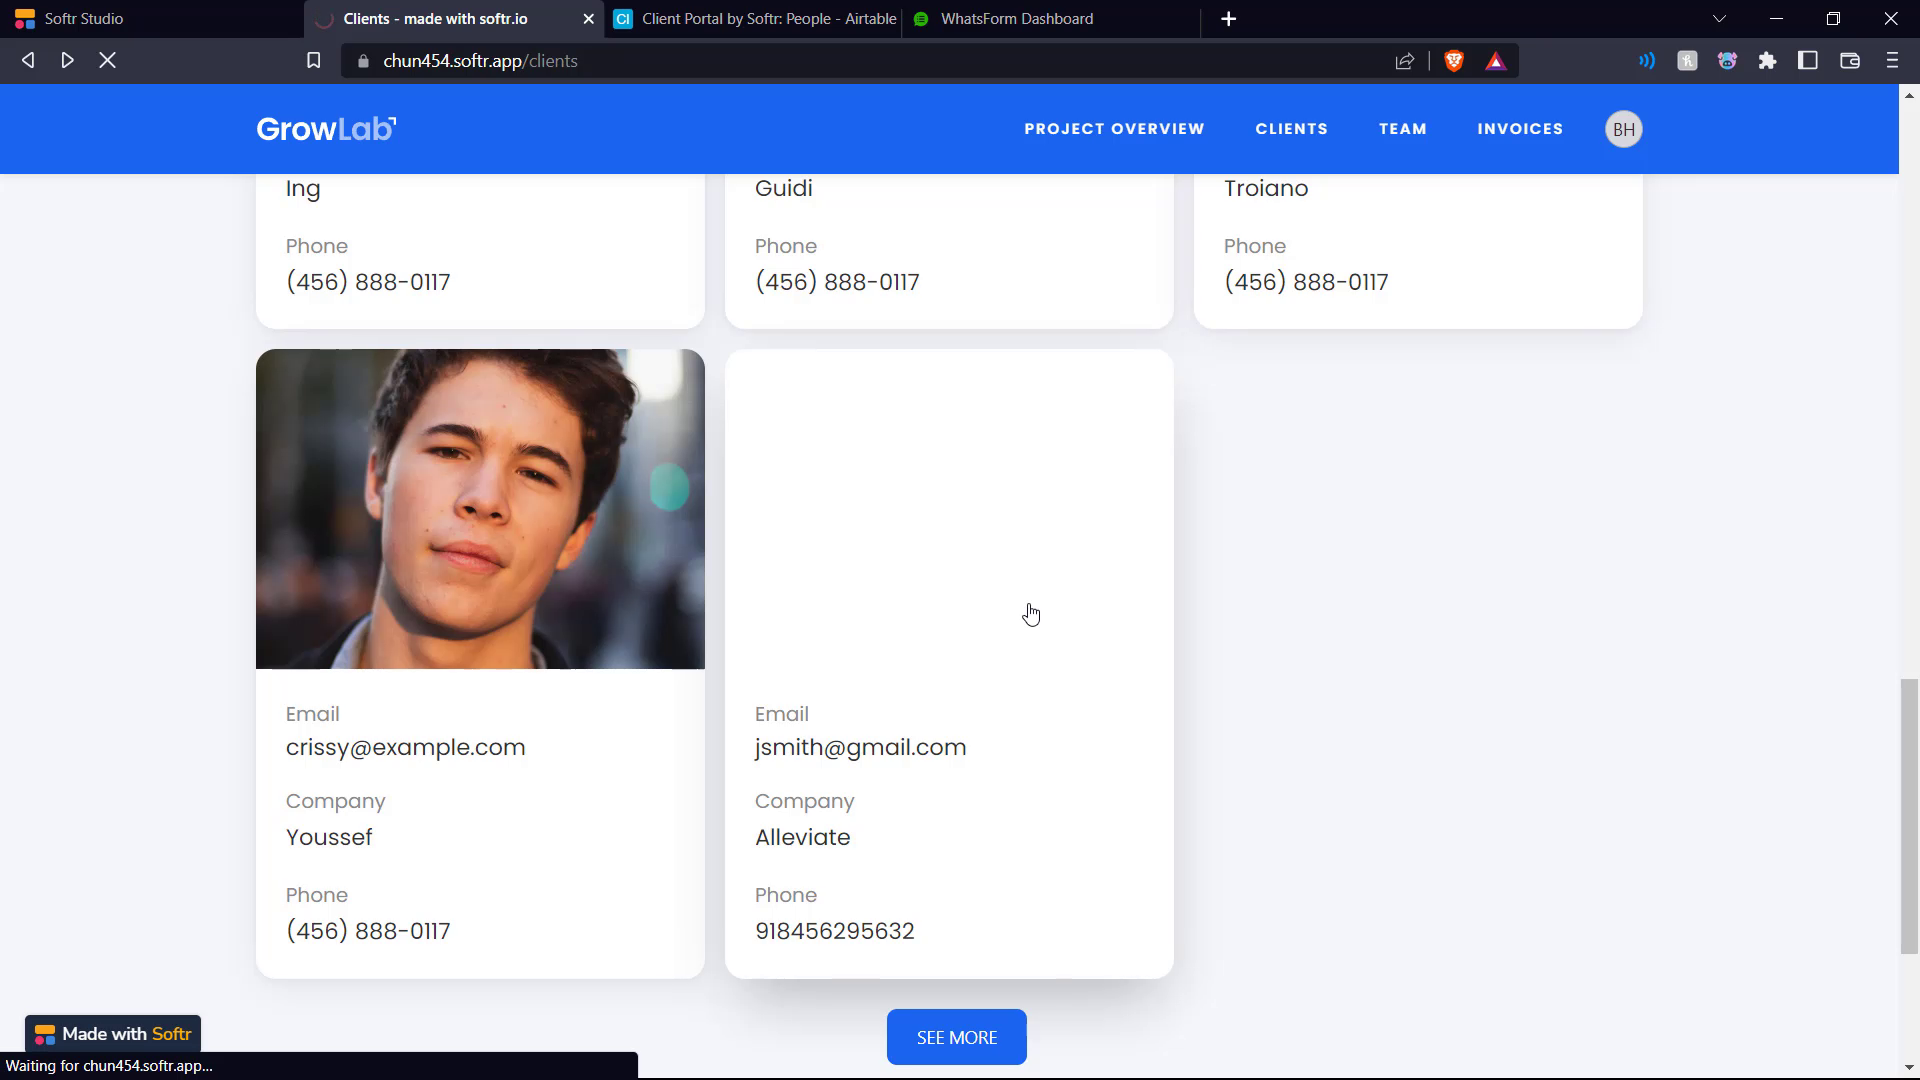
And here in the client portal itself, a card has been added to reflect the sample client's details.
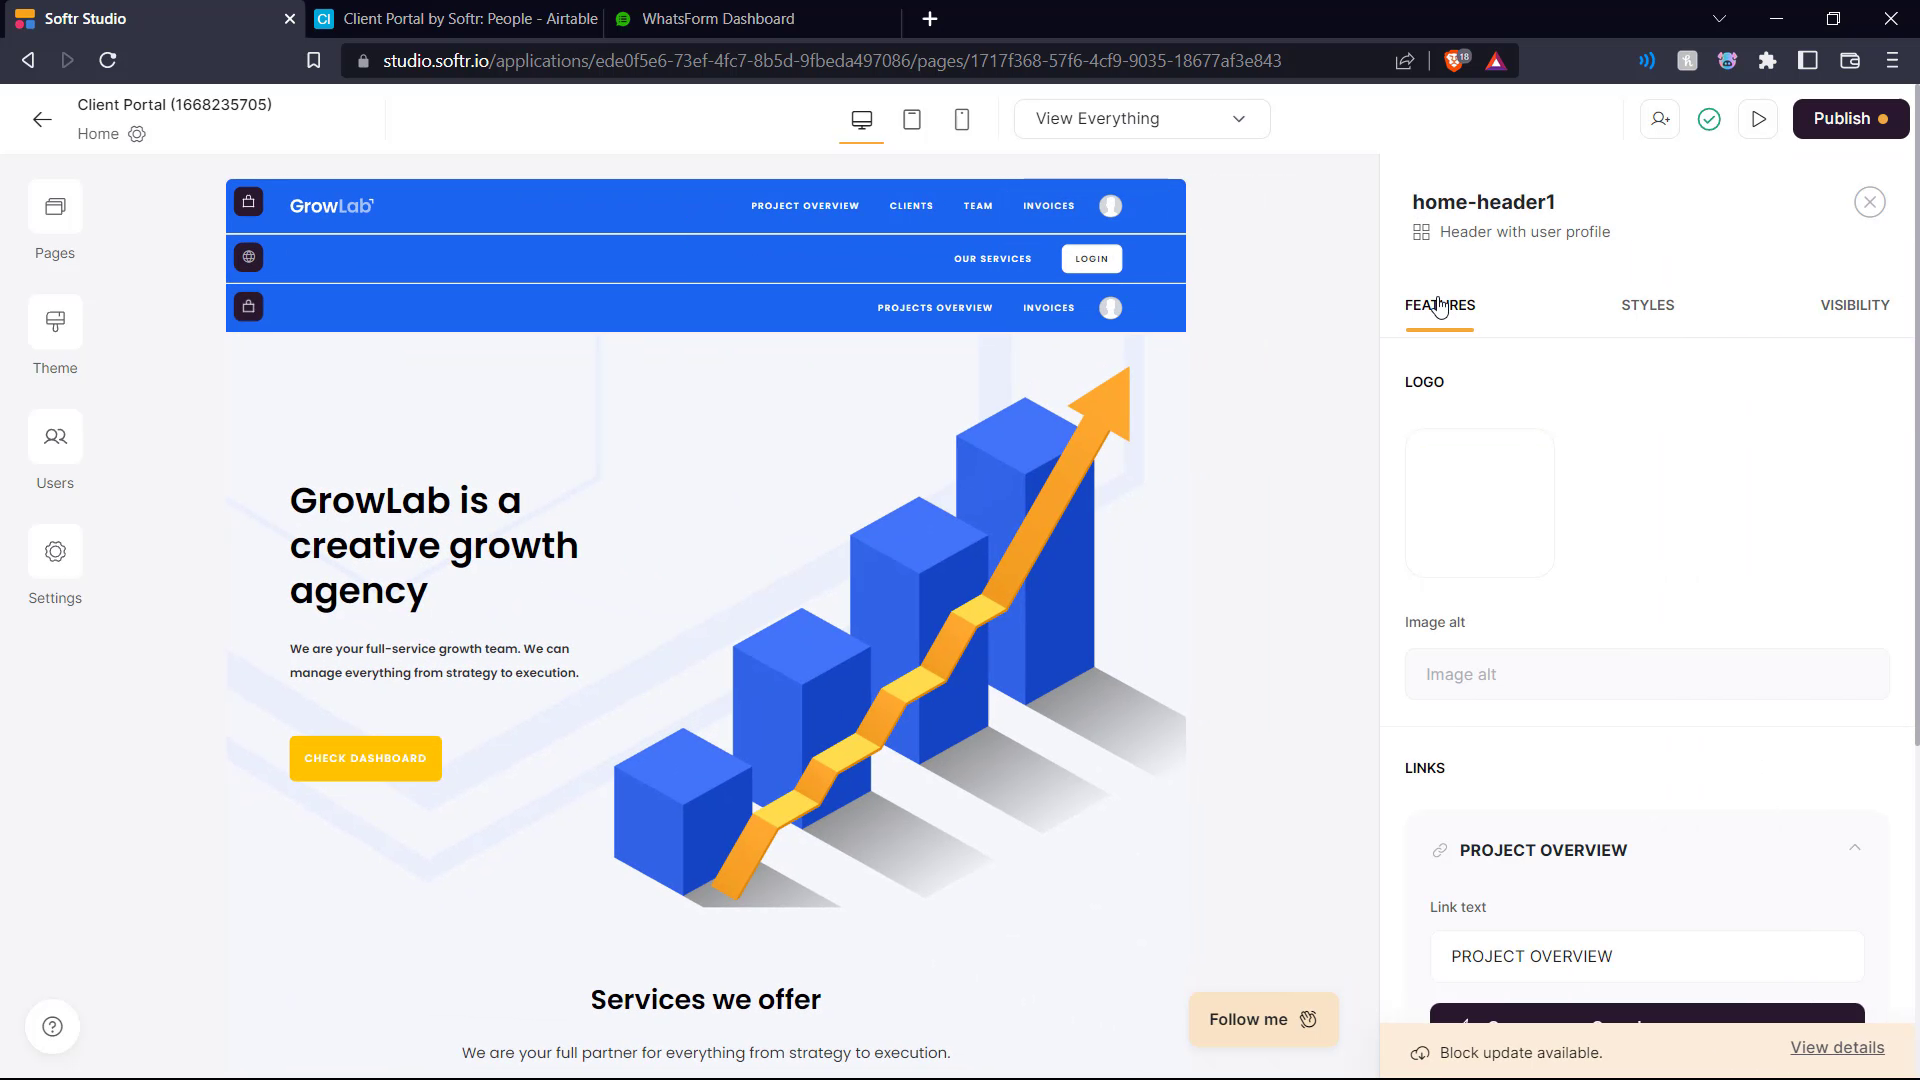
Now that we've set up the Whatsform-Airtable-Softr integration, we just need to customize our client portal to fit our needs. Here we can see that we edit an element on the page by just clicking on it and an edit menu slides in on the right.
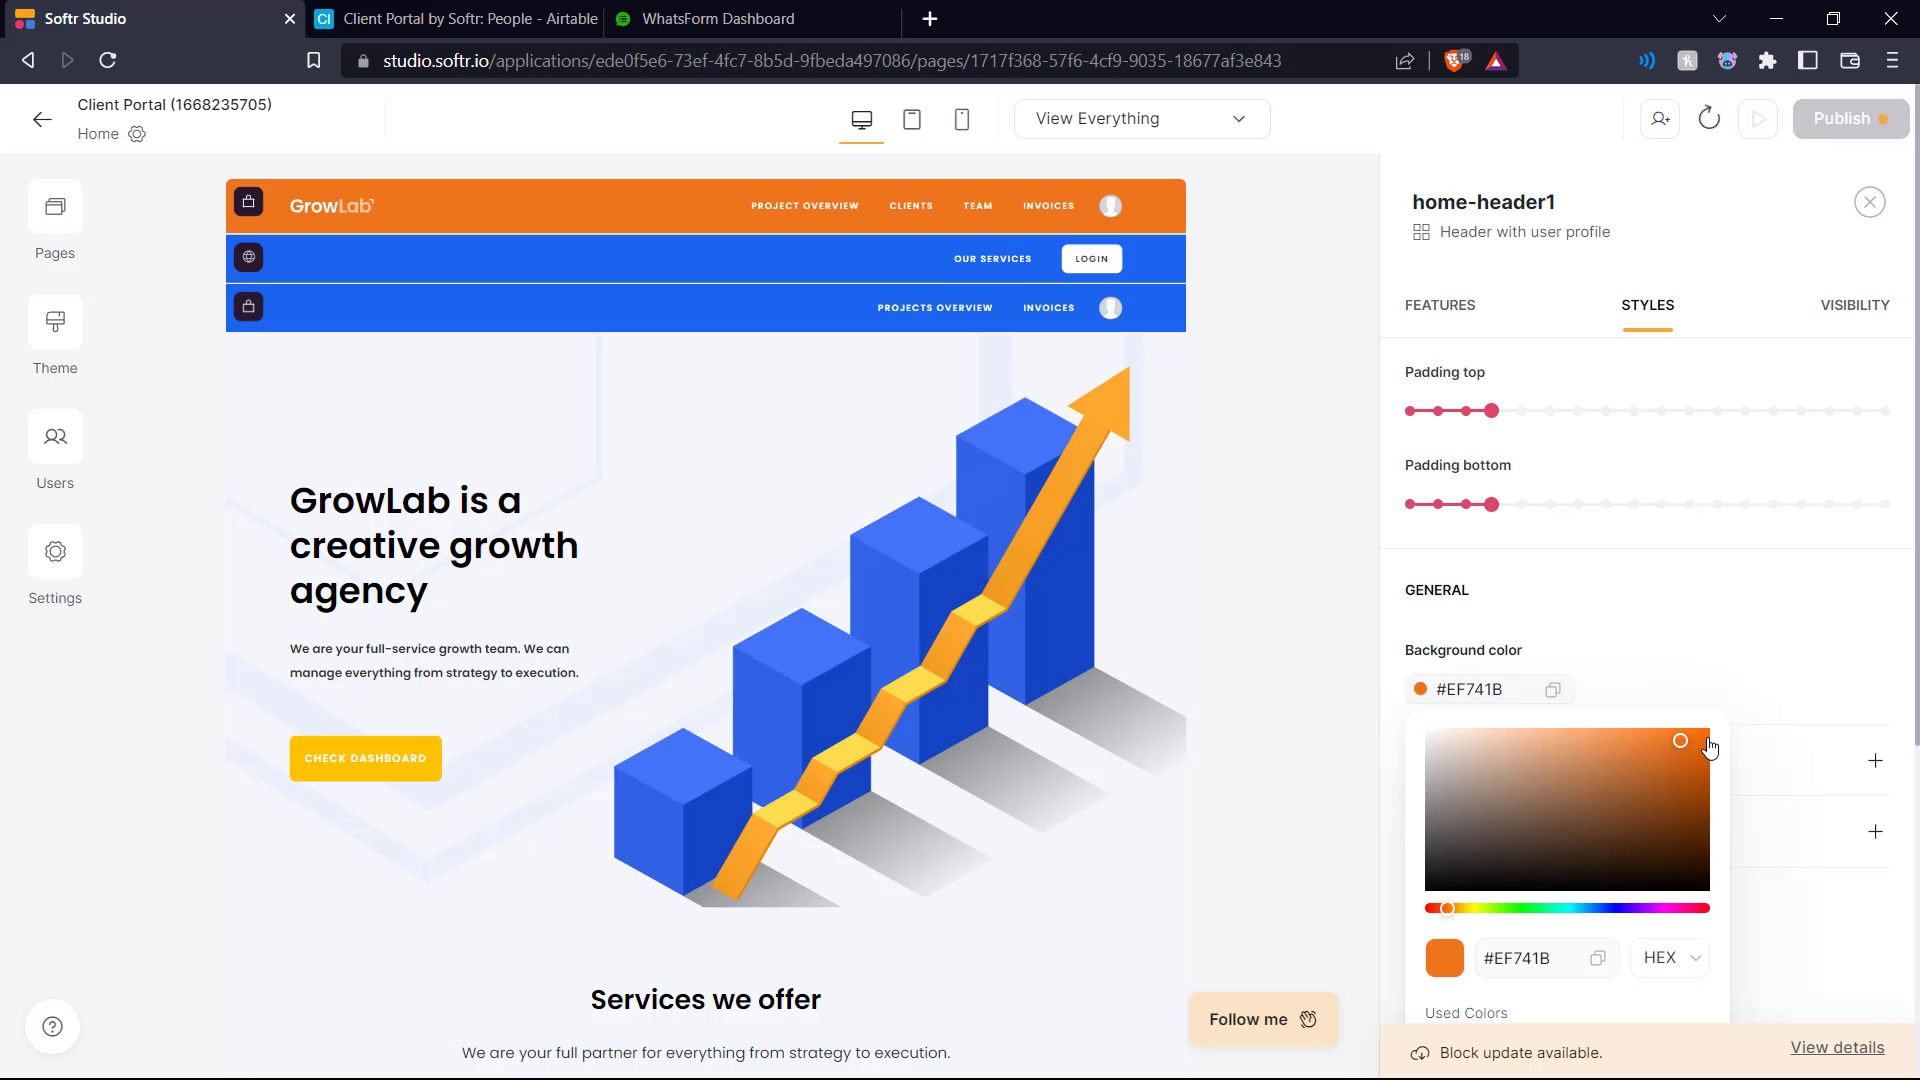
We change up the colour of the headers using the Background color setting.
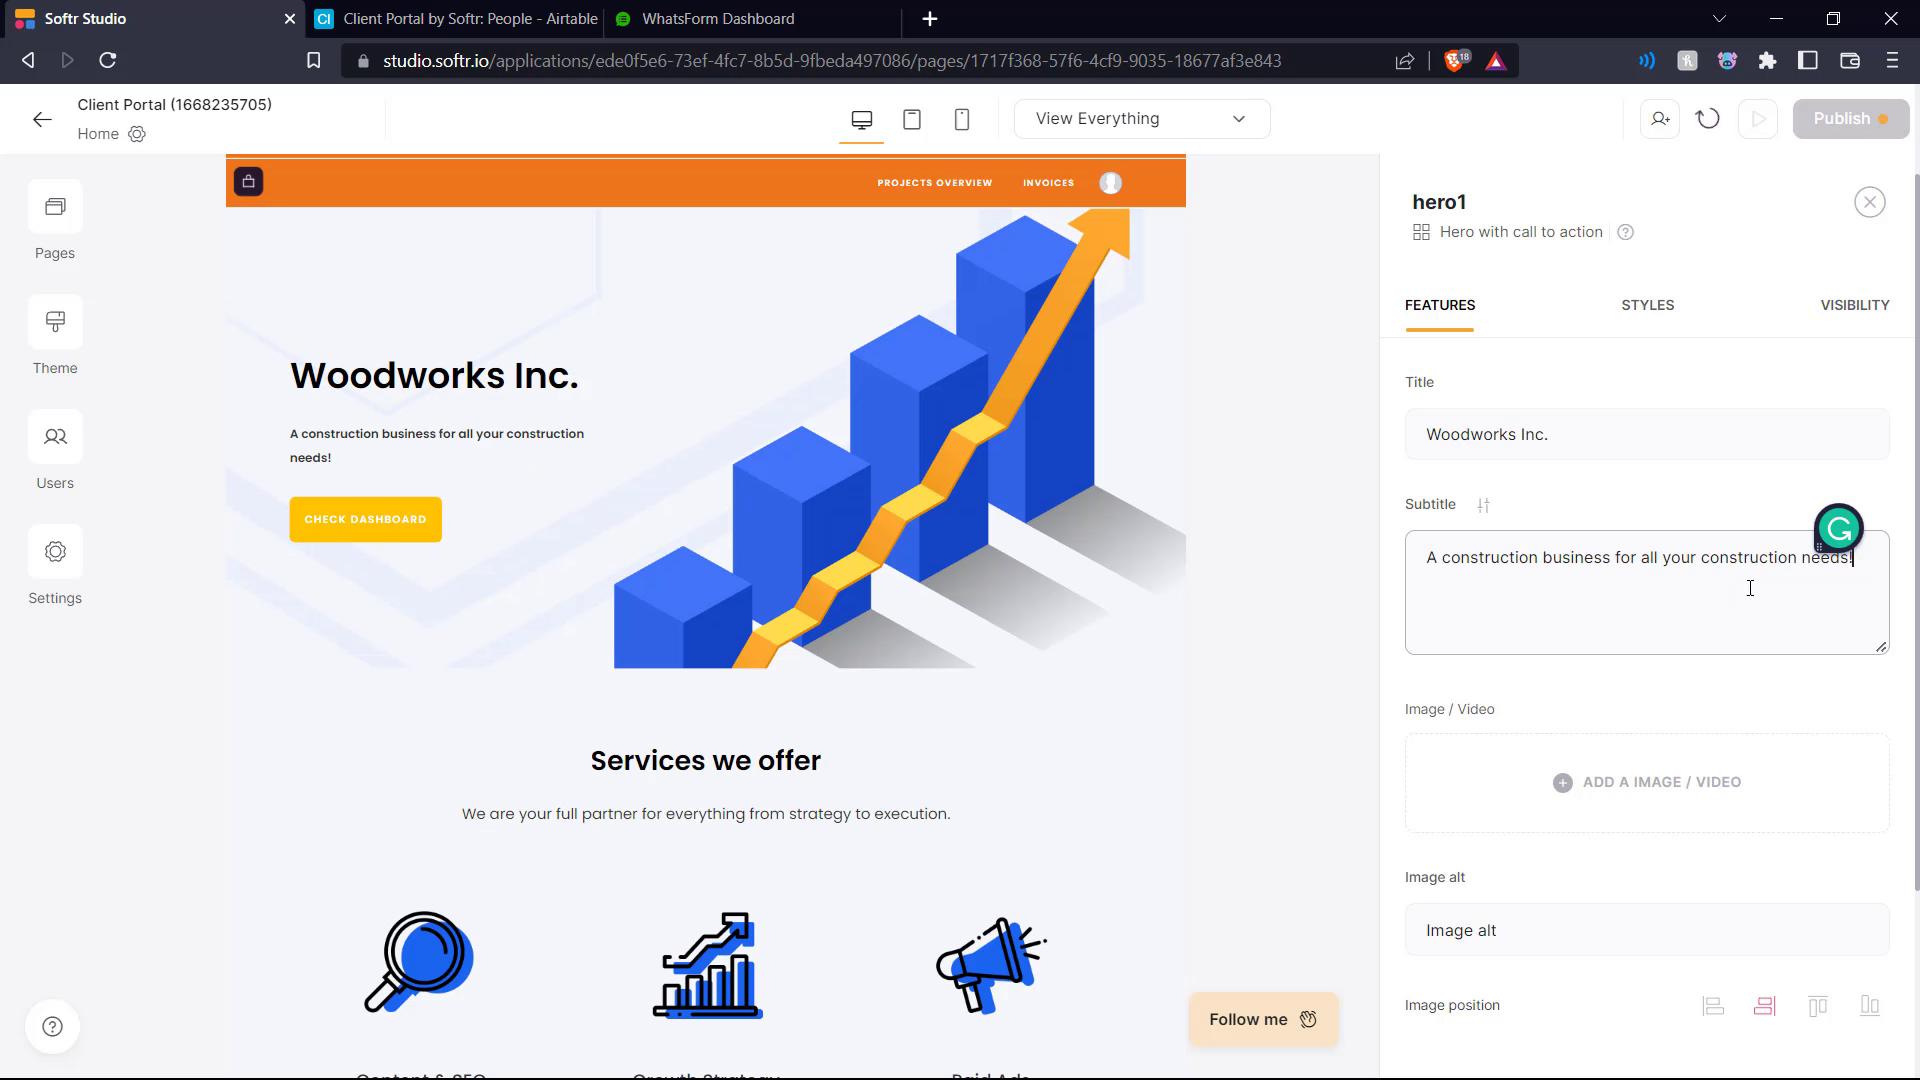
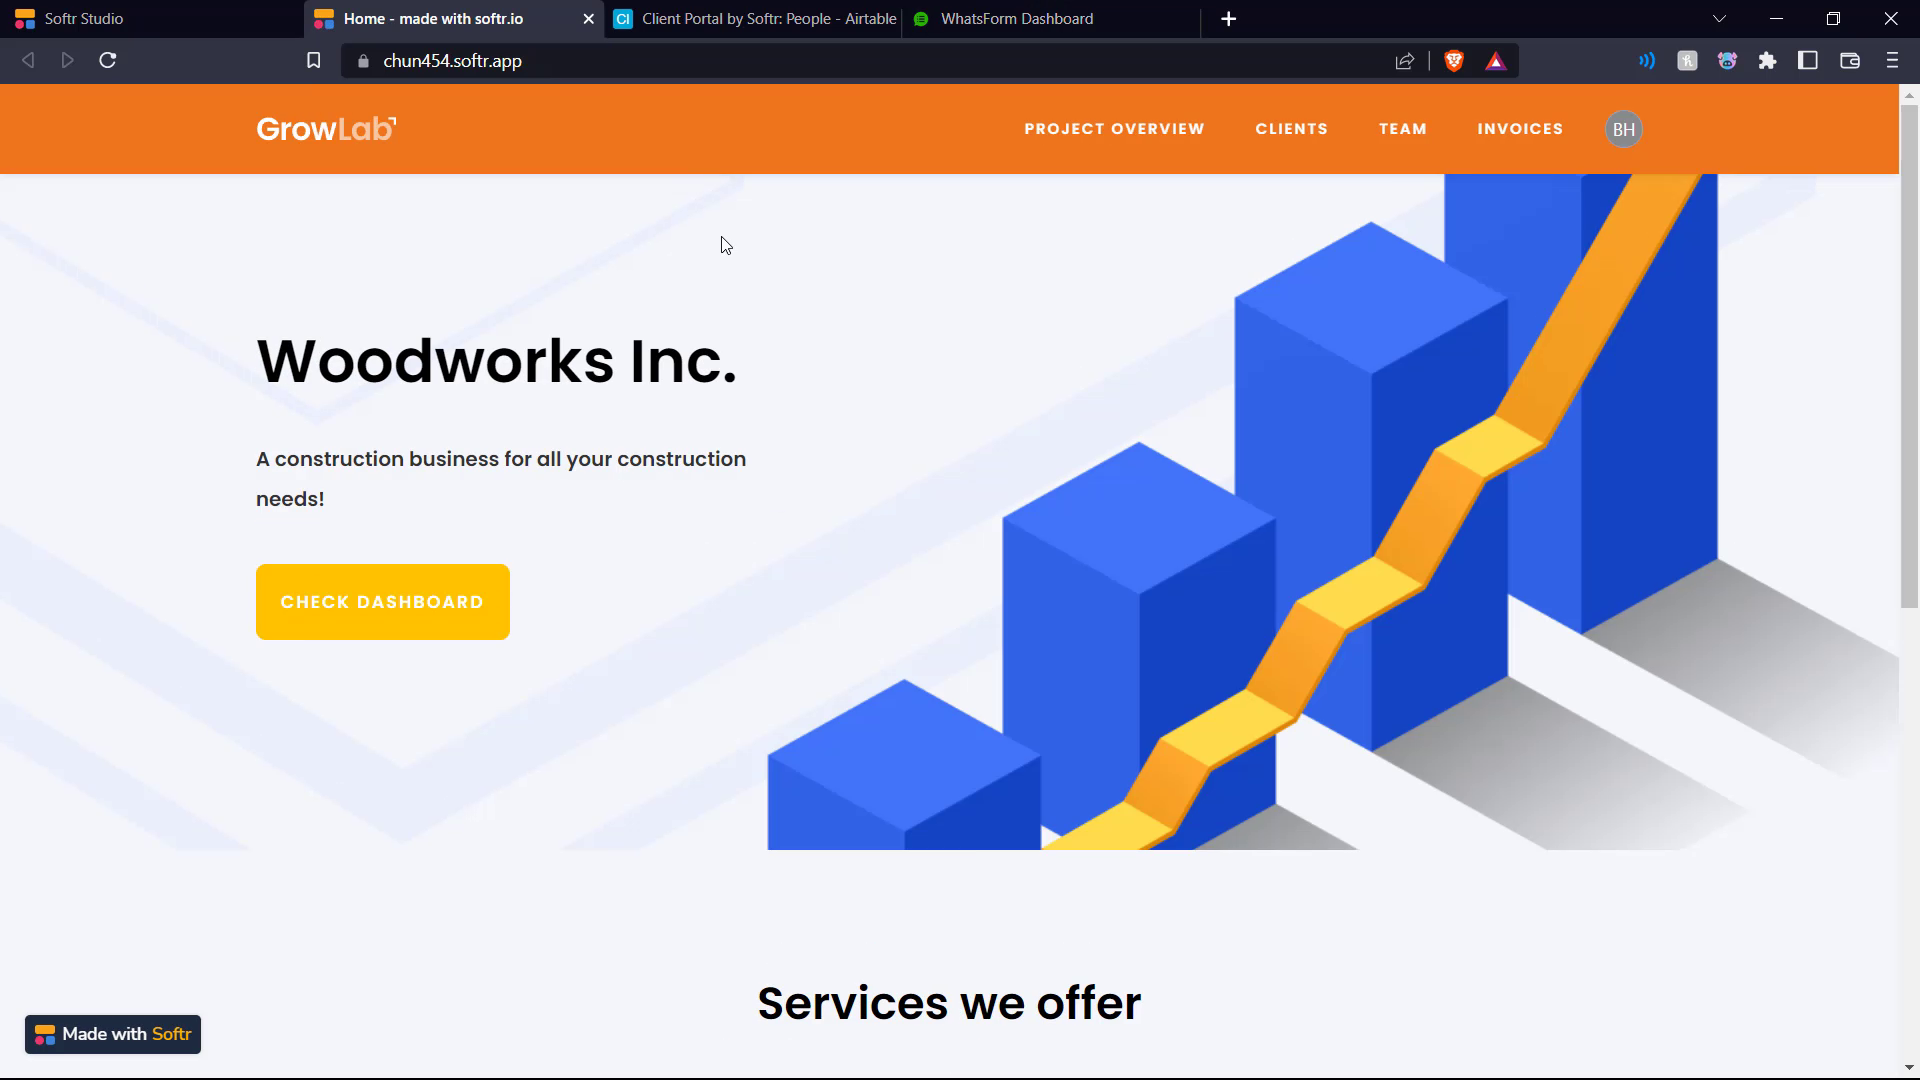
We change up the title and tagline to reflect our needs.
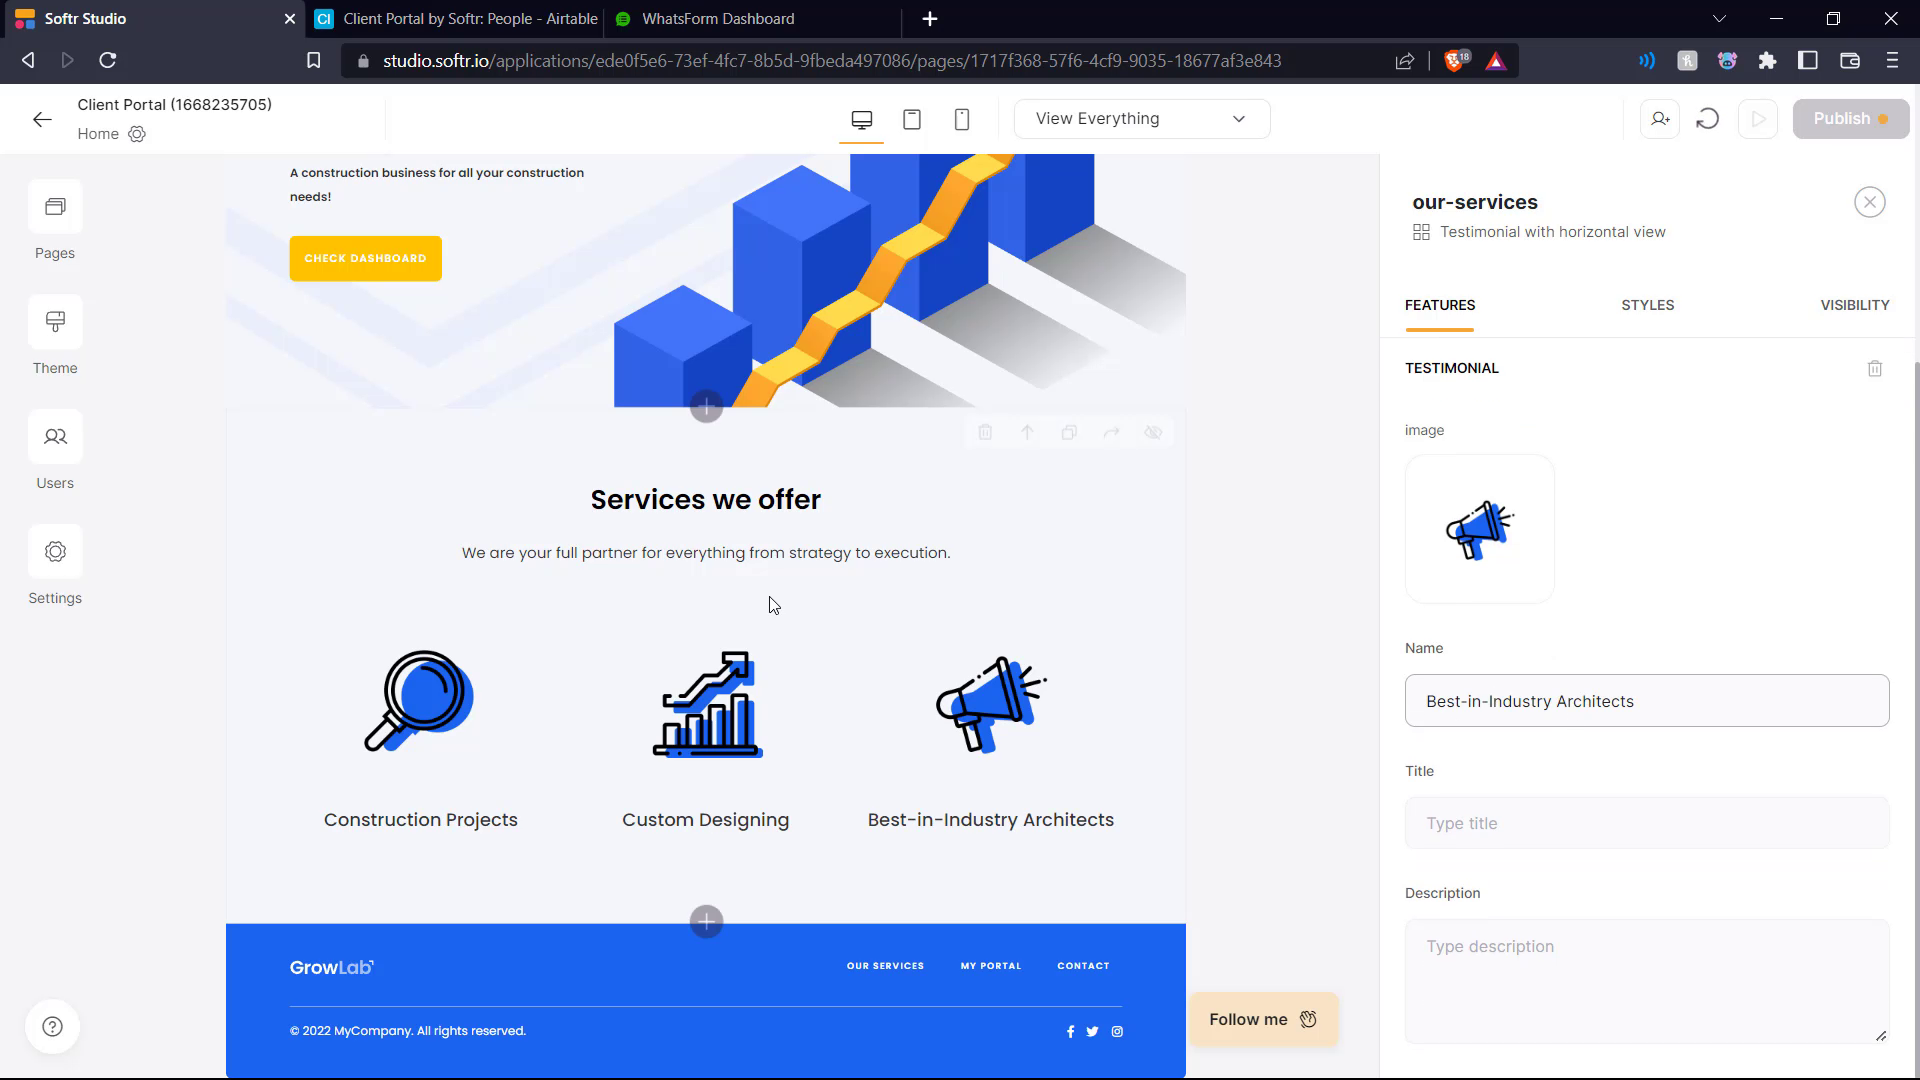
We also change up the services section to showcase our fictional constructions company's services.
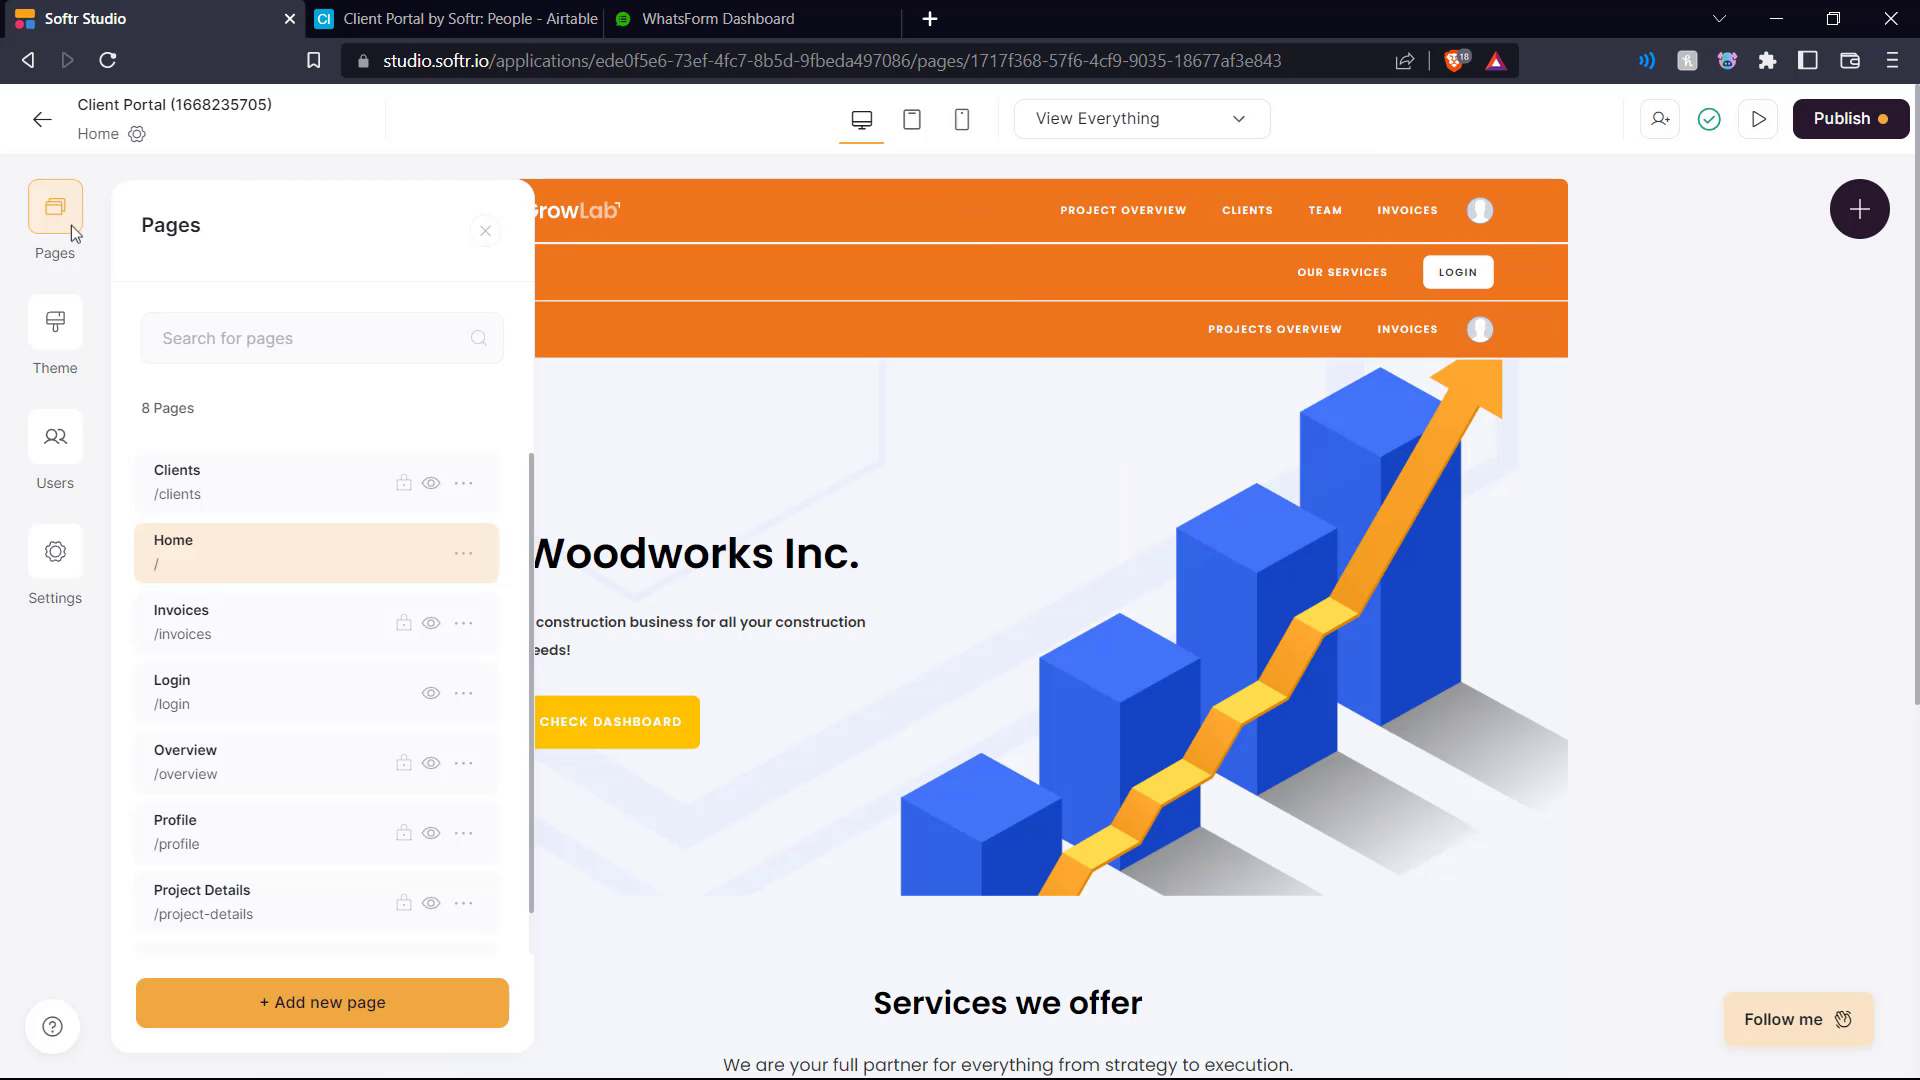
On the left here, we see the pages menu, which lists the various pages of the client portal.
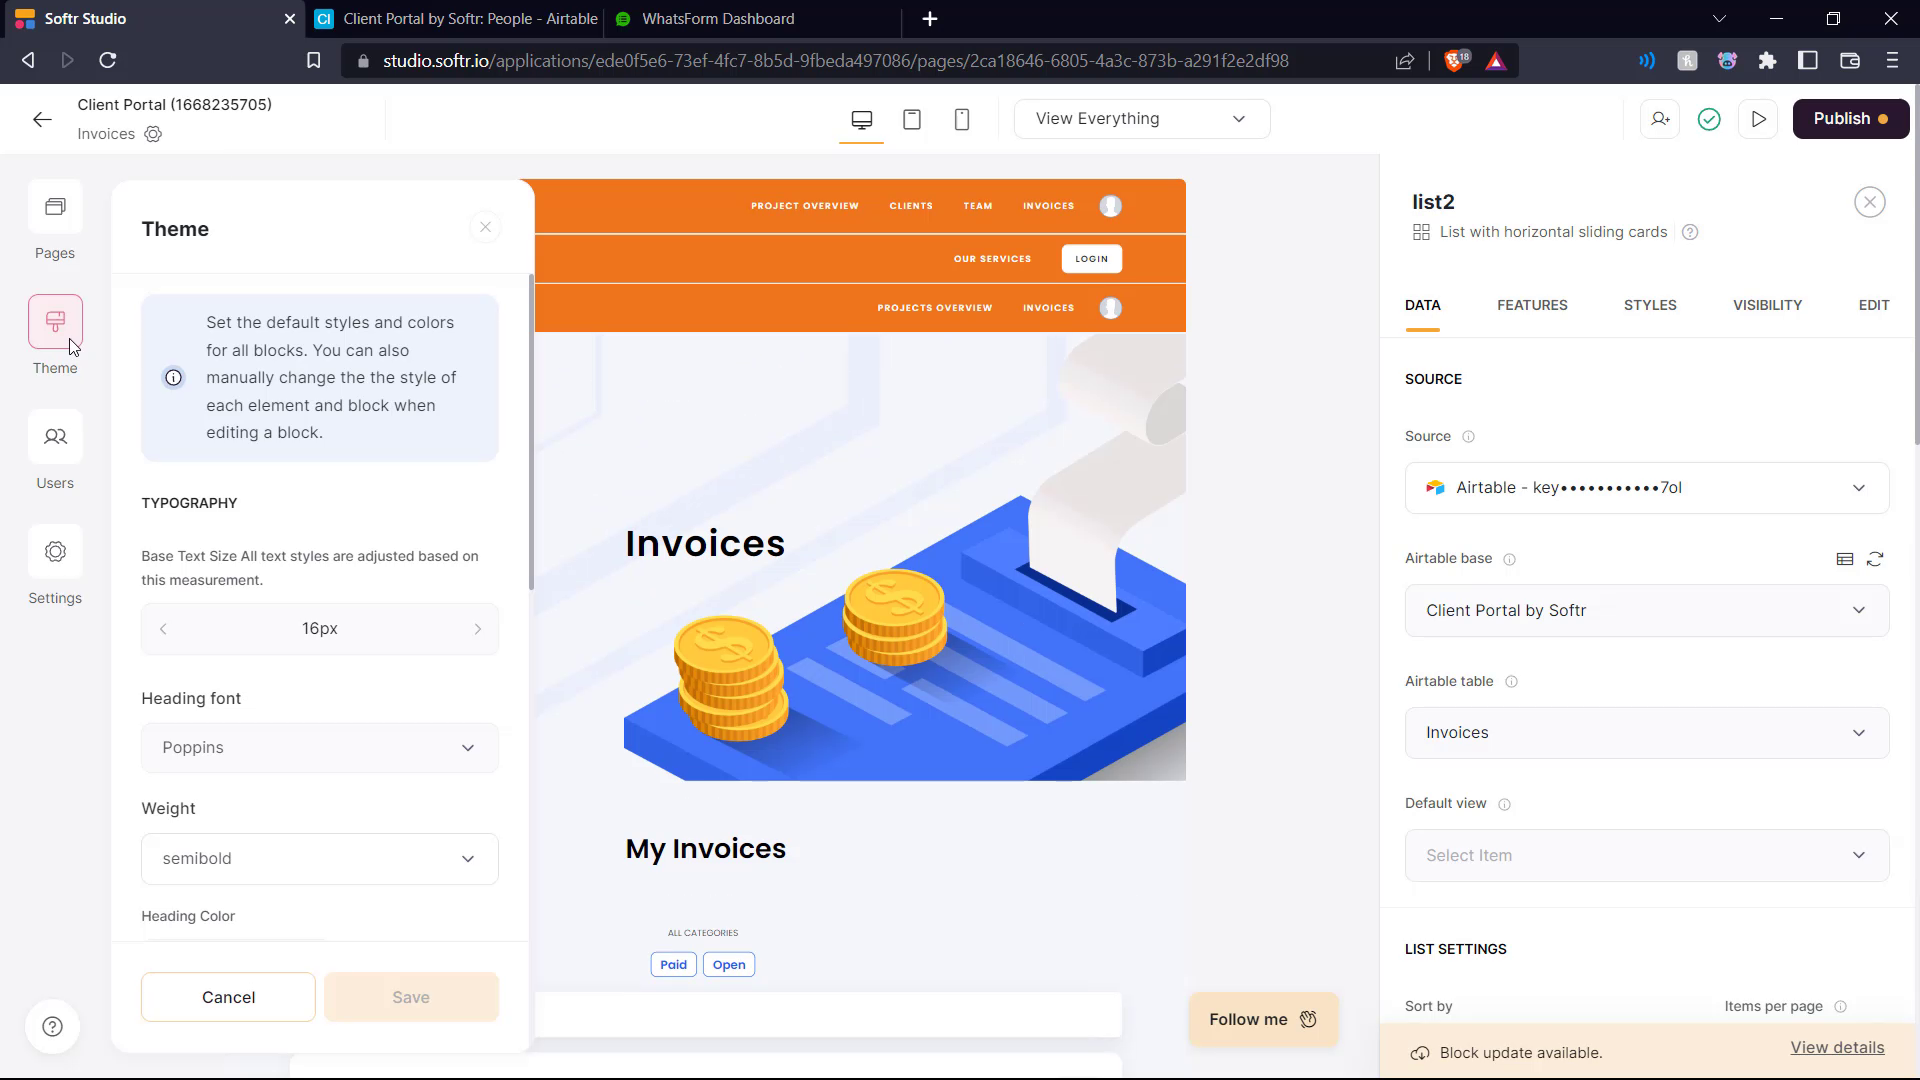
Then we see the theme menu, where various settings can be changed.
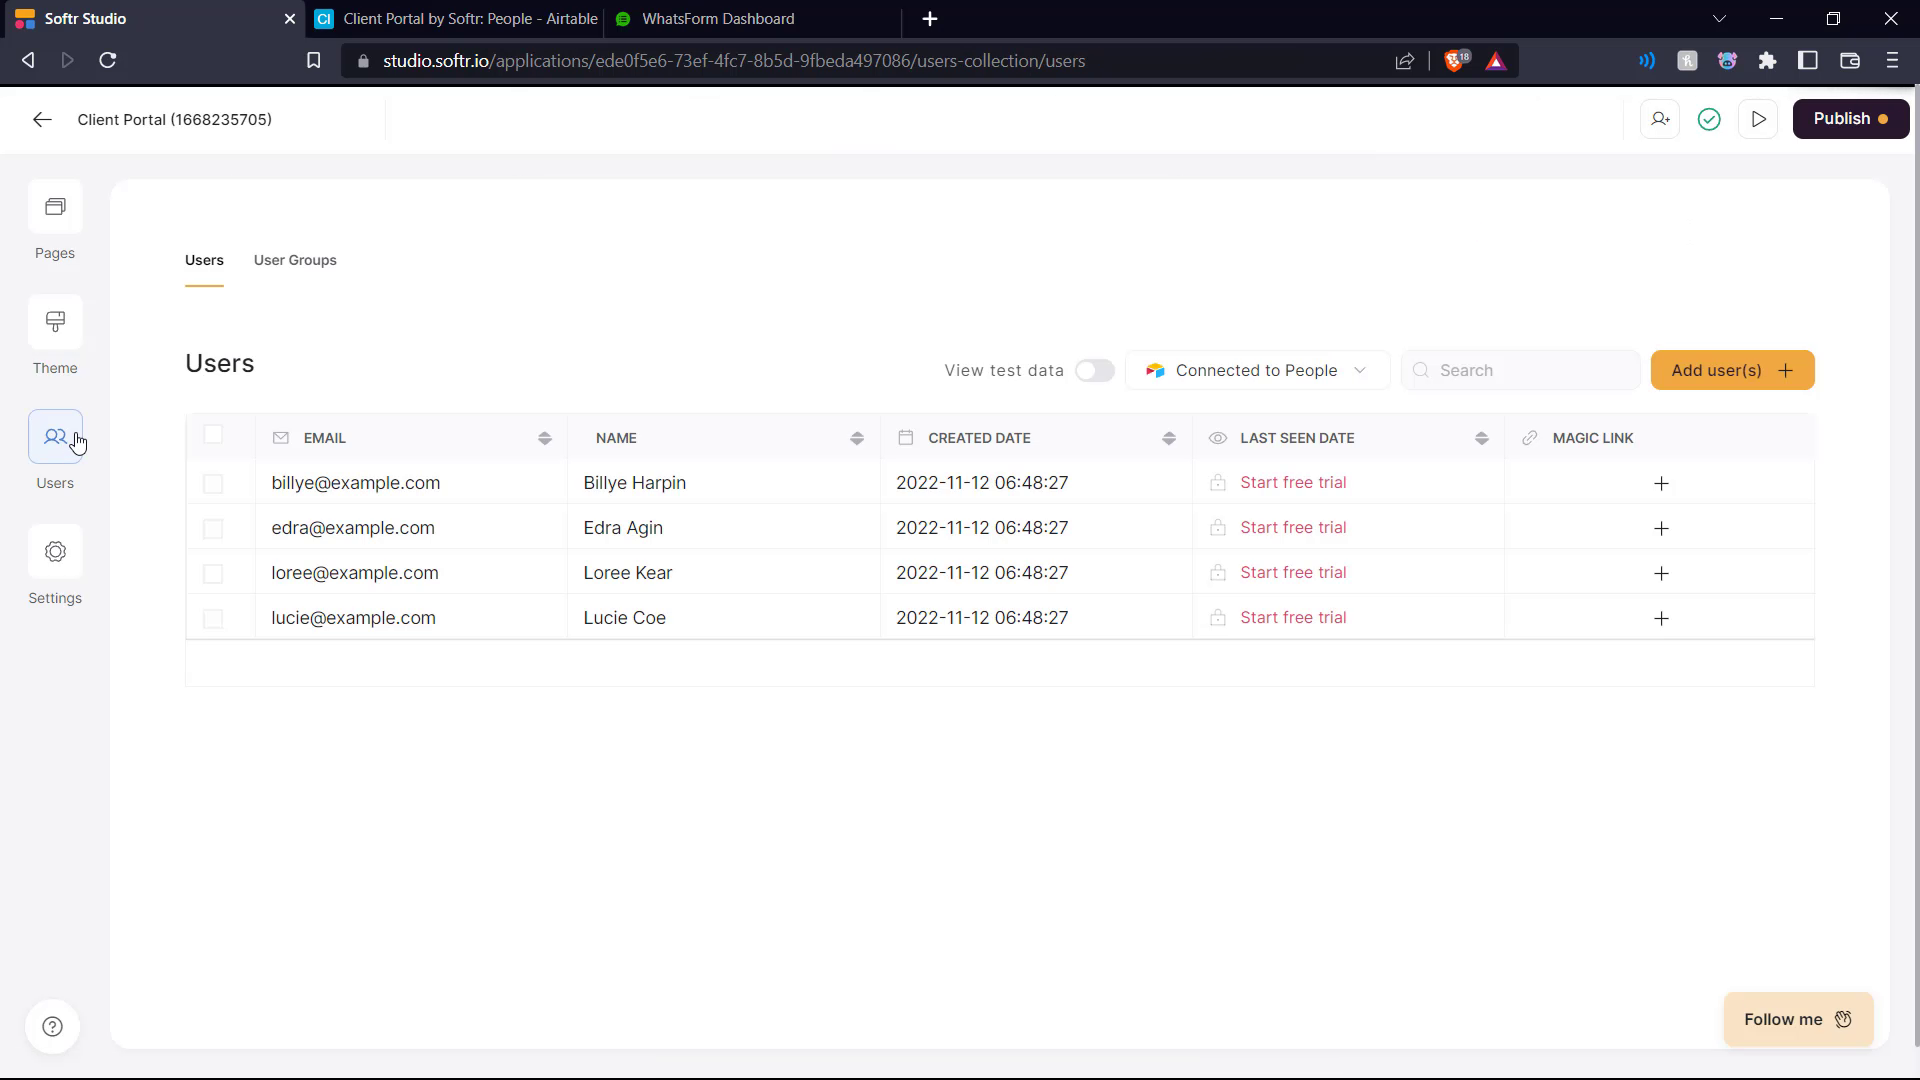
In the users menu here, we see the various sample users that have been added to the client portal.
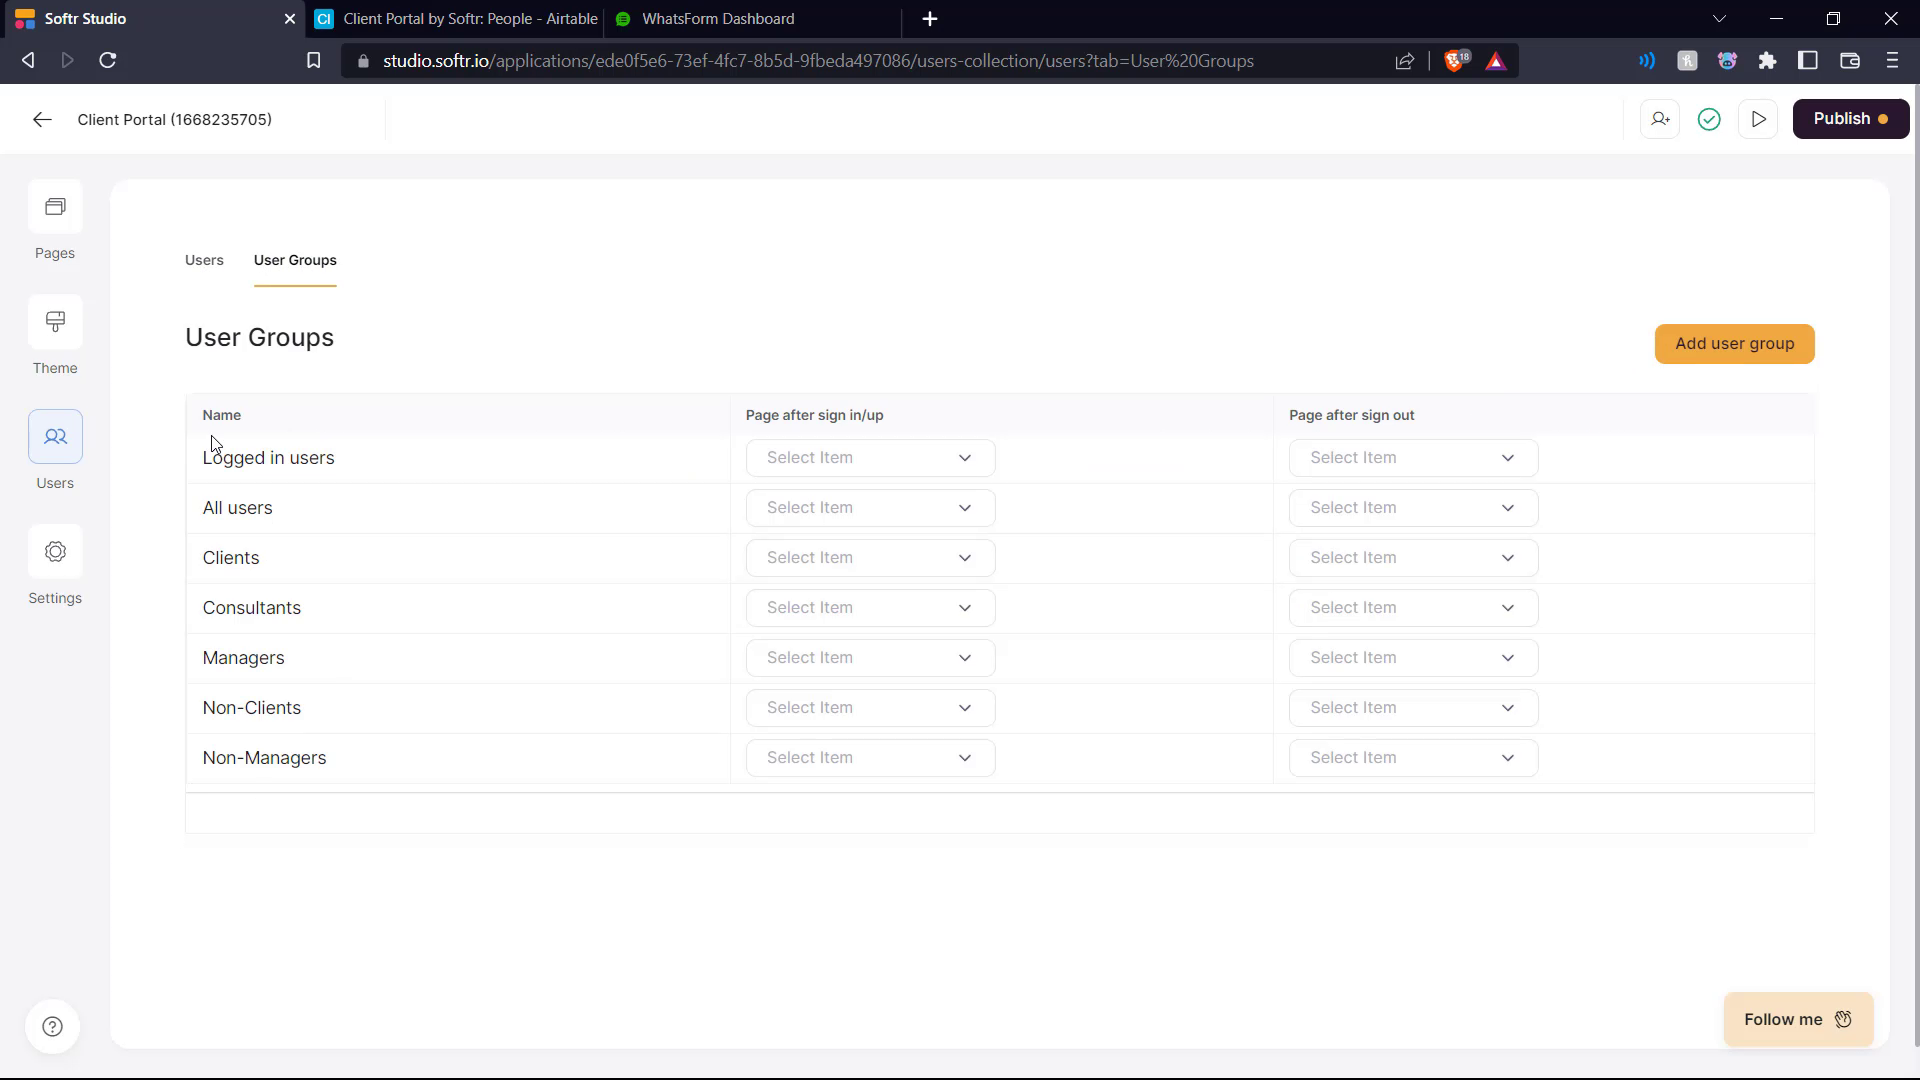
And here we see listed, the various user groups that will be accessing the portal.
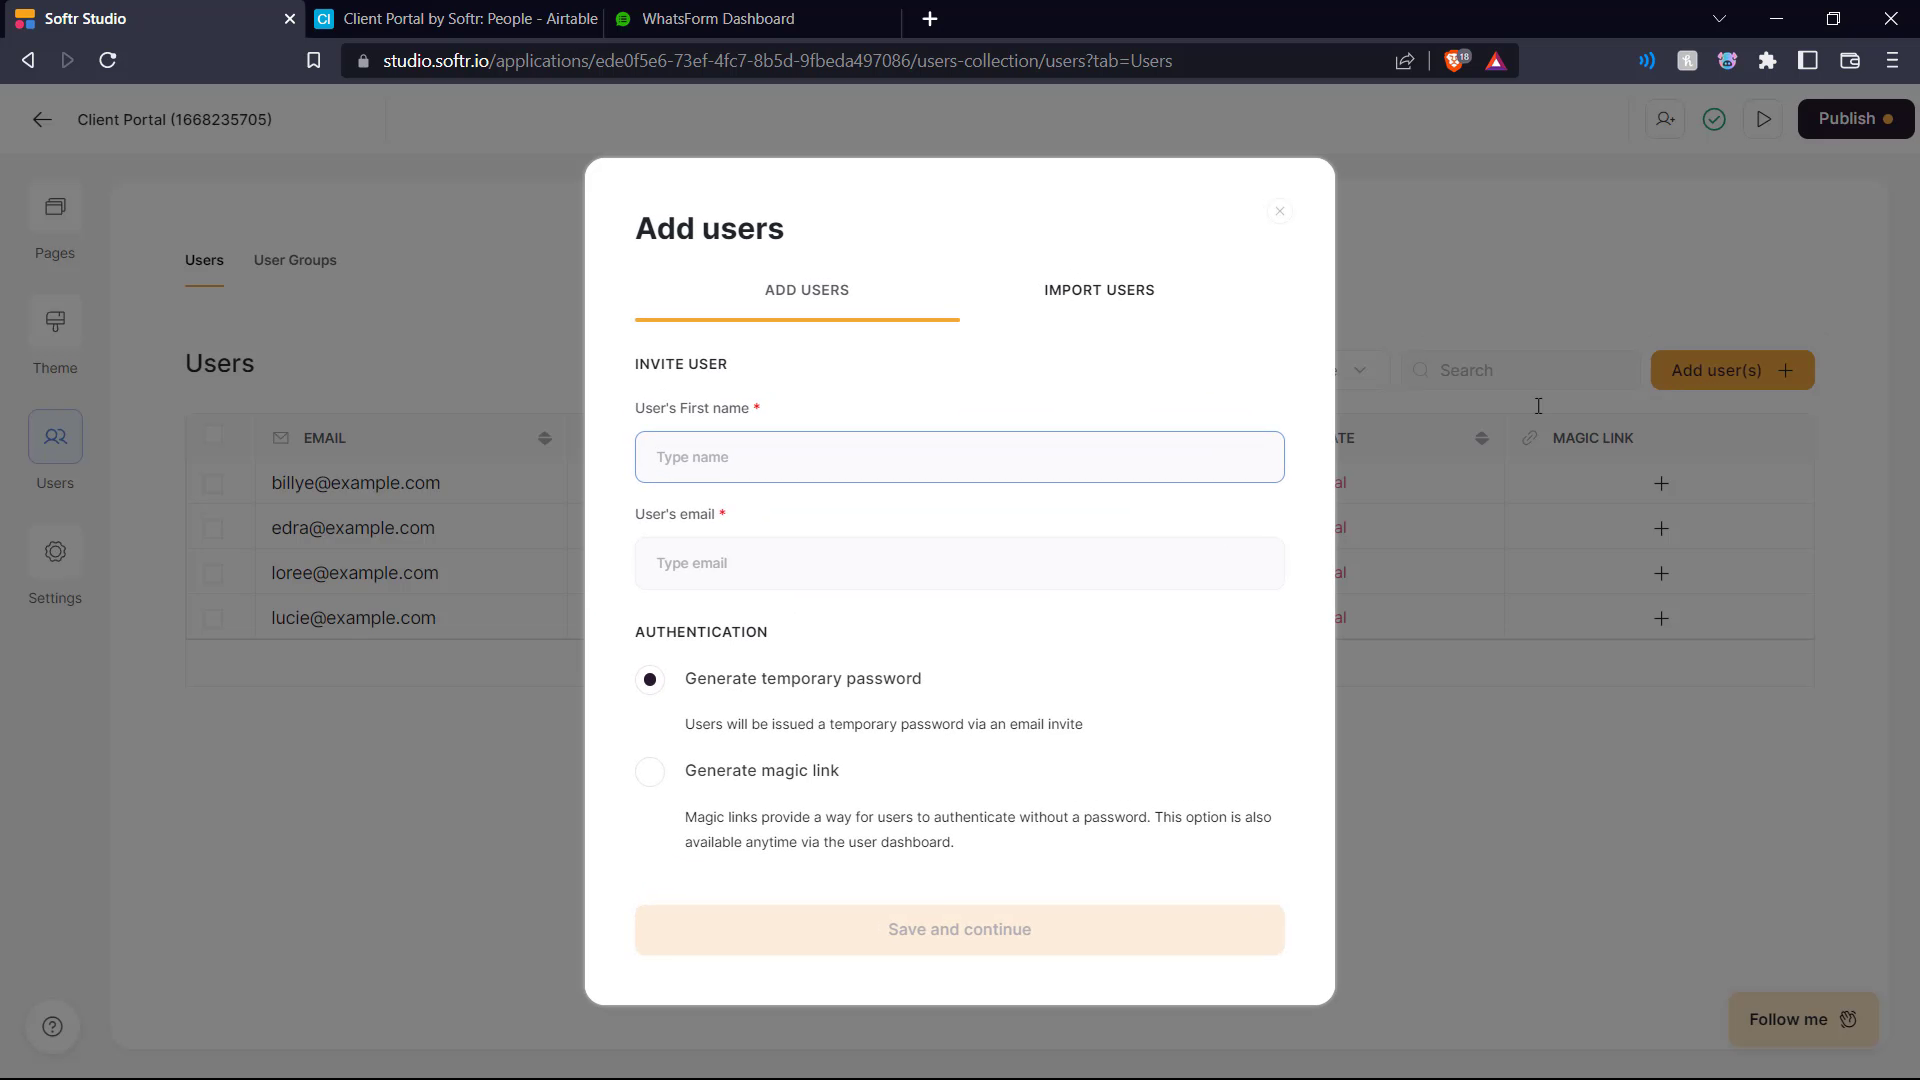
You can also add users manually by entering their name and email and either sending them a magic link or generating a temporary password.
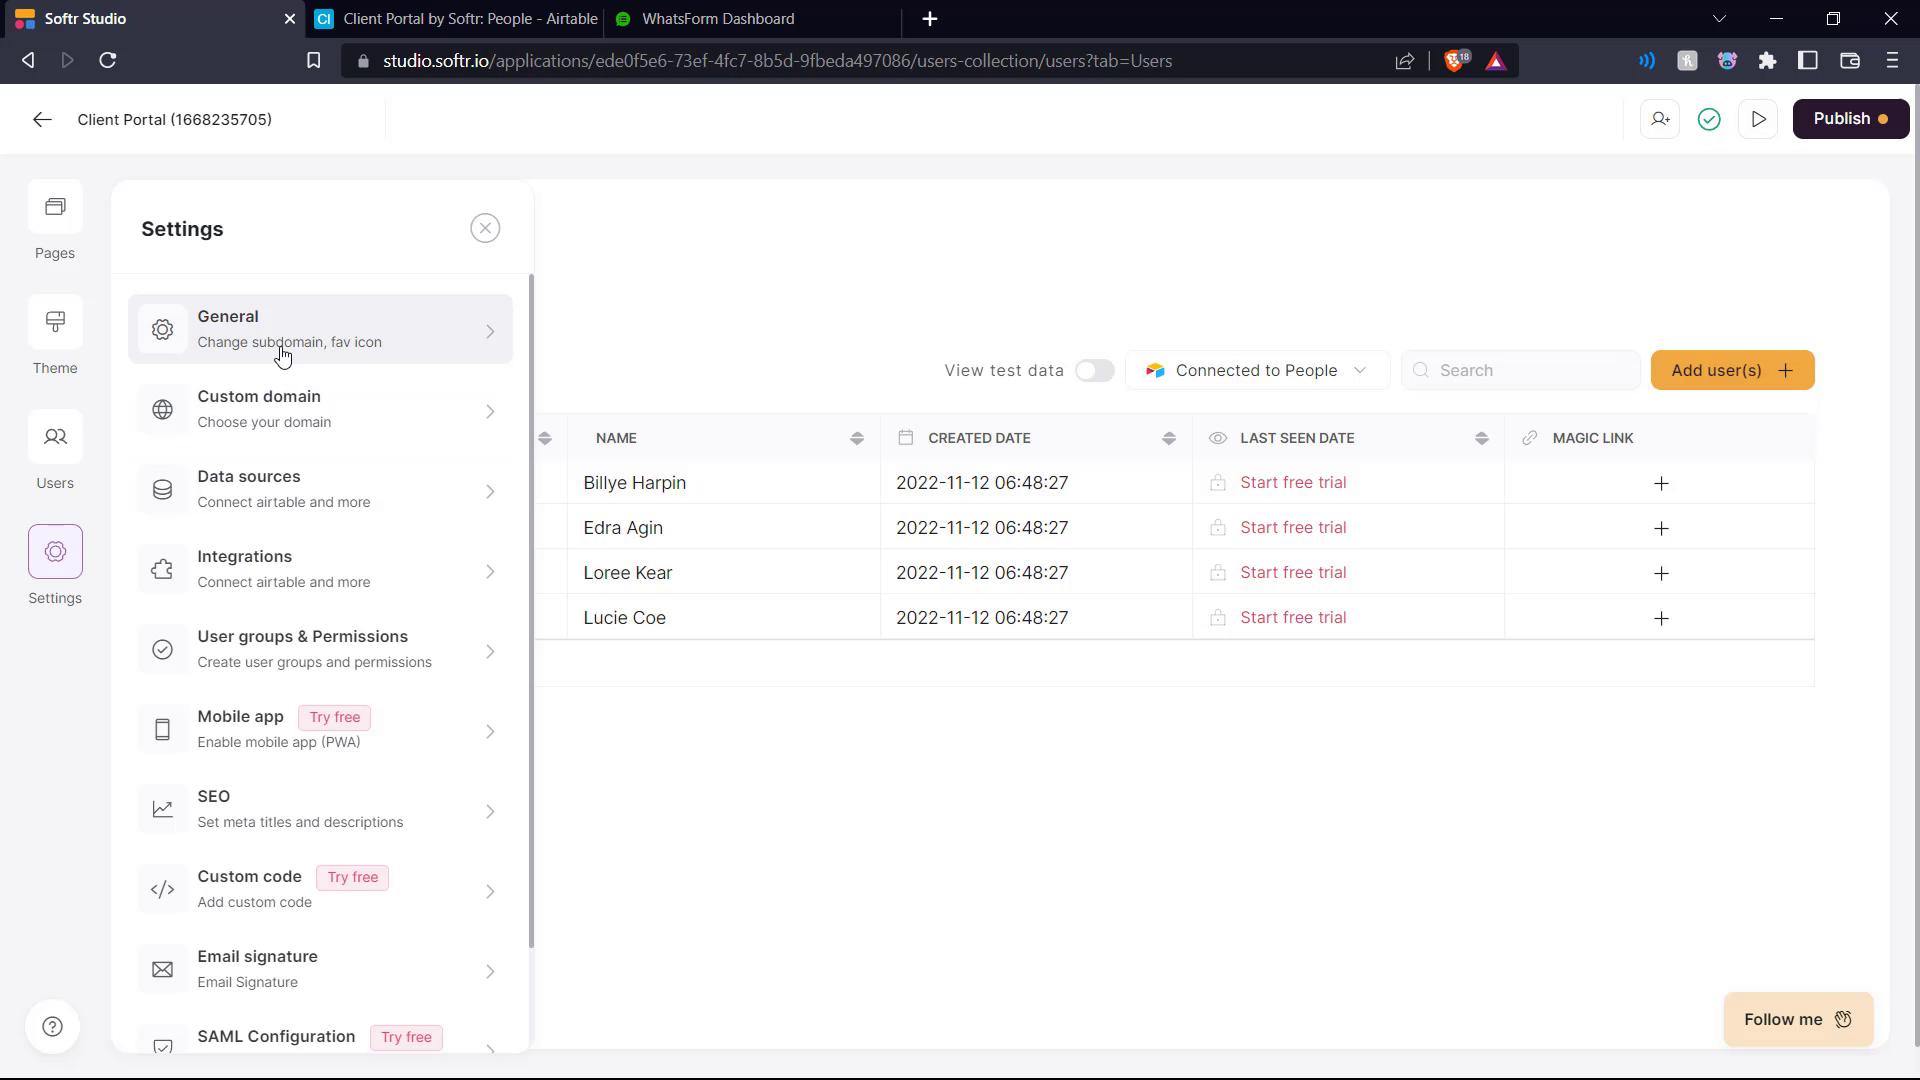
Back to the left side of the interface, we have the settings menu, displaying the various settings that can be accessed and modified.
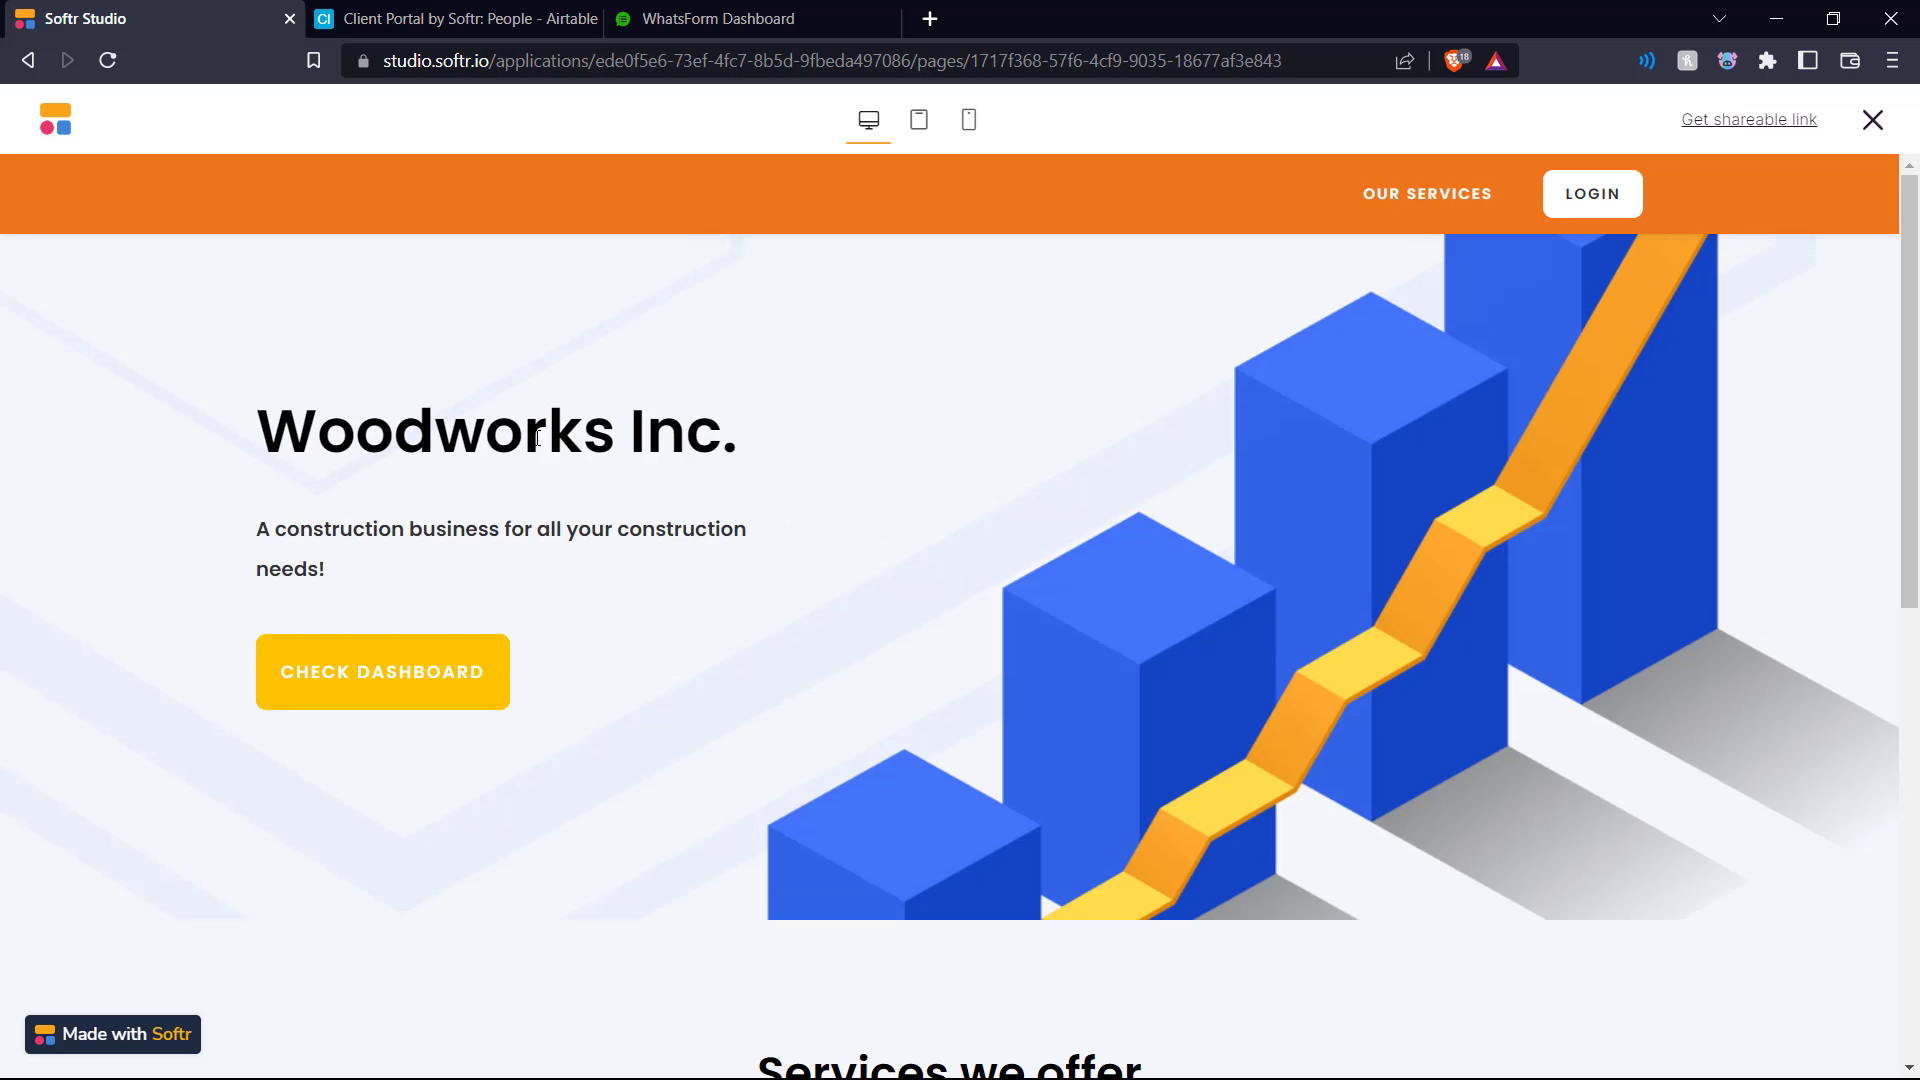
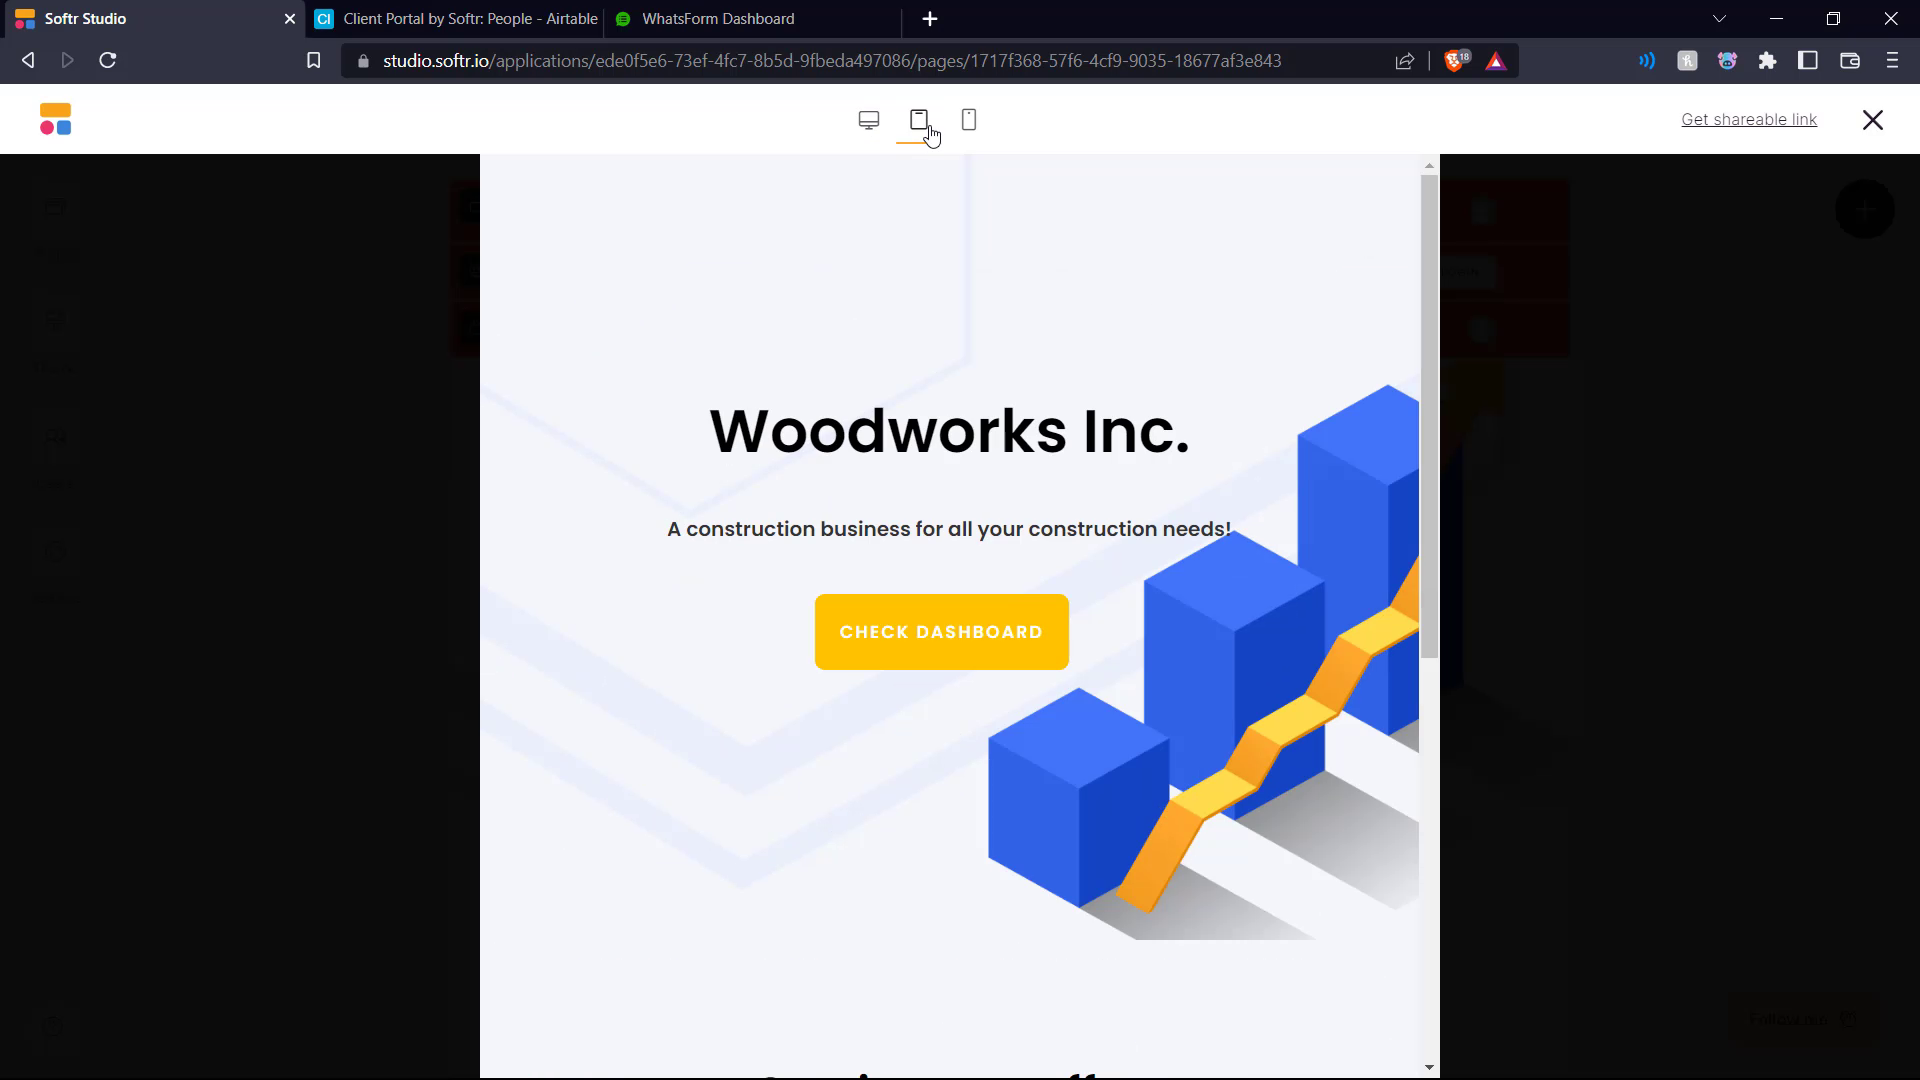
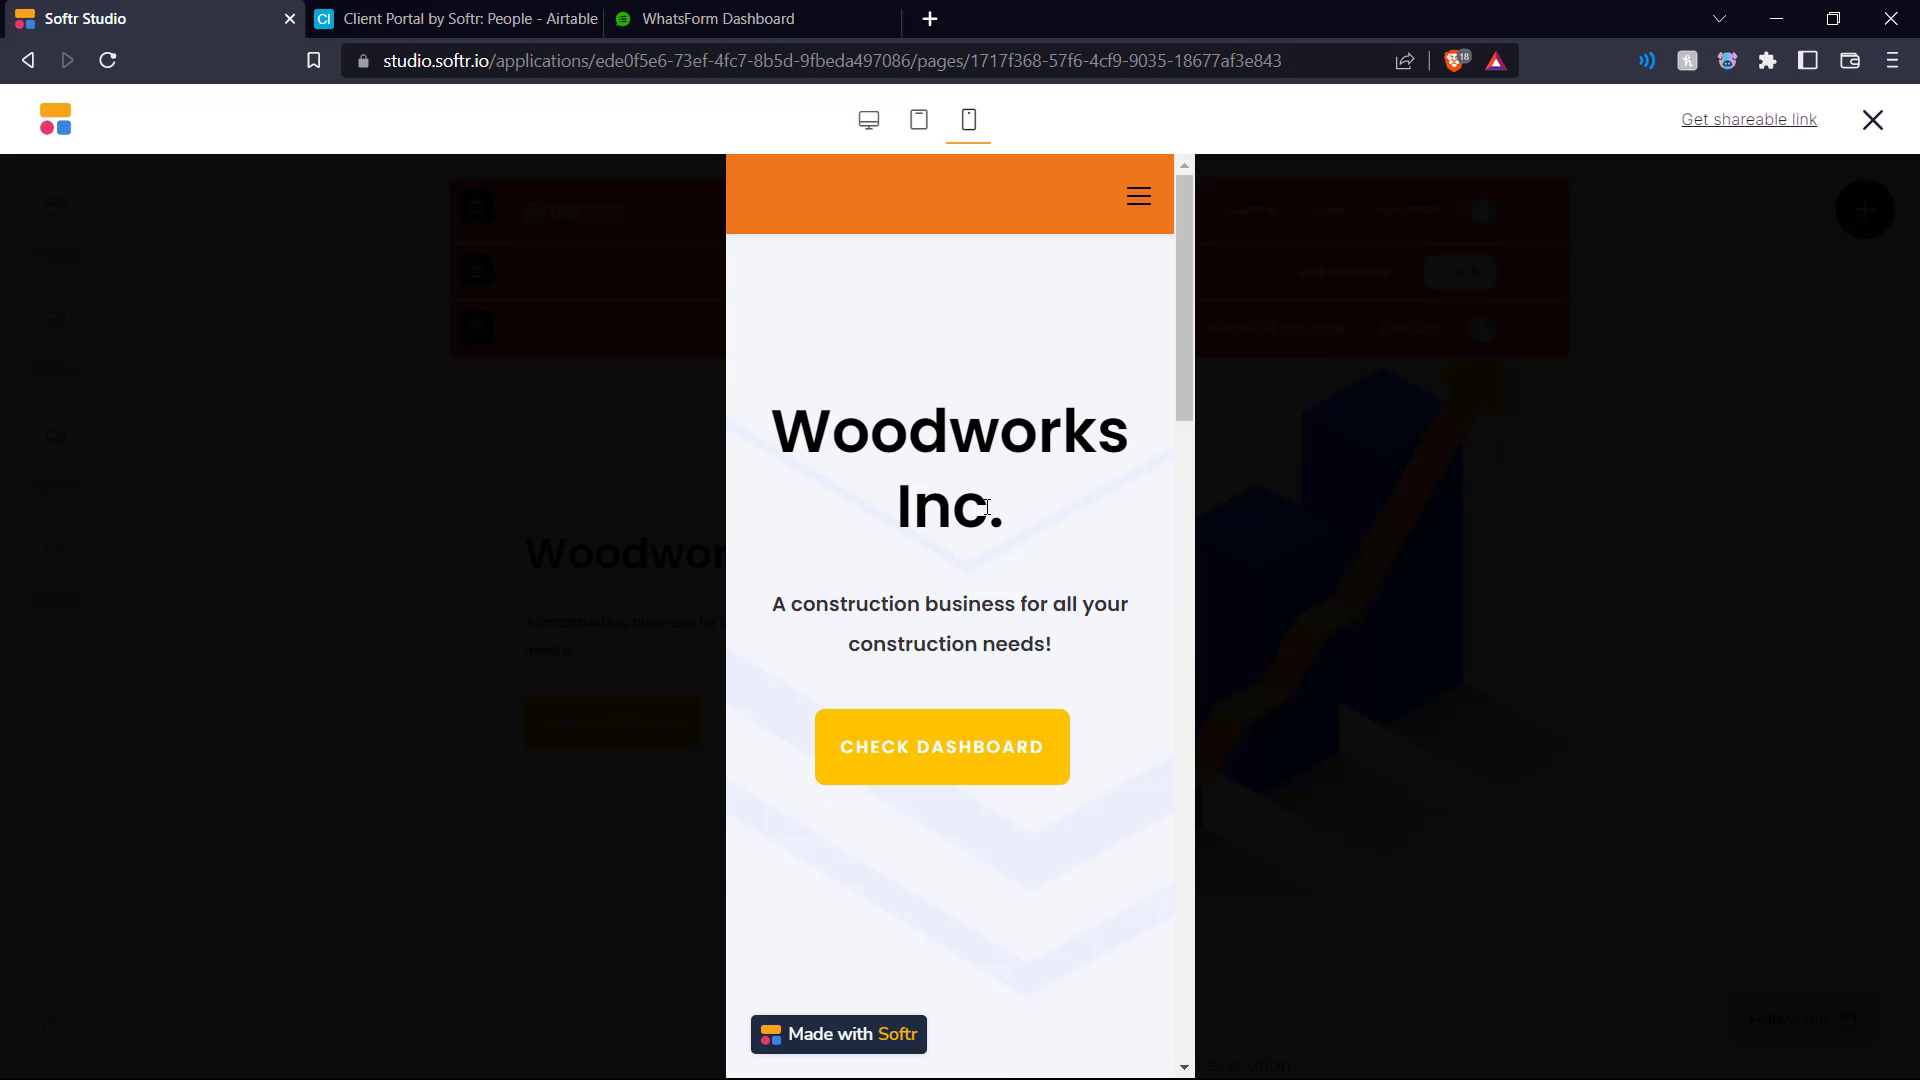
Once you are done customizing your client portal, you can preview it in three formats - desktop, tablet and mobile phone.
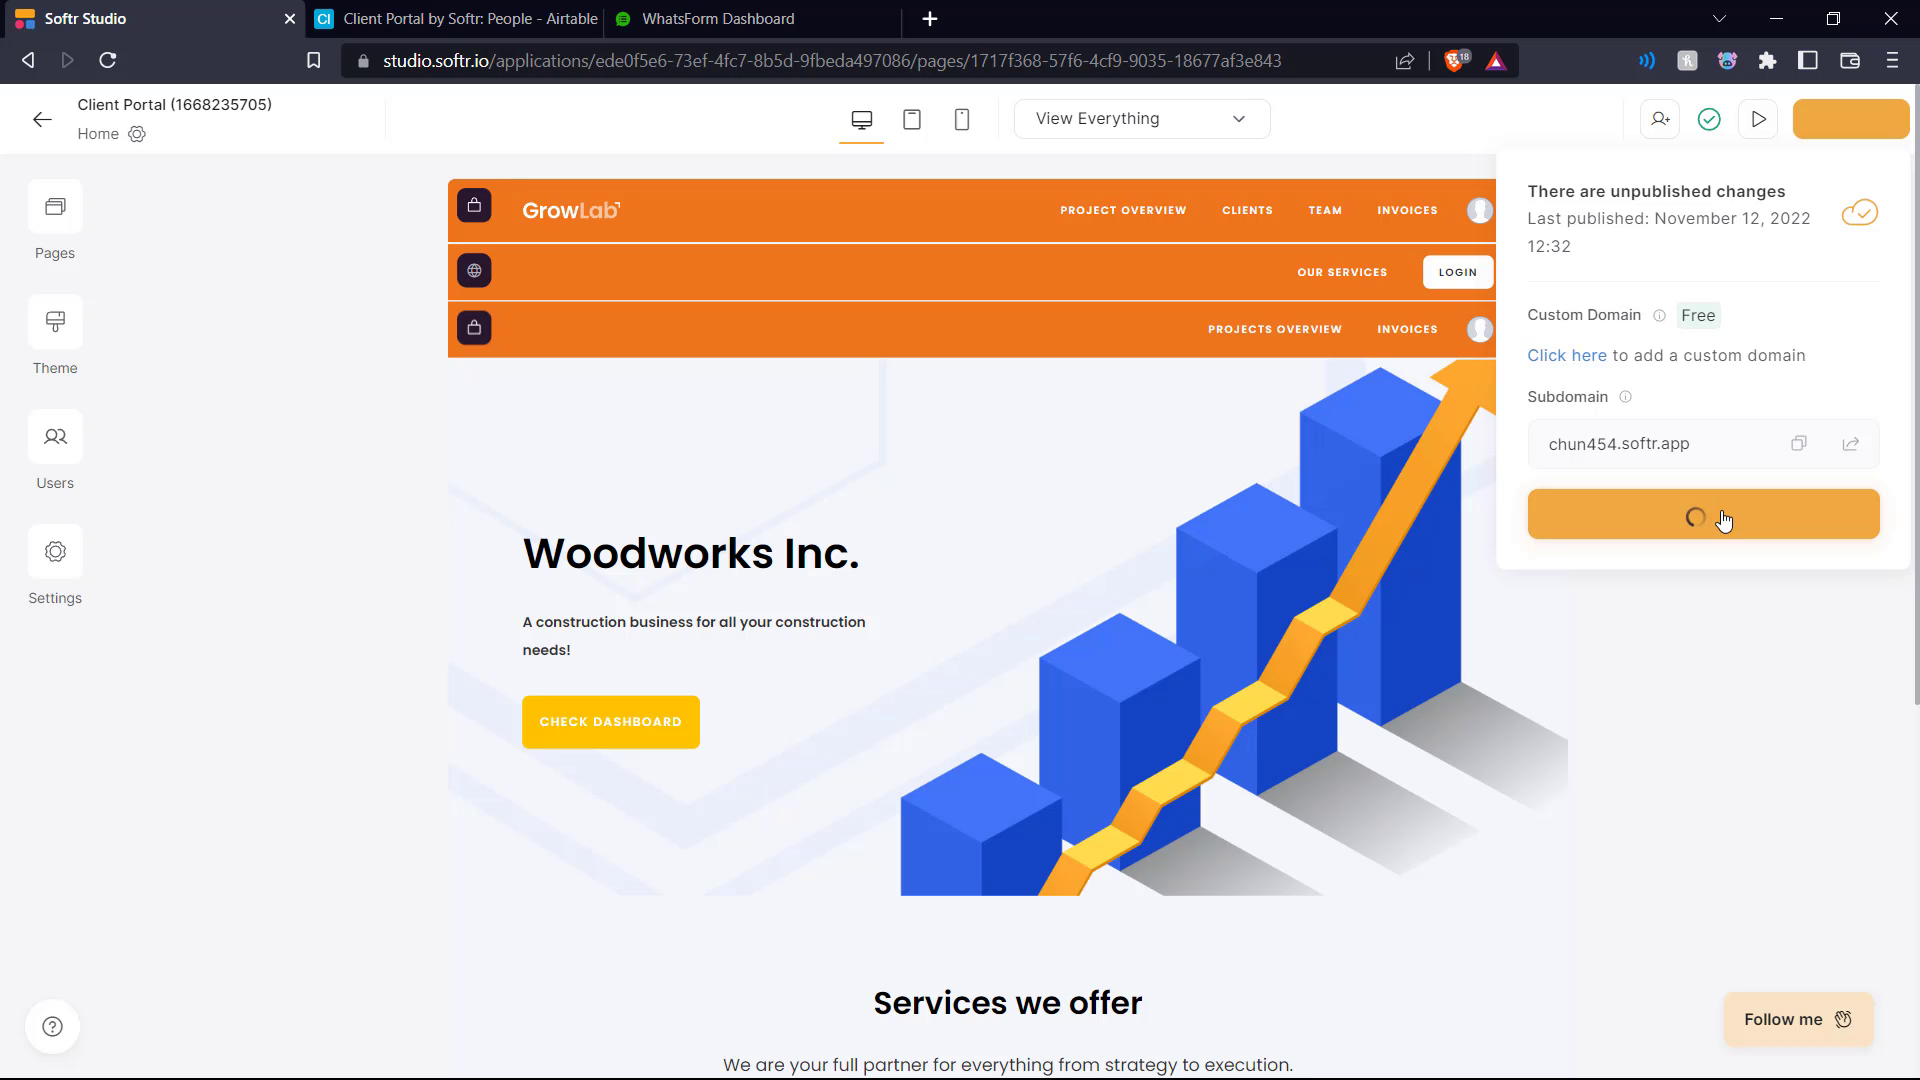
Then you can come back to the Softr studio and publish your client portal, either to a custom domain or to a Softr domain.
And that's how you create a client portal on Softr and make it so that customers from WhatsApp can be directly funneled into it through Airtable!
Watch the YouTube video for a better understanding of the process.